Taking apart a Chicco Bravo stroller for washing is something many parents and caregivers find tricky. Strollers collect dirt, crumbs, and stains quickly, especially with active kids. Yet, a clean stroller not only looks better but is healthier for your child. Many people feel nervous about taking apart such an expensive item. They worry about breaking something or not being able to put it back together. But with the right steps and a bit of patience, you can do it without stress.
In this guide, you’ll learn everything you need to know to safely disassemble your Chicco Bravo stroller for a deep clean. Whether you’re a first-time parent or you’ve cleaned strollers before, you’ll discover tips that make the job easier. We’ll cover what tools you need, how to remove each part, and how to clean everything properly.
Plus, you’ll find out what mistakes to avoid and how to reassemble your stroller so it works like new. Real-life examples, expert advice, and even troubleshooting for common issues are included. By the end, you’ll feel confident about keeping your Chicco Bravo stroller in top condition.
Why Clean Your Chicco Bravo Stroller Regularly?
It’s easy to ignore stroller cleaning, but it matters more than you may think. Children’s immune systems are still developing, so exposure to old food, dust, and germs can cause sickness. Food crumbs attract insects and sometimes even mold. A dirty stroller can also start to smell, making walks less enjoyable. Plus, regular cleaning helps your stroller last longer by preventing damage to fabric and moving parts.
Some parents only spot-clean when they see stains. But if you want your Chicco Bravo stroller to stay fresh, it’s smart to do a full clean every few months, or more often if your child is messy. Deep cleaning also helps you spot broken or worn-out parts early. Think of it as a simple way to protect your investment and your child’s health.
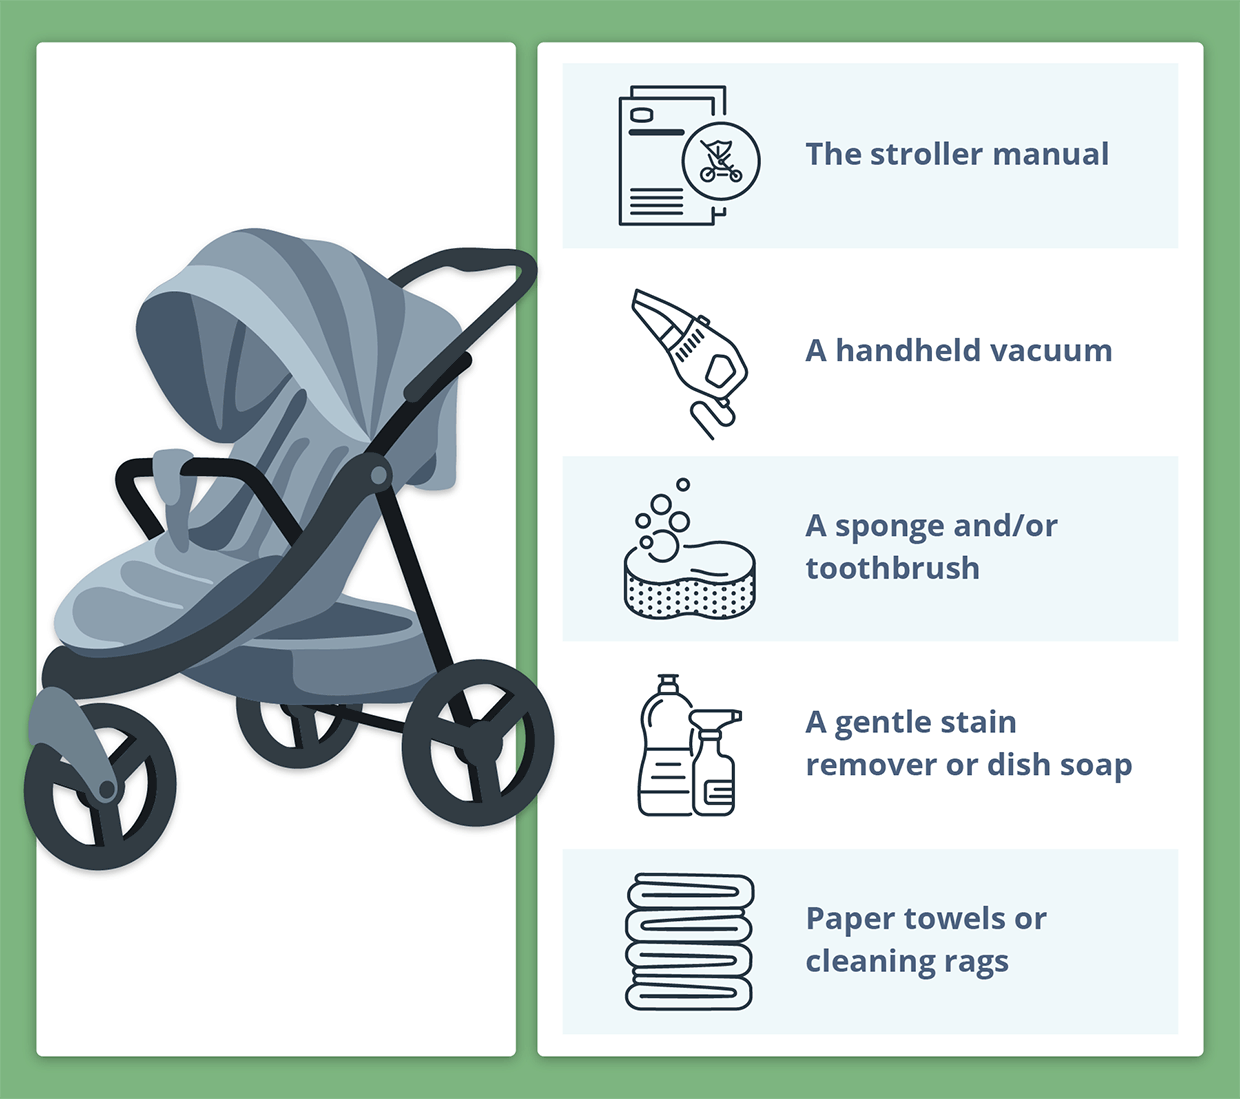
What You’ll Need Before You Start
Before taking apart your stroller, gather the right tools and cleaning supplies. This saves time and prevents frustration. Here’s a list of essentials for cleaning your Chicco Bravo:
- Phillips-head screwdriver (for screws on some models)
- Flat-head screwdriver (for prying clips gently)
- Soft brush (an old toothbrush works well)
- Mild soap (baby detergent is best)
- Warm water
- Soft cloths or sponges
- Towel (for drying)
- Vacuum cleaner with a small nozzle
- Spray bottle (optional, for soapy water)
- Bucket or basin
- Small bowl (for screws and small parts)
- Camera or phone (to take photos during disassembly)
Pro tip: Take pictures at each step. It’s much easier to remember how to reassemble everything if you have photos.
Understanding The Chicco Bravo Stroller Parts
Before you start, it helps to know the main parts you’ll be dealing with. The Chicco Bravo has a few removable sections, and knowing their names makes instructions clearer.
Main Removable Parts
- Seat pad and fabric cover
- Canopy (sunshade)
- Snack tray
- Harness and straps
- Wheels
- Storage basket
- Cup holder
- Child arm bar (on some models)
Not every part needs to come off every time, but knowing what’s removable helps you clean thoroughly.
Table: Key Features Of Chicco Bravo Stroller
| Feature | Description | Removable? |
|---|---|---|
| Seat Pad | Padded fabric where child sits | Yes |
| Canopy | Adjustable sunshade | Yes |
| Snack Tray | Tray for snacks or toys | Yes |
| Wheels | Front and rear, can be removed for deep clean | Yes |
| Storage Basket | Under-seat basket | Yes |
| Harness | Straps for securing child | Yes |
Step-by-step Guide: Taking Apart Your Chicco Bravo Stroller
Let’s walk through each step. For safety, always remove your child and empty all items from the stroller before starting.
1. Remove The Snack Tray And Cup Holder
Most Chicco Bravo strollers have a snack tray and sometimes a separate cup holder. Removing these first gives you more space to work.
- Find the side buttons or latches on the tray.
- Press the release buttons and gently pull the tray out.
- For the cup holder, lift it straight up or twist, depending on your model.
Tip: If the tray feels stuck, don’t force it. Check for hidden buttons or consult your user manual.
2. Detach The Canopy
The canopy protects your child from sun and weather. To remove:
- Locate the clips or snap buttons where the canopy attaches to the frame.
- Use your fingers or a flat-head screwdriver to gently unclip each side.
- Slide the canopy rods out of their slots.
Non-obvious insight: Some models have small fabric loops that secure the canopy. Unhook these before pulling.
3. Take Off The Seat Pad And Fabric Cover
This is often the trickiest part, but it’s necessary for a thorough wash.
- Find the Velcro strips, snaps, or elastic loops that attach the seat pad.
- Undo all fastenings along the back, sides, and bottom.
- Carefully thread the harness straps through the slots in the fabric.
- Lift the seat pad off the frame.
Warning: Don’t pull hard on the fabric. If it’s stuck, check for missed fasteners.
4. Remove The Harness And Straps
The harness system keeps your child safe, but it also collects crumbs and spills.
- On the back of the seat, look for plastic clips or a metal plate securing the harness.
- Slide the shoulder and waist straps out through their slots.
- Remove the buckle and any extra padding.
Pro tip: Take a photo of the harness setup before you remove it. This makes reassembly much easier.
5. Take Out The Storage Basket
The under-seat basket often holds the most dirt.
- Check for screws, snaps, or Velcro attaching the basket to the frame.
- If screws are present, use a Phillips-head screwdriver to remove them.
- Slide the basket out from under the stroller.
Practical example: Many parents forget to check for small toys or food in the basket before washing.
6. Remove The Wheels
Wheels are not always washed, but removing them lets you clean built-up dirt and hair.
- For front wheels, press the release button above each wheel and pull down.
- For rear wheels, look for a release lever or small screw.
- Keep all wheel parts together in a bowl so nothing gets lost.
Non-obvious insight: Check for axle grease or hair wrapped around the axles—removing this helps the stroller roll better.
7. Fold And Secure The Frame
You don’t need to disassemble the metal frame for cleaning, but folding it helps reach tight spots.
- Use the one-hand fold handle (usually under the seat or on the handlebar).
- Lock the frame so it doesn’t pop open while you clean.
8. Organize And Label Small Parts
As you remove each part, place screws and small clips in a bowl. You can also use plastic bags and label them. This step prevents frustration during reassembly.
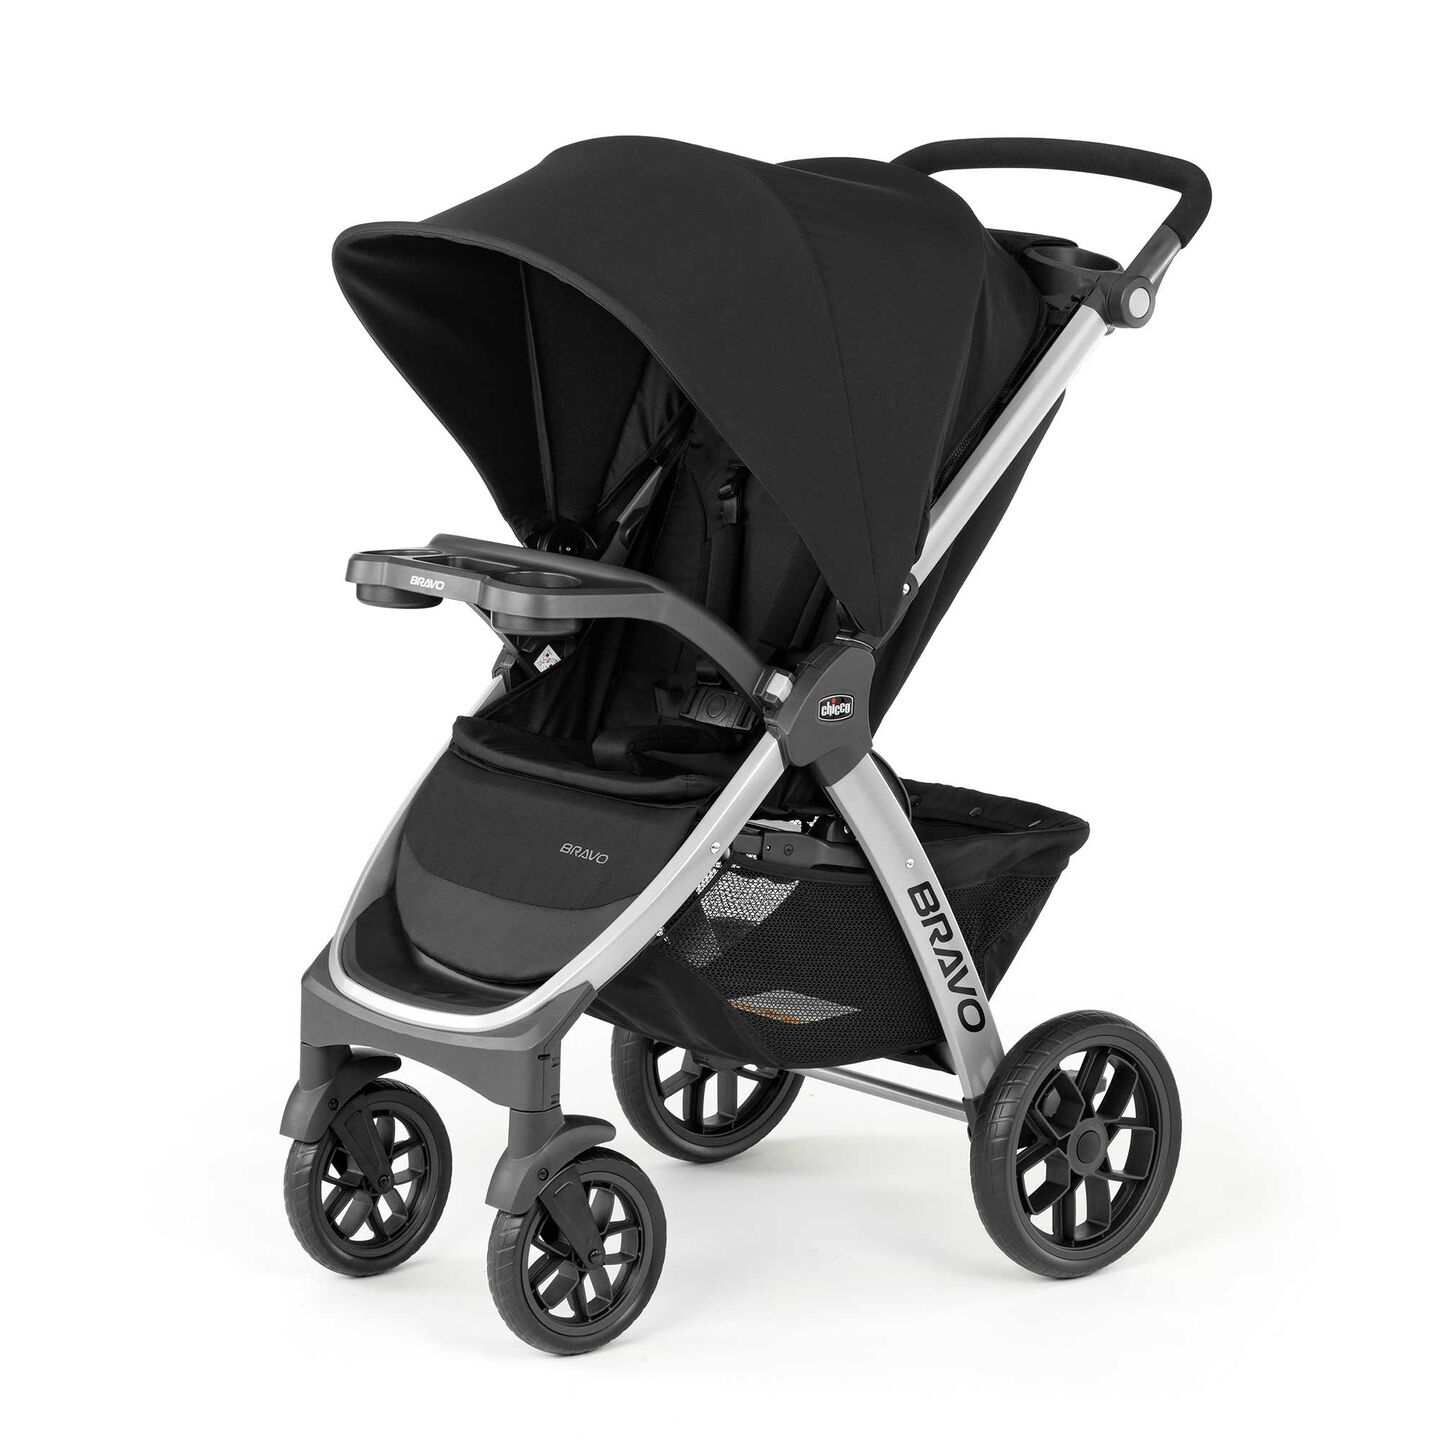
Credit: www.chiccousa.com
Washing Each Part Of The Chicco Bravo Stroller
Now that your stroller is disassembled, you’re ready to wash everything. Different materials need different care.
1. Cleaning The Fabric Parts
Most Chicco Bravo seat pads and canopies are machine washable, but always check the label first.
- If machine-washable: Use cold water and a gentle cycle. Air dry to prevent shrinking.
- For hand-washing: Mix a little mild soap in warm water. Use a soft brush or sponge to scrub stains.
- Rinse with clean water and gently squeeze out excess (don’t wring).
Tip: Never use bleach or harsh chemicals. They can damage fabric and irritate your child’s skin.
2. Washing The Harness And Straps
Harnesses are usually not machine-washable because the stitching can weaken.
- Soak straps in warm, soapy water.
- Use a toothbrush to scrub away stuck-on food.
- Rinse well and lay flat to dry.
Safety note: Make sure straps are completely dry before reinstalling to avoid mildew.
3. Cleaning Plastic And Metal Parts
Snack trays, cup holders, and baskets can be wiped with a soapy cloth.
- For tough spots, soak in soapy water for 10–15 minutes.
- Scrub with a brush, then rinse and dry.
4. Washing The Wheels
Wheels pick up the most dirt, sand, and even pet hair.
- Use a damp cloth to wipe off surface dirt.
- For deep cleaning, remove hair and dirt from axles with tweezers or a brush.
- Rinse wheels with water and dry before reattaching.
5. Cleaning The Frame
- Wipe the frame with a cloth dipped in soapy water.
- Avoid getting water inside the folding joints.
- Dry with a towel, focusing on metal parts to prevent rust.
Table: Cleaning Methods For Each Stroller Part
| Stroller Part | Best Cleaning Method | Drying Recommendation |
|---|---|---|
| Seat Pad | Machine or hand-wash | Air dry only |
| Canopy | Hand-wash | Hang to dry |
| Harness | Hand-wash only | Lay flat to dry |
| Snack Tray | Soak and scrub | Towel dry |
| Wheels | Wipe and rinse | Air dry |
| Frame | Wipe with soapy cloth | Towel dry |
Drying And Storage Tips
Proper drying is just as important as cleaning. Wet parts can develop mold or musty smells if reassembled too soon.
- Always air-dry fabric parts. Hang them outside or in a well-ventilated room.
- Dry plastic and metal parts with a towel to prevent water spots.
- Leave all parts separate for several hours. Check that everything feels dry before reattaching.
Pro tip: Never use a dryer or direct heat on stroller parts—this can shrink or warp them.
If you need to store your stroller for a long time, make sure it’s 100% dry and store in a cool, dry place.
How To Reassemble Your Chicco Bravo Stroller
Putting your stroller back together is easier if you kept parts organized and took photos during disassembly.
1. Reattach The Wheels
- Slide the wheels onto their axles until they click.
- Make sure each wheel spins freely.
2. Replace The Storage Basket
- Slide the basket back under the frame.
- Secure with screws, snaps, or Velcro as before.
3. Reinstall The Harness And Straps
- Follow your photo guide to thread straps through the correct slots.
- Reattach to the back plate or clips, making sure all straps lie flat.
4. Attach The Seat Pad And Fabric Cover
- Align the seat pad with the frame.
- Thread harness straps through the slots.
- Fasten all Velcro, snaps, or elastic loops.
5. Reattach The Canopy
- Slide the canopy rods back into their slots.
- Clip or snap the canopy into place.
- Secure any fabric loops if present.
6. Attach Snack Tray And Cup Holder
- Line up the tray with the armrests.
- Push until you hear a click.
- Slide or twist the cup holder into position.
Final check: Pull gently on each part to make sure everything is secure before use.
Troubleshooting: Common Problems And How To Fix Them
Even careful cleaning can lead to a few issues. Here’s how to handle the most common ones:
Stubborn Stains On Fabric
- Try a paste of baking soda and water. Let it sit for 10 minutes, then scrub and rinse.
- Avoid bleach—it weakens fabric and can cause fading.
Stuck Wheels
- Remove wheels and check for hair or string wrapped around axles.
- Apply a drop of silicone lubricant if wheels squeak.
Hard-to-reach Dirt
- Use a vacuum with a crevice tool for tight spots.
- A can of compressed air can blow out dust from corners.
Difficult Harness Reinstallation
- Review your photos to match the strap layout.
- If the harness still doesn’t fit, check the user manual for diagrams.
Loose Or Missing Screws
- Always use the same screws for each part; mixing them can cause a loose fit.
- If a screw is missing, contact Chicco customer support for a replacement.
Credit: www.chiccousa.com
Safety Checks Before Using The Stroller Again
After reassembly and cleaning, always do a safety check:
- All straps and harnesses are secure and untwisted.
- Snack tray and cup holder are locked in place.
- Wheels are attached and roll smoothly.
- Frame folds and locks as designed.
- No parts are loose or missing.
Test the stroller with a heavy bag or weight before putting your child inside. This step is often skipped but ensures everything is safe.
How Often Should You Clean Your Stroller?
The right cleaning schedule depends on how much you use your Chicco Bravo:
- Spot-clean spills as needed (immediately after messes).
- Deep clean every 2–3 months if you use the stroller daily.
- Seasonal deep cleaning (every 3–4 months) for less frequent use.
Special cases: If your child has allergies or the stroller has been in contact with pets, deep clean more often.
Mistakes To Avoid When Taking Apart And Washing Your Stroller
Many parents make small mistakes that create big headaches. Here’s how to avoid the most common ones:
- Forgetting to take photos during disassembly. Even a simple harness can be confusing to rethread.
- Using harsh cleaners. Bleach, alcohol, and strong detergents can ruin fabric and irritate skin.
- Not drying parts fully. This is the number one cause of moldy or smelly strollers.
- Losing screws or small clips. Always use a bowl or bag for tiny parts.
- Forcing parts. If something won’t come off, double-check for hidden fasteners or review the manual.
- Mixing up wheels. Some wheels are specific to the front or back—keep them in order.
- Ignoring safety checks. Always make sure everything is locked and secure before use.
Table: Comparison Of Cleaning Frequency Vs. Stroller Lifespan
| Cleaning Frequency | Average Stroller Lifespan | Child Health Risks |
|---|---|---|
| Spot-clean only | 2-3 years | High (allergens, bacteria) |
| Seasonal deep clean | 3-5 years | Medium (dust, odor) |
| Monthly deep clean | 5+ years | Low |

Credit: www.albeebaby.com
Real-life Example: A Parent’s Experience
Maria, a mother of two, was worried about cleaning her Chicco Bravo stroller after a juice spill. She was afraid she’d break something if she took it apart. By following step-by-step photos and using labeled bags for screws, she cleaned every part without trouble. Maria found that taking photos at each stage was a lifesaver when putting the stroller back together. She also learned that air drying overnight prevented musty smells. Now, she deep cleans her stroller every two months and has had no problems with mold or sticky wheels.
Where To Find Official Instructions And Spare Parts
If you lose screws or can’t figure out a step, visit the official Chicco site for manuals and replacement parts. Their customer support can guide you through tough problems. For more tips and official diagrams, see the Chicco USA Official Site.
Frequently Asked Questions
How Often Should I Deep Clean My Chicco Bravo Stroller?
A deep clean every 2–3 months is best if you use the stroller daily. For less frequent use, every 3–4 months is fine. Clean more often if your child has allergies or you notice odors.
Can I Put Chicco Bravo Stroller Fabrics In The Washing Machine?
Most seat pads and canopies are machine washable on a gentle cycle, but always check the care label first. Harness straps should be hand-washed to protect their strength.
What Should I Do If A Part Won’t Come Off?
Don’t force any part. Double-check for hidden clips or screws. Consult the user manual or contact Chicco support for help. Forcing can cause damage.
Is It Safe To Use Disinfectant Wipes On My Stroller?
Mild disinfectant wipes are safe on plastic and metal parts but avoid using them on fabric. Use a soft, damp cloth for fabric to avoid skin irritation for your child.
How Do I Prevent Mold And Odors After Washing?
Thorough drying is key. Air-dry all parts completely before reassembly. Store the stroller in a dry place and avoid using heat sources like dryers, which can damage materials.
Keeping your Chicco Bravo stroller clean may take a little time, but the rewards are worth it—a healthier, fresher ride for your child and a longer-lasting stroller for you. With clear steps, practical tips, and the right tools, you can handle the job confidently. Happy cleaning!