Stripping furniture can feel overwhelming, especially when old paint or varnish refuses to budge. Many people don’t realize that a simple household product—oven cleaner—can make this job easier. This method has become popular with DIY enthusiasts because it’s affordable, surprisingly effective, and doesn’t require heavy sanding or messy chemical strippers.
But, as with any technique, you need to know the steps, safety concerns, and best practices to get great results and keep yourself safe.
In this guide, you’ll learn everything about how to strip furniture with oven cleaner. We’ll cover the pros and cons, step-by-step instructions, safety tips, troubleshooting, and ways to finish your furniture after stripping. Whether you’re restoring a vintage dresser or giving new life to a thrift store find, this article will help you achieve a smooth, paint-free surface. Let’s get started and unlock the secrets of oven cleaner for furniture!
Why Use Oven Cleaner For Furniture Stripping?
Many people wonder why oven cleaner is used for stripping furniture instead of traditional paint removers. There are some clear reasons:
- Easy to Find: Most supermarkets and hardware stores sell oven cleaner, so you don’t need a specialty store.
- Budget-Friendly: Oven cleaner is usually less expensive than commercial paint strippers.
- Less Mess: Oven cleaner is a foam or spray, making it easier to control and apply.
- Works on Multiple Finishes: It can remove paint, varnish, polyurethane, and some stains.
However, it’s not for every project. Oven cleaner contains strong chemicals, especially sodium hydroxide (lye), which can damage some woods and finishes if used incorrectly. It’s important to know when oven cleaner is a good choice and when to use traditional methods.
When Should You Use Oven Cleaner?
- Stripping solid wood furniture with thick paint or varnish layers.
- Working outdoors or in a well-ventilated area.
- When you don’t mind sanding or refinishing afterward, as oven cleaner can raise the grain or lighten the wood.
When To Avoid Oven Cleaner
- On delicate veneers or plywood, which can warp or separate.
- For antiques with valuable patinas.
- If you cannot work outside—fumes can be strong indoors.
Tools And Materials You’ll Need
Before you begin, gather all the necessary tools and materials to make the process safe and efficient.
Essential Items
- Oven cleaner (look for a brand with sodium hydroxide, such as Easy-Off)
- Protective gloves (chemical-resistant, like nitrile or rubber)
- Safety goggles or glasses
- Respirator mask (not just a dust mask)
- Plastic or drop cloth to protect the work surface
- Scrub brush (nylon bristles)
- Plastic scraper or putty knife (avoid metal to prevent gouges)
- Bucket of water and a sponge
- Vinegar (for neutralizing the lye)
- Old towels or rags
- Sandpaper (various grits, from 120 to 320)
- Spray bottle (for water and vinegar mix)
- Trash bags for disposal
Optional Items
- Steel wool for stubborn spots (0000 grade)
- Painter’s tape to protect areas you don’t want stripped
- Fan for extra ventilation
Having everything ready before you start saves time and helps prevent mistakes.
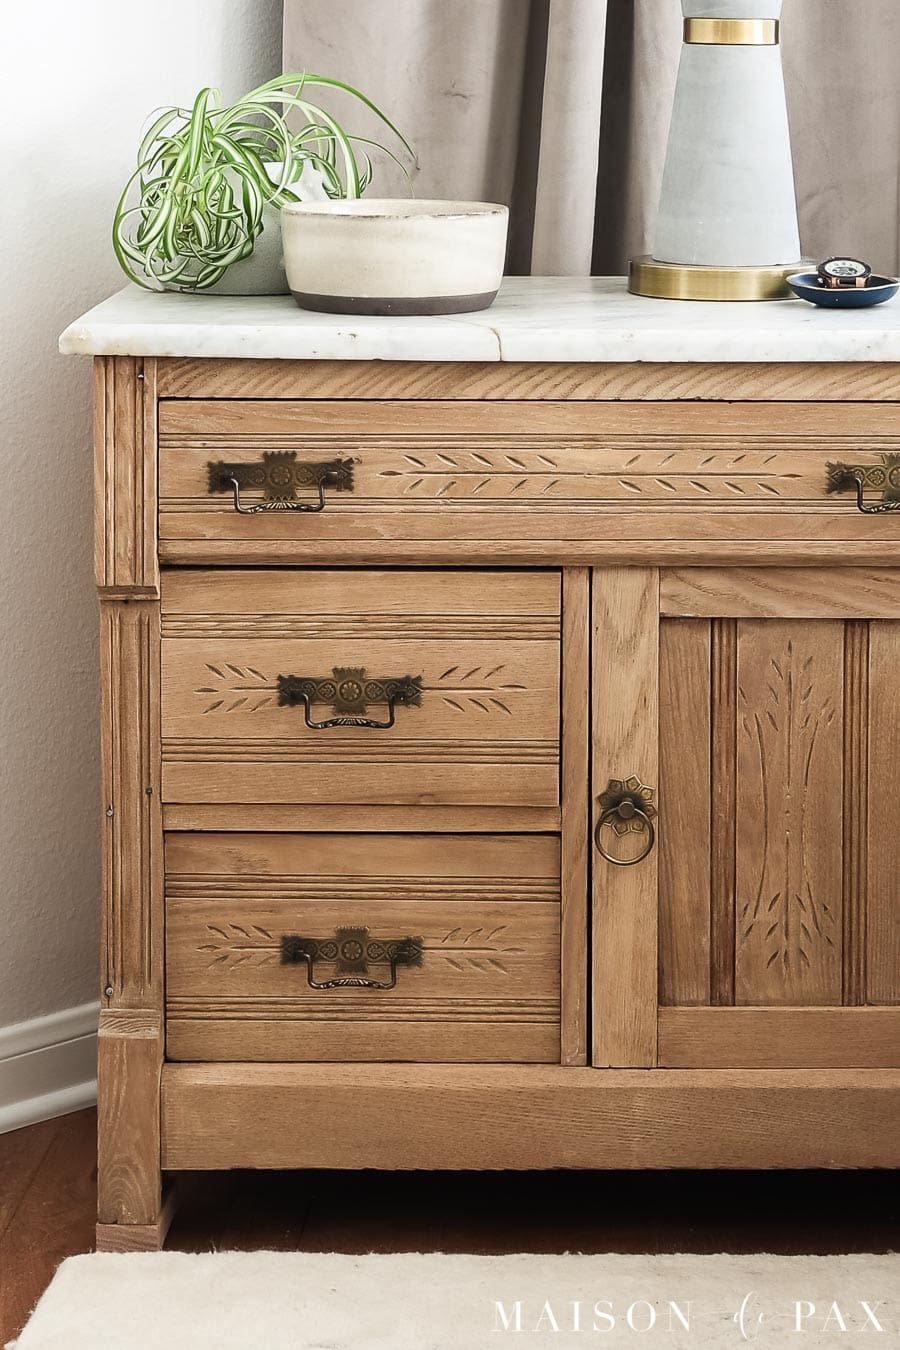
Credit: www.maisondepax.com
Safety Precautions You Must Follow
Stripping furniture with oven cleaner is effective, but it comes with risks. Sodium hydroxide can burn skin, damage eyes, and cause respiratory problems if inhaled. Follow these safety tips:
- Work outside or in a very well-ventilated area. Fumes can irritate your lungs and eyes.
- Wear gloves, goggles, and a mask. Never skip personal protective equipment (PPE).
- Protect your work area with plastic sheeting. Oven cleaner can damage floors and plants.
- Keep children and pets away. Even a little oven cleaner can be dangerous.
- Have water and vinegar ready. If any cleaner gets on your skin, wash immediately with water, then use vinegar to neutralize.
- Read the label of your oven cleaner. Some brands contain extra chemicals—check for sodium hydroxide and avoid “fume-free” versions, as they may not be as effective.
Pro tip: If you feel a burning sensation or dizziness, stop immediately and get fresh air.
Step-by-step Guide: Stripping Furniture With Oven Cleaner
Now let’s walk through the actual process, from prep to clean-up. Doing each step carefully leads to a better finish and less frustration.
1. Prepare The Furniture And Workspace
- Remove any hardware (knobs, handles, hinges) from the piece. Place them in a safe spot.
- Take the furniture outside, or open windows and use fans if you must work indoors.
- Put down a plastic drop cloth under the furniture.
- Clean the surface with a damp rag to remove dust and loose dirt.
- Dry thoroughly before applying oven cleaner.
2. Apply The Oven Cleaner
- Put on your gloves, goggles, and mask.
- Shake the oven cleaner can well.
- Hold the can about 6-10 inches from the furniture.
- Spray a thick, even layer on the area you want to strip. Cover all surfaces, but don’t let it drip.
- Let the foam sit for 20–30 minutes. For thicker layers, you may wait up to 1 hour, but don’t let it dry out.
Non-obvious insight: Applying oven cleaner on a warm day (but not in direct sunlight) helps it work faster because heat activates the chemicals. However, don’t use it in temperatures above 85°F, as it can dry too quickly.
3. Scrape And Remove The Old Finish
- After the waiting period, check a small spot with your scraper.
- If the finish lifts easily, begin scraping gently in the direction of the wood grain.
- Wipe the scraper clean often on a rag.
- For stubborn spots, use a nylon brush or steel wool. Don’t gouge the wood.
Beginner mistake: Don’t rush and scrape too hard. It’s better to do a second application than damage the wood.
4. Neutralize The Chemicals
Oven cleaner contains lye, which can keep reacting with wood fibers and cause damage if not neutralized.
- Mix equal parts water and vinegar in a spray bottle.
- Spray the wood generously and scrub with a sponge or brush.
- Wipe with clean water to remove residue.
- Repeat until there’s no slippery or soapy feel.
- Dry the surface with towels.
Non-obvious insight: Skipping this step can lead to white spots or soft wood months later, as the lye remains active.
5. Let The Furniture Dry
- Allow the furniture to dry completely for at least 24 hours.
- Drying in a shaded, breezy spot works best.
- Wood may look lighter or “fuzzy.” This is normal and will be fixed in the next step.
6. Sand And Prepare For Finishing
- Once dry, lightly sand the surface with 120–180 grit paper to smooth raised grain.
- For a silky finish, use 220–320 grit for the final pass.
- Wipe away dust with a damp cloth.
- Inspect for any remaining finish. Spot-treat if needed.
Now your furniture is ready for stain, paint, or clear topcoat.
Key Benefits And Drawbacks Of Oven Cleaner Stripping
It’s important to compare oven cleaner with other stripping methods to understand when it works best.
| Method | Pros | Cons |
|---|---|---|
| Oven Cleaner | Cheap, fast, easy to find, less fumes than some strippers | Can lighten wood, not for all wood types, requires neutralizing |
| Chemical Stripper | Very effective, works on most finishes, professional-grade | Expensive, strong fumes, hazardous waste |
| Heat Gun | No chemicals, fast for large areas | Can scorch wood, fire risk, tricky to control |
| Sanding | Simple, no chemicals | Dusty, hard work, can damage detail and veneer |
Oven cleaner works best for solid wood pieces with thick paint or varnish. It’s not always the best option for antiques, delicate furniture, or veneer.
Common Problems And How To Fix Them
Even with the right steps, you might run into issues. Here’s how to handle the most common problems:
The Finish Won’t Budge
- Try a second application of oven cleaner.
- Increase the wait time, but don’t let the foam dry out.
- For stubborn spots, use fine steel wool dipped in vinegar water.
Wood Feels Slimy Or Soapy
- You didn’t neutralize the lye enough.
- Spray with more vinegar water and scrub until the surface feels normal.
Wood Looks Bleached Or Light
- Oven cleaner can lighten wood. Sometimes this fades after sealing or staining.
- If it’s too light, consider using a wood stain to restore color.
Surface Feels Rough
- Raised grain is common after chemical stripping.
- Sand with fine grit paper to smooth.
Stains Or White Spots Appear
- This means lye is still present.
- Repeat the vinegar rinse and wash with clean water.
Table: Troubleshooting Quick Reference
| Problem | Possible Cause | Solution |
|---|---|---|
| Sticky residue | Oven cleaner not rinsed fully | Rinse with water & vinegar mix |
| Splintered wood | Scraped too hard | Sand gently, apply wood filler |
| Paint still present | Coating too thick, short wait time | Apply cleaner again, wait longer |
| Bad odor lingers | Not enough rinsing | Repeat vinegar rinse, air dry outside |

Credit: www.youtube.com
Mistakes Beginners Often Make
Many first-timers make errors that can ruin a piece or make more work. Avoid these common pitfalls:
- Not wearing proper PPE: Skin burns and eye injuries are serious risks.
- Skipping the vinegar rinse: Lye stays in the wood and causes long-term damage.
- Letting oven cleaner dry: Dried foam is harder to remove and less effective.
- Using on veneer: Thin surfaces can bubble or peel.
- Ignoring the weather: Hot, dry, or very humid days can affect how the cleaner works.
- Rushing the process: Patience leads to better results.
Types Of Furniture Best Suited For Oven Cleaner Stripping
Not all furniture is created equal. Some pieces respond better to oven cleaner than others.
Great Choices
- Solid wood dressers (oak, maple, pine, walnut)
- Tables and chairs with thick paint or shellac
- Farmhouse or rustic pieces where a little wood lightening adds charm
Not Ideal
- Antique heirlooms with valuable patina
- Veneer or plywood (risk of warping or glue breakdown)
- Intricate carvings (hard to rinse and neutralize fully)
Pro tip: Test on a small hidden area first to see how the wood reacts.
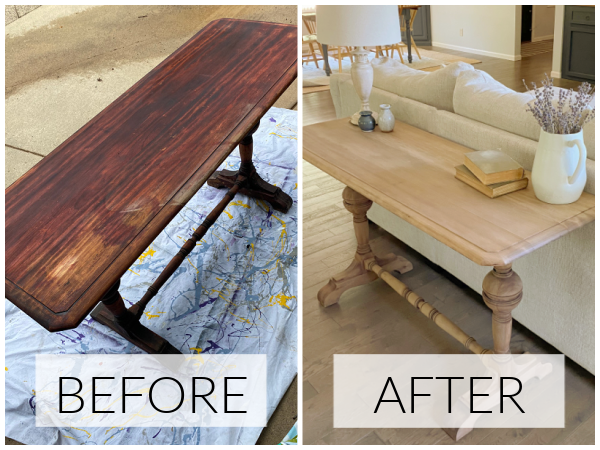
Credit: www.lemonslavenderandlaundry.com
How To Finish Furniture After Stripping
After stripping, your furniture is a blank canvas. The next steps depend on the look you want.
1. Staining
- Choose a wood stain for color. Gel stains work well if the wood is unevenly colored.
- Apply with a cloth or brush, following the grain.
- Wipe off excess and let dry.
- Seal with polyurethane or wax for protection.
2. Painting
- For a fresh look, apply primer (especially if there are stains or old paint spots).
- Use high-quality furniture paint and a smooth brush or roller.
- Let dry and apply a second coat if needed.
- Finish with a clear topcoat for durability.
3. Clear Coat Or Oil
- If you love the natural wood look, use a clear polyurethane, lacquer, or furniture oil.
- Apply thin coats, sanding lightly between them for a smooth finish.
Table: Popular Finish Options
| Finish Type | Best For | Durability | Look |
|---|---|---|---|
| Stain + Polyurethane | Color + protection | High | Classic wood grain |
| Paint + Topcoat | Modern or bold colors | Medium-High | Smooth, solid |
| Oil Finish | Natural wood | Medium | Matte, soft |
| Wax | Low-traffic pieces | Low | Soft sheen |
Non-obvious insight: Oven cleaner can lighten the wood, making stains appear brighter or more vibrant than on unstripped wood. Test your finish on a scrap or hidden spot first.
Environmental And Disposal Considerations
Oven cleaner contains chemicals that can harm the environment. Be careful about disposal:
- Never pour leftover cleaner or rinse water into storm drains or onto the ground.
- Collect any paint, foam, or sludge in a trash bag and dispose of it according to local hazardous waste rules.
- Rinse tools and sponges thoroughly with water and vinegar before washing them with soap.
For more information on hazardous waste disposal, check your city or county’s waste management website or refer to authoritative sources like the U.S. Environmental Protection Agency.
Practical Tips For Best Results
- Always test on a hidden part before doing the whole piece.
- Work in sections if the furniture is large; don’t let oven cleaner dry out.
- For stubborn corners, use an old toothbrush with vinegar water.
- Keep a bucket of clean water nearby for quick cleanup of spills or splashes.
- If you’re sensitive to fumes, use a fan behind you to blow air away from your face.
Frequently Asked Questions
Is Oven Cleaner Safe For All Types Of Wood?
No, oven cleaner is best for solid hardwoods like oak, maple, or pine. It can damage softwoods, veneer, or plywood, causing warping or delamination. Always test a small, hidden area first.
Does Oven Cleaner Remove All Types Of Finishes?
Oven cleaner is effective on most paints, varnishes, and polyurethanes, but some modern finishes are more resistant. Multiple applications may be needed for tough coatings.
How Do I Know If All The Lye Is Neutralized?
After rinsing with vinegar water, the surface should feel normal—not slippery, soapy, or sticky. If in doubt, rinse again. Let the wood dry and check for white spots, which means more neutralizing is needed.
Can I Use Oven Cleaner Indoors?
It’s possible with excellent ventilation—open windows and use fans. However, outdoor work is safest because fumes are strong and can cause breathing problems. Always wear a mask and PPE.
What Should I Do If Oven Cleaner Gets On My Skin Or Eyes?
Rinse immediately with lots of water for at least 15 minutes. Afterward, apply vinegar to the area to neutralize any remaining lye. Seek medical help if you feel pain, burning, or vision problems.
Bringing It All Together
Stripping furniture with oven cleaner is a powerful DIY trick that can save time and money—if used carefully. The process is straightforward: prepare your space, apply the cleaner, let it work, scrape off the finish, neutralize with vinegar, dry, and then refinish. It’s important to respect the power of oven cleaner, wear the right safety gear, and always neutralize the chemicals completely.
This method isn’t for every project, but for solid wood pieces with tough old finishes, it can deliver impressive results. Take your time, don’t skip steps, and you’ll be rewarded with a beautiful, renewed piece of furniture. And remember: when in doubt, test a small area first and always work safely. Happy restoring!