
If you want to refresh your kitchen, installing new pulls on your cabinets is one of the most impactful changes you can make. It’s a small update, but it gives your kitchen a fresh look and makes cabinets easier to use.
Even if you’ve never done a DIY project before, you can handle this. With the right tools, a little patience, and the tips in this guide, you’ll be able to upgrade your cabinets with confidence.
Many homeowners don’t realize that cabinet pulls come in different sizes, styles, and installation methods. Choosing the right one, measuring accurately, and drilling clean holes are all important. Some beginners worry about damaging their cabinets or installing pulls crooked. These concerns are real, but with a step-by-step approach, you can avoid costly mistakes and enjoy a beautiful result.
This article will walk you through every stage: from choosing pulls and prepping your cabinets, to measuring, drilling, and finally attaching the hardware. You’ll also find troubleshooting advice, tips for special cabinet types, and answers to common questions. By the end, you’ll know exactly how to install pulls on kitchen cabinets like a pro.
Why Install Pulls On Kitchen Cabinets?
Changing or adding cabinet pulls is more than just a style upgrade. It also makes your kitchen more practical and your cabinets last longer. Here’s why:
- Improved Functionality: Pulls make cabinets easier to open, especially for children, seniors, or anyone with limited hand strength.
- Protects Cabinet Finish: Using pulls instead of grabbing the cabinet edge reduces wear and tear on the wood or paint.
- Aesthetic Impact: The right pulls can match your kitchen’s design, from modern to classic, and create a unified look.
- Hygiene: Pulls are easier to clean than cabinet faces, and you avoid touching the cabinet surface with dirty hands.
- Value: Small upgrades like new pulls can raise your home’s appeal to buyers.
Many homeowners overlook the long-term benefits of hardware. For example, using pulls helps keep painted or stained cabinets looking new by minimizing fingerprints and scratches.
Choosing The Right Pulls
Picking pulls isn’t only about looks. Size, material, and installation method matter, too. Here’s how to choose the best option for your kitchen.
Pull Types
- Bar Pulls: Long, straight handles. Modern style, easy to grip.
- Arch Pulls: Curved shape. Softer look, comfortable for hands.
- Cup Pulls: Half-moon, open at the bottom. Popular for drawers.
- Finger Pulls: Minimal design, sometimes hidden. Good for sleek kitchens.
Size And Spacing
Pulls come in different lengths. Common sizes are 3-inch, 4-inch, or 5-inch hole spacing (measured from center to center). Larger cabinets usually need longer pulls.
Tip: For standard cabinets, 3- to 4-inch pulls fit well. For big drawers, use longer pulls for balance.
Material And Finish
- Stainless Steel: Modern, durable, easy to clean.
- Brass: Classic look, can develop a patina.
- Zinc Alloy: Affordable, many finishes available.
- Bronze: Warm, rustic style.
Finishes like brushed nickel, chrome, or matte black are popular. Pick a finish that matches your faucets or appliances.
Matching Style
Choose a style that fits your kitchen. Sleek bar pulls suit modern kitchens, while cup pulls or vintage handles work in traditional spaces. Don’t mix too many styles—consistency looks best.
Number Of Pulls Needed
Count your doors and drawers. Most kitchens need 20 to 40 pulls. Buy a few extra for mistakes or future replacements.
Cost Example
Here’s a simple comparison of pull prices by material:
| Material | Average Price (per pull) | Durability |
|---|---|---|
| Stainless Steel | $3–$7 | High |
| Zinc Alloy | $1–$4 | Medium |
| Brass | $5–$12 | High |
| Plastic | $1–$2 | Low |
Non-obvious insight: Some cheap pulls may look nice but have poor-quality screws that strip easily. Consider buying higher-quality hardware if your cabinets are expensive.
Tools And Materials Needed
Before you start, gather everything you need. This saves time and reduces mistakes.
Essential Tools:
- Drill (cordless or corded)
- Drill bits (3/16″ or 1/4″, depending on screw size)
- Tape measure or ruler
- Pencil or erasable marker
- Screwdriver (manual or powered)
- Masking tape
- Cabinet hardware jig (optional but helpful for accuracy)
- Level (small torpedo style)
- Awl or nail (to make starter hole)
- Safety goggles
Materials:
- Cabinet pulls (count needed plus extras)
- Screws (often included with pulls)
- Touch-up paint or wood filler (for mistakes)
Practical tip: If you’re installing many pulls, a hardware jig makes layout faster and more accurate. These cost $10–$30 and are reusable.
Preparing For Installation
Preparation is key for a smooth install. Here’s how to get ready:
Remove Old Hardware
If your cabinets already have pulls or knobs, take them off with a screwdriver. Plug old holes with wood filler if they won’t be reused.
Clean Cabinets
Wipe cabinet surfaces with mild soap and water. Dirt or grease can cause pulls to loosen over time.
Plan Your Layout
Decide where pulls will go. For doors, pulls usually go on the opposite side of the hinge, near the lower corner for upper cabinets and upper corner for base cabinets. For drawers, pulls are centered.
Layout examples:
- Vertical pulls for tall pantry doors
- Horizontal pulls for wide drawers
Mark For Symmetry
Mark where each pull will go before you drill. Use a pencil and measure carefully. Consistent placement looks professional.
Common mistake: Eyeballing placement instead of measuring. Even small errors are noticeable.
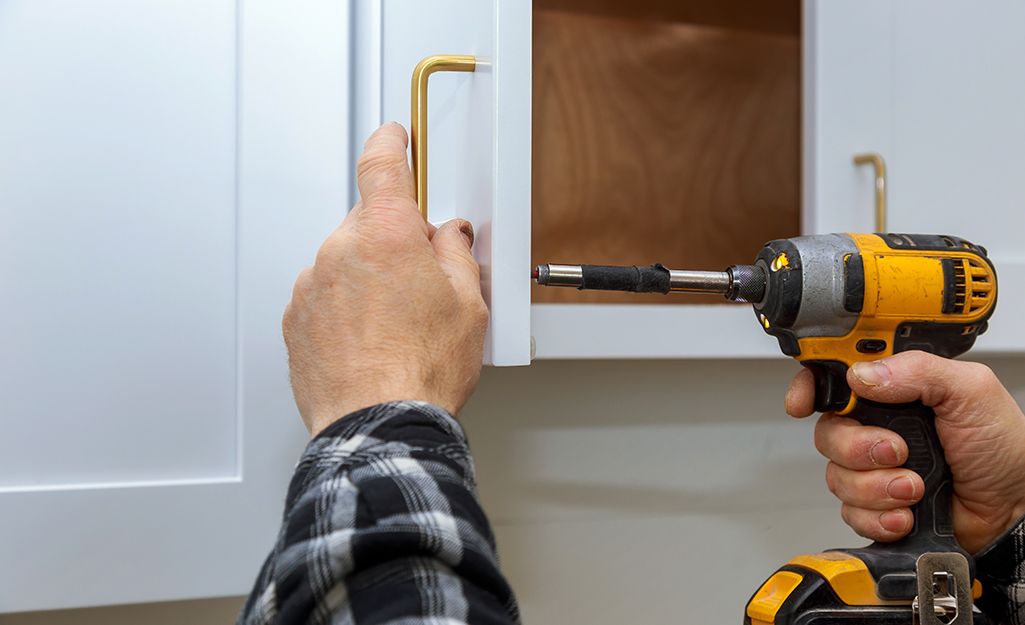
Credit: www.homedepot.com
Measuring And Marking Holes
Getting the hole placement right is the most important step. Follow these tips for perfect alignment.
Measuring For Cabinet Doors
- Standard Position: Place the pull 2 to 3 inches from the bottom corner (upper cabinet) or top corner (lower cabinet), and 1 to 2 inches in from the edge.
- Draw Reference Lines: Use a ruler to draw light lines from the edge and bottom/top to form an “L” shape at the corner.
- Mark the Drill Point: The intersection is where your screw hole goes.
- Double-Check: Check other doors to confirm the position matches.
Measuring For Drawers
- Find the Center: Measure the drawer front width. Divide by two to get the center point.
- Mark Pull Length: For two-hole pulls, measure the distance between holes and mark both points, centered on the drawer.
- Use a Level: Hold the pull in place and check that it is straight before marking.
Using A Hardware Jig
A jig is a plastic or metal template. Adjust it for your pull size, hold it against the cabinet, and mark holes quickly. This tool is especially useful for large kitchens.
Marking Tips
- Use masking tape on the cabinet surface before marking. This prevents chipping when drilling and is easy to erase.
- Always double-check measurements before drilling.
- For doors and drawers with a raised panel, measure from the flat part, not the edge.
Non-obvious insight: Some cabinets have slightly different sizes or face frames that aren’t perfectly square. Measure each one instead of assuming all are identical.
Drilling Holes In Cabinets
Drilling is where most mistakes happen. Take your time and follow these guidelines for clean holes and damage-free cabinets.
Steps For Drilling
- Choose the Right Bit: Use a bit slightly larger than your screw diameter—usually 3/16″ or 1/4″.
- Tape the Area: Place masking tape over the mark to prevent splintering.
- Make a Starter Hole: Press an awl or nail at the mark to help the bit start straight.
- Drill Slowly: Hold the drill perpendicular to the cabinet. Drill slowly until you pass through.
- Back Out Carefully: Remove the bit gently to avoid chipping the back side.
- Check Hole Size: Test the screw. It should fit snugly but not be forced.
Safety Tips
- Wear safety goggles to protect your eyes from wood chips.
- Keep hands clear of the bit.
- Support the back of thin cabinet panels to prevent cracks.
Dealing With Mistakes
If you drill in the wrong spot:
- Fill the hole with wood filler.
- Sand smooth once dry.
- Touch up with matching paint or stain.
Wait for the filler to dry fully before re-drilling.
Comparison of Common Drill Bit Types:
| Bit Type | Best For | Pros | Cons |
|---|---|---|---|
| Twist Bit | Wood, most cabinets | Cheap, easy to find | May splinter cheap laminate |
| Brad Point Bit | Hardwood, clean holes | Less splintering, precise | More expensive |
| Spade Bit | Thick wood | Fast drilling | Can tear out edges |
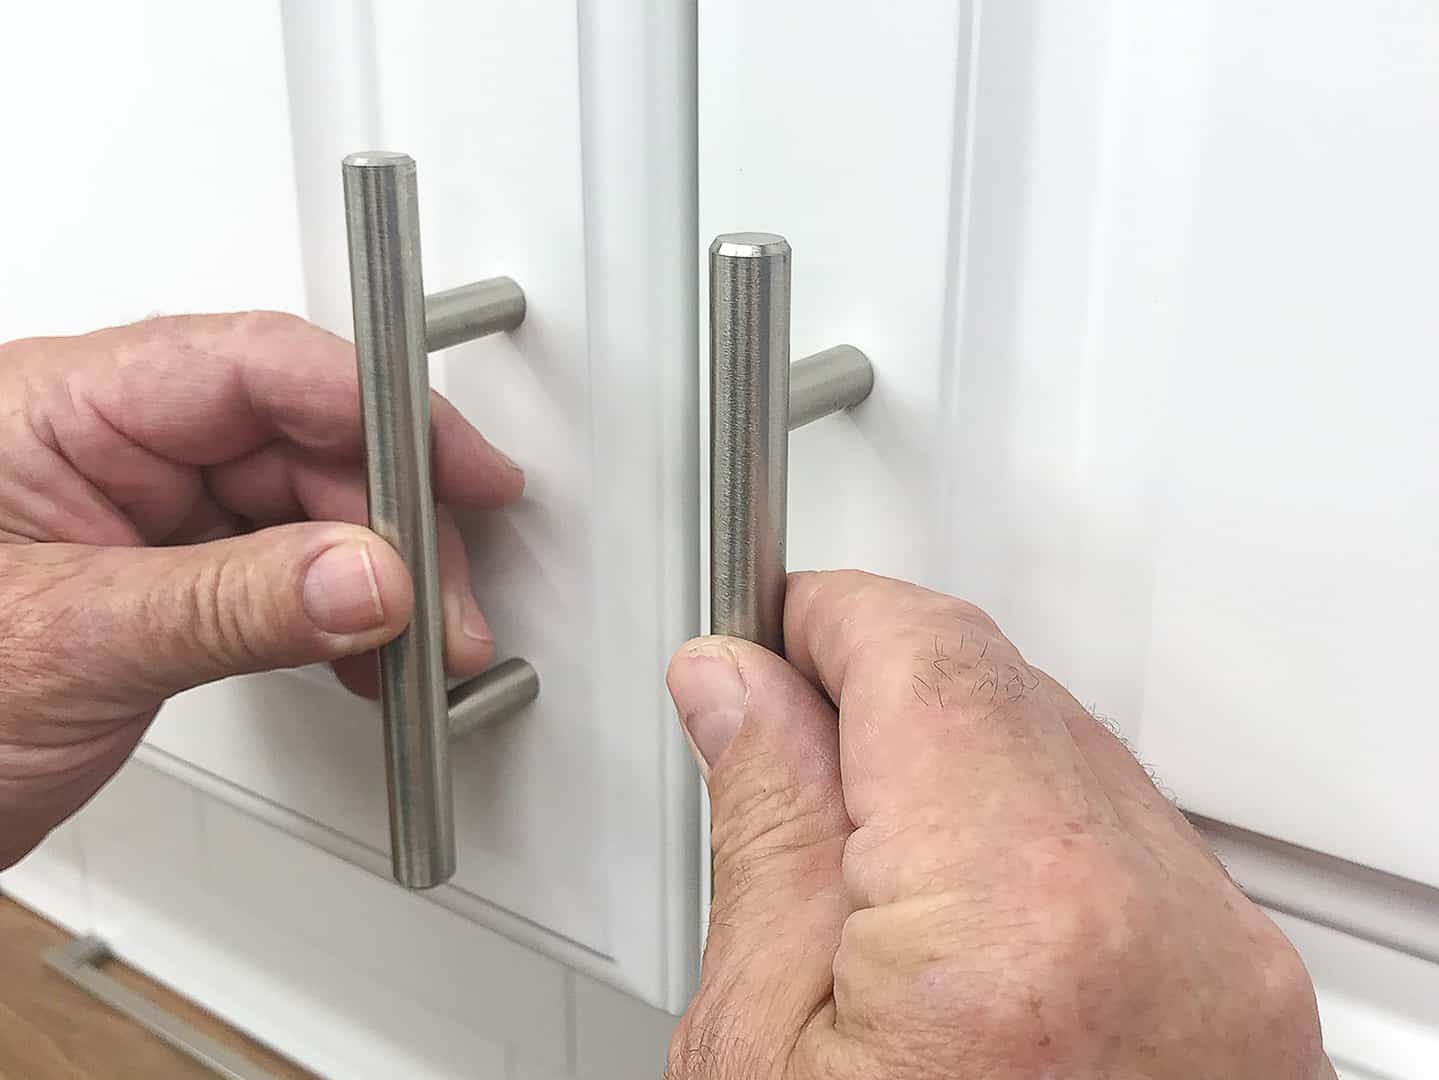
Credit: truepositiontools.com
Attaching The Pulls
Once the holes are drilled, attaching the pulls is simple but requires care. Here’s how to do it right:
- Insert Screws: Most cabinet pulls attach with screws from the inside of the door or drawer.
- Align the Pull: Hold the pull in place with one hand.
- Tighten Screws: Use a screwdriver or drill with a low-torque setting. Do not overtighten, as this can strip the screw or damage the cabinet.
- Check Alignment: Make sure the pull is straight and flush against the surface.
- Repeat: Continue for each cabinet.
Tip: For thick drawer fronts, you may need longer screws. Hardware kits often include two screw lengths—pick the one that fits best.
Common mistake: Using a drill set to high speed or torque can strip screws, especially in soft wood.
Special Cases: Dealing With Different Cabinet Types
Not all cabinets are the same. Here’s how to handle special situations:
Frameless Cabinets
Measure from the door edge, not the face frame. The process is the same, but double-check placement for a balanced look.
Shaker Cabinets
These have a recessed panel. Place pulls on the flat frame, not the sloped edge. Centering on the frame looks best.
Slab-front Cabinets
Flat slab doors allow for almost any placement. Many people prefer pulls centered vertically or aligned with the top edge.
Glass-front Cabinets
Use care when drilling—go slow, use a glass/tile bit, and always drill with light pressure.
Corner Cabinets
For lazy susans or angled cabinets, install pulls at the center of the flat part, not the point.
Large Drawers
Long pulls (6 inches or more) look balanced on wide drawers. For very wide drawers, some people use two pulls.
Practical example: A 36-inch wide drawer may look better with two 3-inch pulls spaced apart, rather than one long pull in the middle.
Troubleshooting And Common Problems
Even careful installers sometimes run into trouble. Here’s how to fix common issues:
Pulls Not Lining Up
- Double-check your jig or measurements.
- Fill and re-drill holes if necessary; touch up with paint or a sticker.
Pull Feels Loose
- Use the included washer or add a small rubber washer.
- Check for stripped screws and replace if needed.
Screw Won’t Reach
- Buy longer screws. Standard sizes are 1″ and 1.5″. Take a sample to the hardware store.
Chipped Cabinet Surface
- Use masking tape before drilling.
- Fill chips with matching putty, then touch up with paint or a marker.
Pull Blocks Drawer Closing
- Check screw length; too long can hit the cabinet frame inside.
- Angle the pull slightly if needed.
Real-life tip: If you’re nervous about drilling into expensive cabinets, practice on a scrap piece of wood first.
Cleaning Up And Final Steps
Once all pulls are attached, a few last tasks will finish the job.
- Remove Masking Tape: Pull tape off carefully to avoid peeling paint.
- Clean Surfaces: Wipe down cabinets and pulls with a soft cloth to remove dust.
- Check All Screws: Give each screw a final check for tightness.
- Touch Up: Cover any small chips or pencil marks with paint or a wipe.
Final inspection: Step back and look at your cabinets from different angles. Adjust any pulls that aren’t perfectly straight.
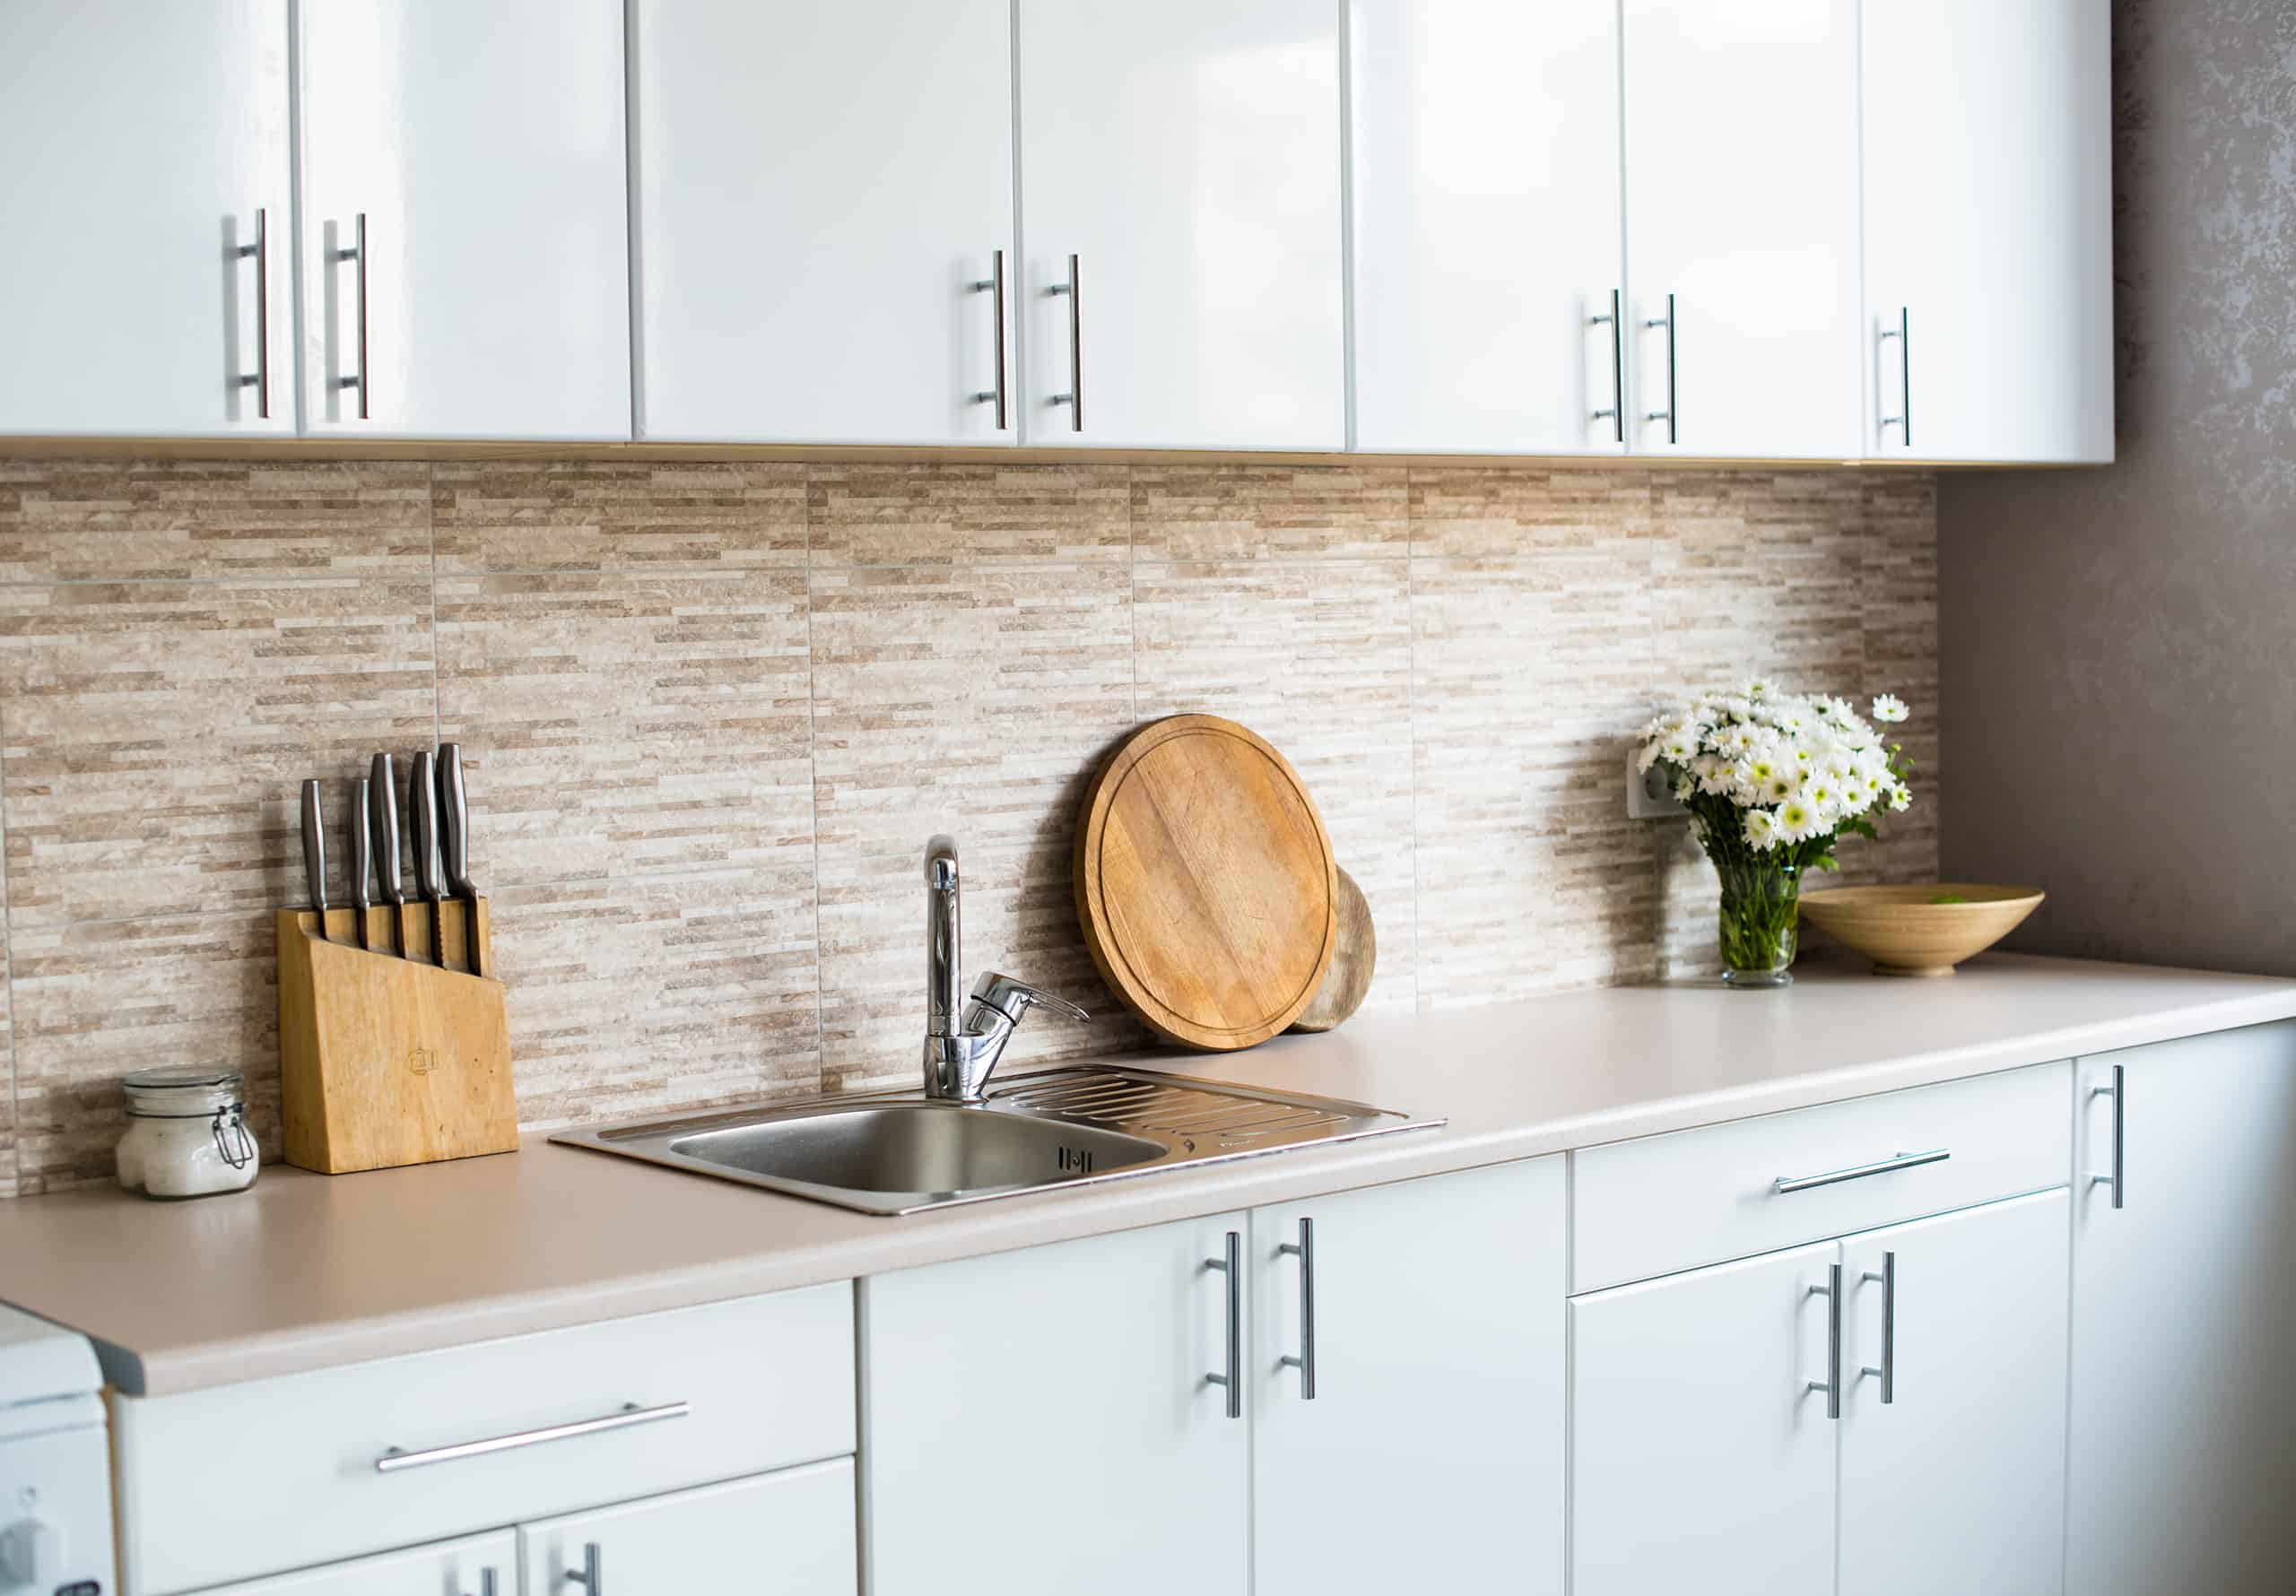
Credit: truepositiontools.com
Upgrading For The Future
If you plan to repaint or refinish your cabinets in the future, save the hardware template you made. This will make future upgrades much easier.
Also, keep any extra pulls and screws in a labeled bag for repairs or replacements. Hardware styles change, and matching replacements can be hard to find years later.
Cost And Time Estimate
Most homeowners can install pulls on a standard kitchen in one afternoon. Here’s a breakdown:
- Time: 2–4 hours for 20–30 pulls
- Cost: $30–$300, depending on pull type and quantity
- Tools: $0–$30 if you need to buy a jig
Professional installation typically costs $2–$5 per pull (labor only). Doing it yourself saves money and gives you control over the details.
Sample time estimate by kitchen size:
| Number of Cabinets | Estimated Time (DIY) | Estimated Cost (Pulls + Tools) |
|---|---|---|
| 15 | 1.5 hours | $50–$90 |
| 25 | 2.5 hours | $80–$160 |
| 40 | 4 hours | $120–$320 |
Note: High-end pulls (solid brass, designer brands) can cost $20 or more each.
Mistakes To Avoid
Installing pulls is simple, but a few common mistakes can spoil the result:
- Skipping Measurements: Even a few millimeters off will show.
- Rushing Drilling: Fast drilling can splinter wood.
- Using Wrong Tools: The wrong bit size or a worn-out drill can damage cabinets.
- Not Checking Screw Length: Too-short screws won’t hold, too-long can damage the cabinet.
- Inconsistent Placement: Take time to make each pull match the others.
Experienced installer’s advice: Lay out all your pulls on the cabinets before drilling any holes. This way, you can see the overall look and make adjustments before committing.
When To Call A Professional
Most people can install pulls themselves. However, consider hiring a pro if:
- Your cabinets are custom, antique, or very expensive.
- You need to cover up old holes from a different hardware style.
- You’re not comfortable using power tools.
A professional installer will ensure perfect placement and avoid costly mistakes. For simple kitchens, though, DIY is usually the best choice.
Frequently Asked Questions
How Do I Choose The Right Size Pulls For My Kitchen Cabinets?
Choose pulls based on cabinet size and style. For standard doors, 3- to 4-inch pulls work well. For large drawers, use longer pulls (5–7 inches) for balance. If you’re unsure, buy a few sizes and hold them up to your cabinets before drilling.
Can I Install Pulls Without A Drill?
You need a drill to make clean holes, especially in hardwood cabinets. Trying to screw in hardware without pre-drilling can split the wood. If you don’t own a drill, borrow one or ask a friend for help.
What If My New Pulls Don’t Match The Old Hole Spacing?
If the new pulls have a different hole spacing, fill old holes with wood filler and sand smooth. Then, paint or stain the area to match the cabinet. Measure and drill new holes for the new hardware.
How Do I Avoid Chipping The Cabinet Surface When Drilling?
Place masking tape over the spot to be drilled. Start with a sharp bit and drill slowly. Supporting the back of the door or drawer with scrap wood also helps prevent tear-out.
Where Can I Learn More About Kitchen Cabinet Hardware Options?
You can find more design inspiration and detailed guides on reputable sites like This Old House.
Upgrading cabinet pulls is a straightforward project that offers big rewards. With careful planning and attention to detail, you’ll achieve a professional look and enjoy your refreshed kitchen every day. Whether your style is modern or classic, the right pulls make all the difference.