Getting your Honeywell thermostat to work can be straightforward. Follow these steps to ensure proper setup and operation.
A Honeywell thermostat is a reliable choice for managing home temperature. But first-time users might find the setup process a bit tricky. Understanding the basic functions and setup procedures is key to getting your thermostat to work correctly. This guide will walk you through the essential steps.
From installation to programming, we’ll cover everything you need to know. With a few simple instructions, you’ll have your Honeywell thermostat running efficiently. Let’s dive in and make your home comfortable and energy-efficient.
Credit: www.youtube.com
Unboxing And Preparing
Getting your Honeywell thermostat to work starts with unboxing and preparing. Before installation, make sure you have all the necessary parts and tools. This section will guide you through the initial steps to ensure a smooth setup process.
Checking Package Contents
Carefully open the Honeywell thermostat box. Check if all the components are present. You should find the thermostat unit, mounting plate, screws, and a user manual. Verify that everything matches the list in the manual.
Gathering Necessary Tools
Gather the tools you will need for installation. You will need a screwdriver, a drill with bits, and a level. Have a pencil and some masking tape handy too. These tools will help you mount the thermostat securely.
Installation
Installing a Honeywell thermostat can make your home comfortable and energy-efficient. Follow these steps for a smooth installation process. Ensure you have all necessary tools and materials before starting.
Turning Off Power
Safety first. Turn off the power to your HVAC system. Go to your circuit breaker panel. Locate the switch controlling the HVAC system. Flip the switch to the “off” position. Verify the power is off by trying to turn on your heating or cooling system. It should not respond.
Removing Old Thermostat
Next, remove your old thermostat. Start by taking off the thermostat cover. Most covers snap off easily. Use a screwdriver if necessary. Note how the wires are connected. Take a picture or write down the wire connections. This will help when connecting the new thermostat.
Disconnect the wires from the old thermostat. Use caution to avoid damaging the wires. Remove the old mounting plate from the wall. Use a screwdriver to unscrew it. Keep the screws; you may need them for the new thermostat.
With the old thermostat removed, you are ready to install your new Honeywell thermostat. Follow the instructions provided with your Honeywell device for the best results.
Wiring The Thermostat
Wiring your Honeywell thermostat correctly is crucial for it to function properly. This guide will walk you through the basic steps. You will learn how to identify wires and connect them to the right terminals. Let’s get started with wiring your thermostat!
Identifying Wires
First, turn off the power to your HVAC system. This ensures safety while working with the wires. Next, remove the old thermostat from the wall. You will see several wires sticking out. Each wire has a specific color and purpose. Common wire colors include red, white, yellow, green, and blue.
The red wire is usually the power source. The white wire controls the heating. The yellow wire manages the cooling. The green wire connects to the fan. The blue wire often serves as a common wire. Take a picture of the existing wiring for reference. This will help you later when connecting the wires to the new thermostat.
Connecting Wires To Terminals
Now, let’s connect the wires to the new thermostat. Each wire needs to be attached to the correct terminal. The terminals are labeled with letters like R, W, Y, G, and C. Match each wire to its corresponding terminal. For example, connect the red wire to the R terminal. Attach the white wire to the W terminal.
Make sure each wire is securely connected. Loose wires can cause the thermostat to malfunction. Once all wires are connected, mount the thermostat on the wall. Turn the power back on and test the thermostat. Check if it can control the heating, cooling, and fan functions properly.
Mounting The Thermostat
Attach the Honeywell thermostat to the wall using the provided screws. Ensure it is level and securely mounted. This step is crucial for accurate temperature readings.
Mounting the thermostat is a crucial step in ensuring your Honeywell thermostat works correctly. A proper installation ensures accurate temperature readings and efficient operation. Here is a guide to mount your Honeywell thermostat.Placing The Wall Plate
Start by choosing an appropriate location for the wall plate. It should be away from direct sunlight and drafts. The middle of an interior wall usually works best. Hold the wall plate against the wall and mark the screw holes with a pencil. Use a level to make sure the plate is straight.Once marked, drill pilot holes for the screws. This prevents the wall from cracking. If installing on drywall, use drywall anchors for added stability. Align the wall plate with the pilot holes and secure it with screws. Ensure it’s firmly attached and level.Attaching The Thermostat
Next, connect the wires to the thermostat. Each wire should match its designated terminal. Refer to the wiring diagram in the manual. Insert each wire into the corresponding terminal and tighten the screws. Make sure there are no loose connections.Once the wiring is complete, attach the thermostat to the wall plate. Align the pins on the back of the thermostat with the slots on the wall plate. Press gently until it clicks into place. Ensure the thermostat is secure and not tilted.Finally, turn on the power to the thermostat. Check if the display lights up. Follow the initial setup instructions on the screen. Your Honeywell thermostat should now be mounted and ready to use.Configuring Settings
Configuring the settings of your Honeywell thermostat is crucial for optimal performance. You can customize it to meet your needs. The thermostat has several features that you can adjust. Let’s go through the key settings. This will help you get the most out of your device.
Setting Date And Time
First, ensure your Honeywell thermostat has the correct date and time. This affects its scheduling functions. To set the date and time, go to the main menu. Select the “Date” option. Adjust the date using the arrow buttons. Confirm your choice.
Next, select the “Time” option. Use the arrow buttons to set the current time. Make sure AM or PM is correct. Save your settings by pressing the “Done” button. Your thermostat is now set to the correct date and time.
Adjusting Temperature Preferences
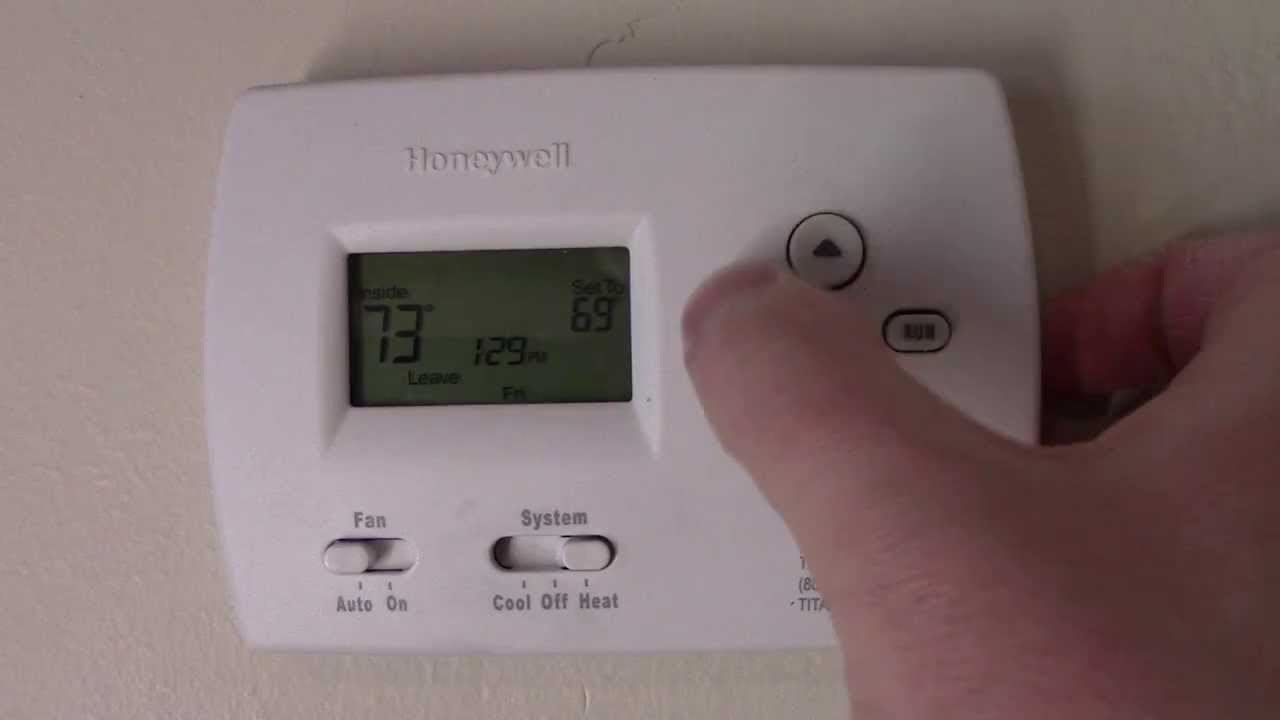
To adjust your temperature preferences, navigate to the “Temperature” settings. Choose your desired temperature for different times of the day. You can set separate temperatures for morning, day, evening, and night. Use the arrow buttons to increase or decrease the temperature. Confirm each setting by pressing “Save.”
Many Honeywell thermostats also allow you to set different temperatures for weekdays and weekends. This can help you save energy. Make sure to review your settings and adjust them as needed. Your thermostat will now follow your temperature preferences.
Credit: www.ambientedge.com
Connecting To Wi-fi
Connecting your Honeywell thermostat to Wi-Fi allows you to control it remotely. This can help you manage your home’s temperature from anywhere. Follow these steps to get your thermostat online quickly and easily.
Accessing Wi-fi Menu
First, access the Wi-Fi menu on your Honeywell thermostat. To do this, tap the menu button on the device. Then, select the Wi-Fi setup option. This will open the Wi-Fi settings screen.
Entering Network Information
Once you are in the Wi-Fi settings, select your home network from the list of available networks. If your network is not listed, tap Scan for Networks. After selecting your network, you will need to enter your Wi-Fi password.
Use the on-screen keyboard to enter the password. Make sure to enter it correctly. Once entered, tap Done to connect. The thermostat will take a moment to connect to the Wi-Fi network.
If the connection is successful, you will see a confirmation message. Your Honeywell thermostat is now connected to Wi-Fi. You can control it through the Honeywell app on your smartphone or tablet.
Troubleshooting
Getting your Honeywell thermostat to work correctly can sometimes be tricky. If you experience any issues, troubleshooting can help. This section addresses common problems and how to resolve them. Let’s dive in and fix those issues.
Common Issues
Here are some common problems you might face with your Honeywell thermostat:
- Blank Screen: This could indicate a power issue or dead batteries.
- Not Heating or Cooling: Check if the system is set to the correct mode.
- Incorrect Temperature Display: Ensure the thermostat is not exposed to direct sunlight or drafts.
- Unresponsive Buttons: The buttons might be jammed or the thermostat might need a reset.
Let’s look at how to address these issues:
| Issue | Possible Solution |
|---|---|
| Blank Screen | Check power supply and replace batteries if needed. |
| Not Heating or Cooling | Ensure the system is in the correct mode. Verify temperature settings. |
| Incorrect Temperature Display | Relocate thermostat away from heat sources and drafts. |
| Unresponsive Buttons | Clean the buttons and perform a reset. |
Contacting Support
If the above solutions do not work, contacting Honeywell support might be necessary. Here’s how you can get in touch:
- Visit the Honeywell Support Website.
- Check the FAQ section for quick help.
- Use the live chat feature for immediate assistance.
- Call their customer service number for direct support.
Make sure you have your thermostat model number ready. This helps support identify the problem faster.

Credit: www.wikihow.com
Frequently Asked Questions
How Do I Reset My Honeywell Thermostat?
To reset your Honeywell thermostat, press and hold the reset button for 5 seconds. It will restart.
Why Is My Honeywell Thermostat Not Working?
Check the power supply and batteries. Ensure the thermostat is properly connected to the HVAC system.
How Do I Change The Batteries In My Honeywell Thermostat?
Remove the thermostat from the wall, open the battery compartment, and replace with fresh batteries.
How Do I Program My Honeywell Thermostat?
Use the menu button to navigate to the scheduling option. Set your desired temperature and times.
How Do I Fix A Blank Honeywell Thermostat Screen?
Check the power source and replace batteries if necessary. Ensure the thermostat is securely connected.
Conclusion
Getting your Honeywell thermostat to work is easy with these steps. Follow the guidelines provided in the manual. Ensure the power source is connected properly. Use the correct settings for your comfort. Check for updates to keep it running smoothly.
Regular maintenance helps avoid issues. Enjoy a comfortable home environment all year long. Stay warm in winter and cool in summer. Your Honeywell thermostat can make life easier. Happy adjusting!