Removing old flooring glue can feel like a big job, but with the right approach and tools, it becomes much easier. Many homeowners run into stubborn glue when pulling up carpet, vinyl, laminate, or tile. That sticky residue keeps new floors from sticking well or looking good.
Sometimes, glue removal even reveals damage or surprises on the subfloor. Knowing how to handle these challenges is important for a smooth, professional-looking result.
This guide explains every step of removing flooring glue. You’ll learn which tools and products work best, how to stay safe, and what to expect for different glue types. Whether you’re working on a small bathroom or a large basement, this article helps you avoid common mistakes, save time, and get your floor ready for something new. Even if you have never removed glue before, this guide will help you handle unexpected issues, like hidden nails or uneven patches, that often appear during home renovation.
Why Removing Flooring Glue Is Important
When you install new floors, any leftover glue can cause big problems. It makes surfaces uneven, stops adhesives from sticking, and can even damage your new flooring over time. Some old glues may contain harmful chemicals, so safe removal is important for your health.
If you’re planning to paint, lay tiles, or use self-adhesive products, the surface must be clean and dry. Skipping glue removal often leads to peeling, bubbling, or cracking after just a few months. For these reasons, professionals always remove old glue—even if it takes extra time.
Many people also don’t realize that leftover glue can affect indoor air quality. As glue ages, it can break down and release odors or harmful particles. Removing all glue, especially in children’s rooms or kitchens, helps keep your home safer and fresher.
In some cases, leftover glue can also attract moisture, which leads to mold or mildew under new floors. That’s why a thorough cleaning is more than just a cosmetic step—it protects your investment.
Types Of Flooring Glue
Different floors use different glues. Knowing what you’re dealing with helps you pick the right removal method.
1. Carpet Adhesive
Used for wall-to-wall carpet, this glue is usually yellow or brown. It can be soft and sticky or dried out and hard, depending on age. Some older carpet adhesives can become brittle and powdery, creating a mess when disturbed. If you notice a strong ammonia-like smell, it’s likely a synthetic carpet glue.
2. Vinyl Flooring Glue
Often called vinyl adhesive or mastic, it can be black, clear, or white. Some older black mastics contain asbestos, so be careful if your home is old. Newer vinyl adhesives are usually safer and easier to remove, but they can still leave a thin, stubborn layer that’s hard to see. It’s easy to miss these clear patches, so inspect carefully before moving on.
3. Wood Glue
Engineered wood and parquet floors sometimes use urethane or water-based glues. These can be tough to remove once dry. Urethane glue, especially, forms a rubbery, strong bond that resists most water-based cleaners. Sometimes, you’ll need to use a special urethane remover for these tough spots.
4. Tile Mastic
This thick, sticky glue is used for vinyl or ceramic tiles. It’s often water-resistant, making it harder to dissolve. Some mastics stay soft for years, while others dry rock-hard. If you see white, gritty glue under old tile, it’s likely mastic.
5. Construction Adhesive
This heavy-duty glue, usually in tubes, is used for subfloors and stairs. It dries hard and can be difficult to scrape away. Construction adhesive often forms thick ridges, which can cause uneven spots if not removed completely. If you see tan or gray stripes under old flooring, this is probably construction adhesive.
Credit: www.homedepot.com
Tools And Materials You’ll Need
Being prepared before you start saves a lot of frustration. Here’s what you might need:
- Protective gear: Gloves, goggles, mask (especially for dust or chemicals)
- Scrapers: Wide putty knife, floor scraper, or razor scraper
- Heat gun or hair dryer: For softening glue
- Chemical adhesive remover: Choose one safe for your floor type
- Soap and water: For final cleaning
- Buckets and sponges: For rinsing
- Plastic sheeting: To protect walls and nearby surfaces
- Shop vacuum: To clean up debris
Some jobs also need a floor buffer with a scraper attachment, especially for large areas.
If you’re working on a second floor or above, keep a drop cloth nearby to catch falling glue or debris. For stubborn glue, a wire brush or rotary tool can help, but use these carefully to avoid damaging the surface below.
Having extra blades for your scraper is smart—they dull quickly, especially on tough glue. Also, keep a spray bottle of water handy for fast re-wetting of glue patches.
Safety First: Precautions You Must Take
Old glues can be dangerous. Here’s how to stay safe:
- Check for asbestos: If your glue is black and your home is from before 1980, test it before disturbing.
- Ventilate the area: Open windows and use fans if you work with chemicals.
- Wear protection: Gloves, eye protection, and a mask keep you safe from fumes and dust.
- Read product labels: Some removers are flammable or toxic—follow all instructions.
- Dispose of waste properly: Never pour chemicals down the drain.
Always test your removal method in a small, hidden spot first.
Even if your home is newer, some adhesives may still irritate skin or eyes. Always wash hands after working, and don’t eat or drink nearby. If you feel dizzy or get a headache, leave the area and get fresh air right away.
Remember, safety gear is not just for professionals—DIYers should always take these steps.
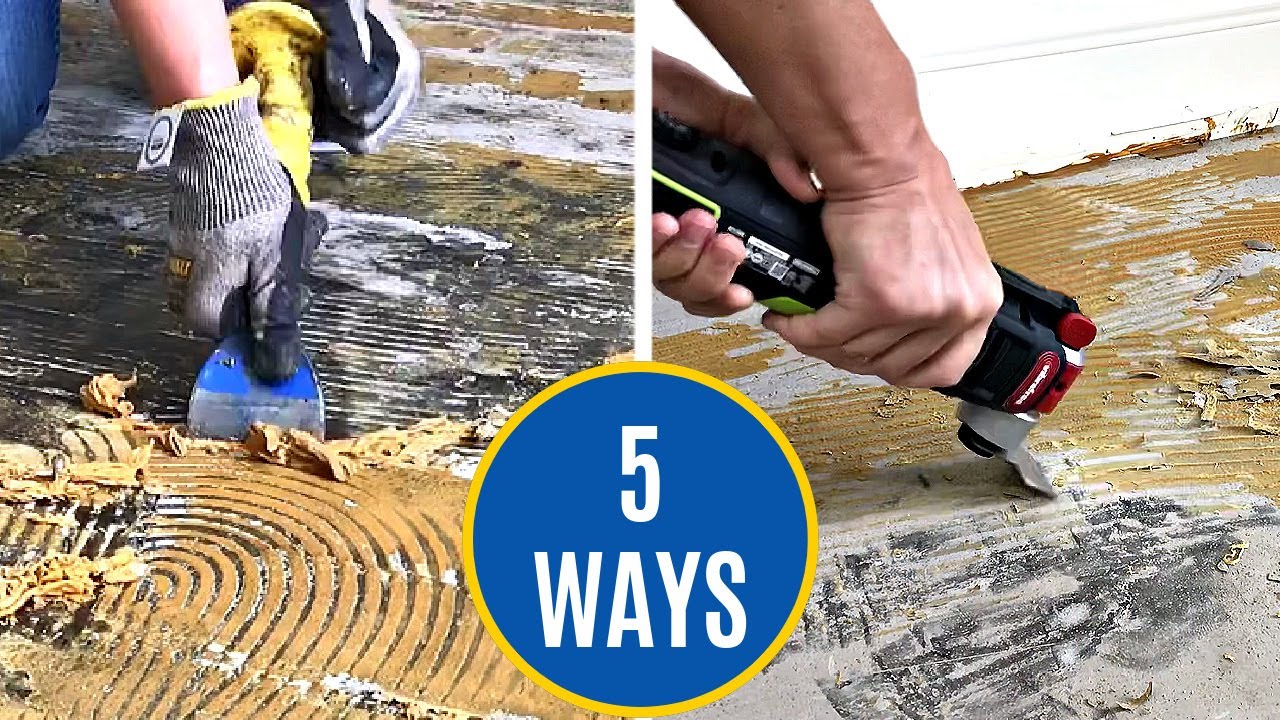
Credit: www.youtube.com
Step-by-step Guide: Removing Flooring Glue
Let’s break down the process for different glue types and floor situations.
Step 1: Assess The Situation
Look at your floor. Is the glue soft or hard? Is it a thin layer or thick patches? Knowing this helps you plan your attack.
- Soft, sticky glue: Usually fresh or water-based.
- Hard, brittle glue: Usually older or solvent-based.
If you’re not sure about the glue type, try a small test with water and see if it softens.
It’s also wise to check the subfloor’s condition at this stage. Look for cracks, stains, or weak spots. If you see mold, water damage, or strange smells, you may need repairs before continuing.
Step 2: Remove All Flooring Material
Before attacking the glue, take up the carpet, tiles, or planks. Use a utility knife to cut and pull away the main material. Be careful of staples, nails, or sharp edges.
Sometimes, backing or padding sticks to the glue. Pull up as much as you can by hand before scraping. For stuck padding, a wide scraper helps break the bond. Removing all visible material first makes later steps faster and less messy.
Step 3: Scrape Off The Bulk
Start with the simplest method:
- Use a wide putty knife or floor scraper.
- Push at a low angle to avoid damaging the subfloor.
- For thick glue, try a razor scraper for more power.
Work in small sections. Sometimes, you can remove up to 80% of the glue this way.
A little tip: Try scraping both with and against the grain if you’re working on wood. Sometimes switching directions helps lift more glue. If you hit a stubborn patch, don’t force it—move on and come back after softening.
Step 4: Soften Remaining Glue
Most glues become easier to remove when softened. Choose the right method:
A. Warm Water And Soap
Good for water-based adhesives:
- Mix hot water with a few drops of dish soap.
- Pour or sponge onto the glue.
- Let it sit for 10-15 minutes.
- Scrape again.
If glue dries out before you finish, simply reapply the water and wait a few more minutes. For large rooms, use a mop to wet several spots at once.
B. Vinegar Solution
For light glue, mix equal parts white vinegar and warm water. This natural method is safe for most subfloors.
Vinegar is especially useful for older, thin glue layers. If you notice fizzing or a sour smell, it’s working—just let it soak before scraping.
C. Heat Gun Or Hair Dryer
For stubborn or thick glue:
- Warm a small section (do not overheat).
- Scrape while the glue is soft.
- Repeat as needed.
Keep the heat moving—if you hold it too long in one spot, you might scorch wood or melt vinyl. A hair dryer is gentler for sensitive areas.
D. Chemical Adhesive Remover
For really tough glue, use a store-bought remover. Make sure it’s safe for your subfloor. Follow these tips:
- Read the label for drying time.
- Wear gloves and ventilate the room.
- Apply, wait, and then scrape.
Non-obvious tip: Some removers can stain wood or concrete. Always test a small area before full use.
Some removers work best when covered with plastic wrap to keep them from evaporating. This trick gives the product more time to break down glue—especially on thick layers.
Step 5: Scrape And Repeat
Glue removal is rarely a one-pass job. Alternate between softening and scraping until the subfloor is clean. Don’t rush—aggressive scraping can gouge wood or chip concrete.
If you see shiny or sticky spots after scraping, repeat your softening method. A few short sessions are more effective than one long, tiring attempt.
Step 6: Clean The Surface
Once most glue is gone:
- Wash the area with soap and water.
- Rinse and dry completely.
- Use a vacuum to remove dust and bits.
A clean, smooth surface is key for new flooring.
For extra cleaning, try a microfiber cloth to pick up fine dust. If you’re installing a floating floor, a perfectly flat surface prevents squeaks and shifting later.
Special Cases: Removing Glue From Different Subfloors
Not all subfloors are the same. Here’s what you need to know for each:
Concrete Subfloors
Concrete is tough, but you can still damage it with the wrong tools. Avoid metal grinders unless absolutely necessary.
- Use a floor scraper or buffer with a scraping pad.
- For thick glue, try a citrus-based remover.
- Never soak concrete with water for long periods—it can cause cracks.
If you notice white powder (efflorescence) after cleaning, let the concrete dry fully before covering it. Moisture trapped under new flooring can lead to mold or lifting.
Wood Subfloors
Wood is softer and easier to damage.
- Use a plastic or flexible metal scraper.
- Avoid too much water; wood can swell.
- If using chemicals, choose one labeled as safe for wood.
If the wood looks stained after glue removal, light sanding can help. Always vacuum up sawdust before installing new flooring to keep adhesives working properly.
Plywood Subfloors
Plywood is often used under carpets or vinyl.
- Scrape gently—plywood layers can peel.
- Use only a small amount of moisture or chemical at a time.
- Sand lightly if some residue remains.
If you find soft or weak spots in the plywood, consider patching or replacing them before laying new floors. A weak subfloor can lead to squeaks or sagging later.
Tile Or Cement Board
These are water-resistant, so you can use more aggressive techniques.
- Use a heavier scraper or buffer.
- Heat and chemical removers work well.
- Clean up all debris before installing new flooring.
Cement board sometimes has mesh tape or screws that catch scrapers—work slowly to avoid damaging these.
Comparison: Manual Vs. Chemical Glue Removal
To help you decide which method suits your project, here’s a side-by-side look:
| Factor | Manual Removal | Chemical Removal |
|---|---|---|
| Cost | Low (just tools) | Medium-High (buy remover) |
| Time | Slow, labor-intensive | Faster for large areas |
| Health/Safety | Little risk (if careful) | Need protection, good ventilation |
| Surface Risk | Possible scratches/gouges | Possible stains, chemical damage |
| Best For | Small jobs, sensitive floors | Large jobs, tough glue |
Manual removal gives you more control in tight spaces, while chemical methods save time on big projects. For most people, a combination of both works best.
Eco-friendly And Natural Glue Removal Options
Some people want to avoid harsh chemicals. Here are greener alternatives:
- Hot water and vinegar: Softens many glues.
- Citrus-based removers: Less toxic but strong on glue.
- Baking soda paste: For tiny spots, mix with water and scrub.
- Steam cleaner: Softens glue with just water—good for small areas.
Non-obvious insight: Even natural methods can damage some finishes. Always test first.
If you use a steam cleaner, move slowly to let the heat work. For very old glue, natural methods may take more time, but they are safer for kids, pets, and people with allergies.
Common Mistakes To Avoid
Many DIYers run into trouble by making these mistakes:
- Skipping safety steps: Not wearing gloves or goggles can lead to burns or eye injuries.
- Using the wrong remover: Some chemicals damage wood, vinyl, or even concrete.
- Getting impatient: Rushing and scraping too hard can ruin your subfloor.
- Not testing first: Always test methods in a hidden spot.
- Leaving residue: Even a little leftover glue can cause new floors to lift or squeak.
Another common mistake is not letting the floor dry completely before installing new flooring. Trapped moisture under new floors can cause mold or swelling. Take your time—good preparation saves money and headaches later.
How To Remove Glue From Difficult Areas
Corners, stairs, and seams are often the hardest spots. Here’s how to handle them:
- Use a smaller scraper or razor blade for edges.
- Heat guns help soften glue in tight corners.
- Old toothbrushes work for grooves or cracks.
- For stairs, work on one step at a time and keep them dry to avoid slips.
For seams or transitions between rooms, try a flexible putty knife. If glue is under baseboards, gently lift the board with a pry bar for better access, then nail it back when done.
How Long Does Glue Removal Take?
Time depends on:
- Room size: Bigger rooms take longer.
- Glue thickness: Thick, old glue is slower.
- Removal method: Chemical removers speed up large jobs.
For a typical 10×10 foot room:
- Manual removal: 4–6 hours
- Chemical remover: 2–3 hours (plus drying time)
Large projects may take a weekend or more.
If you’re new to this, allow extra time for breaks and learning. Rushing often leads to frustration and mistakes.
When To Call A Professional
Sometimes, hiring a pro is the best choice:
- If you suspect asbestos in the glue.
- For very large or commercial spaces.
- When the subfloor is badly damaged.
- If you have allergies or chemical sensitivities.
Professionals use machines and special products that speed up the job and reduce risks.
If you have a tight deadline or need a flawless finish, pros can help you avoid costly errors. Always get a written estimate and ask about their safety procedures, especially in older homes.
Preparing For New Flooring After Glue Removal
A clean, dry subfloor is key for any new floor. Here’s what to check:
- Smoothness: Run your hand over the floor—no sticky spots or bumps.
- Moisture: The floor must be dry before new glue, tiles, or planks go down.
- Cleanliness: Vacuum up all dust and debris.
If you’re installing wood or vinyl, let the new material sit in the room for a day to adjust. This prevents warping or gaps later.
Some manufacturers recommend using a moisture meter to check that subfloors are dry enough. If you install new floors too soon, hidden moisture can cause warping or bubbling. Always check the instructions for your new floor—following them carefully keeps your warranty valid.
Cost Breakdown: Diy Vs. Professional Glue Removal
Here’s a look at typical costs for a 100-square-foot room:
| Expense | DIY Method | Professional Service |
|---|---|---|
| Tools (scrapers, heat gun) | $40–$90 (one-time) | Included |
| Chemical Removers | $20–$50 | Included |
| Protective Gear | $10–$30 | Included |
| Labor | Your time | $2–$5 per sq. ft. |
| Disposal | Self (may be extra) | Included |
| Total (100 sq. ft.) | $70–$170 | $200–$500 |
DIY saves money but takes more time and effort.
One hidden cost with DIY is tool wear—blades get dull, and you may need replacements for bigger jobs. If you already own basic tools, your costs will be lower.
Practical Tips For Faster, Better Results
- Work in small sections to keep glue soft and manageable.
- Use old towels or rags to keep softened glue from spreading.
- Keep a trash bag handy for removed glue scraps.
- Change scraper blades often for best results.
- If your arms get tired, take breaks—rushing leads to mistakes.
Pro tip: Sometimes, a combination of methods works best. For example, soften glue with heat, scrape, then clean with a citrus remover.
Try to keep your tools sharp and clean—dull blades slow you down and can damage the floor. If you’re working alone, set a timer to remind yourself to take breaks and stretch. This helps avoid fatigue and keeps your work quality high.
Real-world Examples
- Homeowner story: Susan removed old carpet glue from her basement. She tried manual scraping but switched to a citrus remover after two hours. The chemical softened the glue, and she finished the job in a single weekend.
- Small business: A café owner used a floor buffer to remove vinyl glue from concrete. The buffer saved hours, but they had to clean up a lot of dust afterward.
- Rental property: A landlord used only hot water and soap on a plywood subfloor, but some glue remained sticky. Sanding lightly helped, and the new vinyl tiles stuck well.
Another example: A couple working on an old house found two types of glue under their kitchen floor. They tested both water and chemical removers on small spots and found that alternating methods worked best. This saved them from damaging their original wood subfloor.
Additional Resources
For more about safe glue removal and flooring projects, check resources like the Family Handyman. They offer step-by-step guides and tips for every flooring type.
You can also ask questions at your local hardware store or check flooring manufacturer websites for advice on compatible cleaning products and methods.
Frequently Asked Questions
How Can I Tell If My Flooring Glue Contains Asbestos?
If the glue is black and your home was built before 1980, it might have asbestos. Do not scrape or sand it yourself. Hire a professional to test the glue and remove it safely if needed.
What Is The Best Tool For Removing Flooring Glue?
A wide floor scraper is best for most jobs. For edges and corners, use a razor scraper. For large areas, a floor buffer with a scraping attachment can save time.
Can I Install New Flooring Over Old Glue?
It’s not recommended. Most new floors need a clean, dry surface. Leftover glue can stop adhesives from working and cause future problems like lifting or squeaking.
Are Chemical Glue Removers Safe For All Subfloors?
No. Some chemicals can damage wood, stain concrete, or harm vinyl. Always check the product label and test in a small area first.
How Do I Get Rid Of Glue Smell After Removal?
Ventilate the area with open windows and fans. Wash the floor with soap and water, and let it dry. If smells linger, use baking soda to absorb odors or run an air purifier.
Removing flooring glue isn’t a quick or easy job, but doing it right means your new floor will look great and last longer. With the steps and tips in this guide, you’re ready to tackle even the stickiest glue and get your project started on the right foot.

Credit: www.peteshardwoodfloors.com