Whirlpool ice maker not working? Don’t worry, you’re not alone.
Many Whirlpool owners face this issue. An ice maker can be a convenient appliance. But when it stops working, it can be frustrating. Whether it’s not making ice at all, making too little ice, or producing ice that isn’t the right shape, these problems can disrupt your daily routine.
Understanding the common reasons behind this issue can help you fix it quickly. In this blog post, we will explore the possible causes and solutions. With a bit of knowledge, you can get your Whirlpool ice maker back to working order. So, let’s dive in and see what might be going wrong with your ice maker.
Common Causes
Is your Whirlpool ice maker not working? Don’t worry. This is a common issue. Understanding the root causes can help fix it quickly. Let’s explore some of the common reasons.
Power Supply Issues
An ice maker needs a steady power supply. If your ice maker is not working, check the power source. Ensure the power cord is plugged in securely. Check if the outlet is working. You can test it with another device. Also, look at the circuit breaker. It might have tripped. Reset it if needed. Sometimes, a blown fuse can be the culprit. Replace it and see if the ice maker starts working.
Water Line Problems
A clear water line is crucial for ice production. Inspect the water line for any kinks or blockages. Ensure the valve that supplies water is open. A closed valve means no water for the ice maker. Sediments or debris can clog the line. Clean it to ensure smooth water flow. Also, check the water filter. A clogged filter can restrict water flow. Replace it if necessary. Regular maintenance can prevent these issues.
Credit: www.whirlpool.com
Checking The Power Supply
When your Whirlpool ice maker stops working, it can be frustrating. But don’t worry, sometimes the issue might be as simple as a power supply problem. Let’s dive into the basics of checking the power supply to get your ice maker back on track.
Ensuring Proper Plug-in
First things first, make sure your ice maker is plugged in properly. This might sound too simple, but sometimes the plug can come loose or be accidentally unplugged. Here’s what you can do:
- Check the connection: Ensure the power cord is securely plugged into the outlet.
- Look for damage: Inspect the power cord for any visible damage or fraying.
- Try another outlet: Plug the ice maker into a different outlet to rule out a faulty one.
It might seem like a no-brainer, but ensuring the proper plug-in can save you a lot of time and hassle.
Inspecting The Circuit Breaker
If the plug-in is fine, then the next step is to check your home’s circuit breaker. Sometimes, the breaker might trip, cutting off power to your ice maker. Here’s a simple guide to inspecting the circuit breaker:
- Locate the breaker panel: Typically found in basements, garages, or utility rooms.
- Identify the correct breaker: Look for the one labeled “Kitchen” or “Refrigerator.”
- Reset the breaker: If the breaker is tripped, switch it off and then back on.
Resetting the breaker can often restore power to your ice maker. If it trips again, you might have a more serious electrical issue that requires a professional’s help.
By following these simple steps, you can often resolve power supply issues with your Whirlpool ice maker. Remember, sometimes the most obvious solutions are the easiest to overlook. Happy troubleshooting!
Inspecting The Water Line
Is your Whirlpool ice maker not working? One common issue might be the water line. The water line is crucial for the ice maker to function properly. Without a steady and clear supply of water, your ice maker won’t be able to produce ice. Let’s dive into the process of inspecting the water line to see if we can pinpoint the problem.
Checking For Kinks
First things first, check for any kinks in the water line. Kinks can restrict the flow of water, much like a hose in the garden. Look behind your refrigerator to see if the water line is twisted or bent.
- If you see any kinks, gently straighten them out.
- Be careful not to damage the line while doing so.
If the water line looks fine, but you’re still facing issues, it might be time to move on to the next step.
Ensuring Water Supply
Next, ensure that the water supply is working properly. Sometimes, the issue isn’t with the ice maker but with the water supply itself. Here’s how you can check:
- Locate the water supply valve, usually found behind the refrigerator.
- Make sure the valve is fully open. Turn it clockwise to open.
- If the valve is open and water is still not flowing, you might have a bigger issue with your plumbing.
Having trouble finding the valve? It might be hidden behind the refrigerator or under the sink. A flashlight can help you see better in dark corners.
Inspecting the water line might seem daunting at first, but it’s a simple process that can solve many common issues with your Whirlpool ice maker. By following these steps, you can ensure that your ice maker has the water it needs to keep making ice.
And if all else fails, remember: sometimes a professional’s touch is needed. Don’t hesitate to call in a technician if you’re still facing issues after inspecting the water line.
Freezer Temperature Settings
Is your Whirlpool ice maker giving you trouble? One of the common culprits behind an ice maker that won’t produce ice could be the freezer temperature settings. It might sound surprising, but even a slight deviation from the ideal temperature can halt the ice-making process. Let’s dive into the details of how to ensure your freezer is set just right to keep those ice cubes coming.
Optimal Temperature Range
The first step to troubleshooting your ice maker is checking your freezer’s temperature. The ideal temperature for a freezer to produce ice efficiently is between 0°F and 5°F (-18°C and -15°C). If the temperature is too high, the ice maker won’t be cold enough to freeze water into ice cubes. Conversely, if it’s too low, it might cause other issues, like frost build-up.
To determine if your freezer is at the right temperature, you can use a simple thermometer. Place it in the freezer and wait for a few hours to get an accurate reading. If the temperature falls outside the optimal range, it’s time to make some adjustments.
Adjusting The Settings
Adjusting the temperature settings on your Whirlpool freezer is a straightforward process. Most modern Whirlpool freezers come with a digital display or a dial that allows you to set the desired temperature. Here’s how you can do it:
- Locate the Control Panel: Find the temperature control panel inside your freezer. It’s usually located on the back wall or the side of the freezer compartment.
- Adjust the Temperature: If it’s a digital display, use the up or down arrows to set the temperature between 0°F and 5°F. If it’s a dial, turn it to the recommended setting. Refer to your user manual if you’re unsure about the control panel on your specific model.
- Wait and Monitor: After adjusting the temperature, give your freezer some time to stabilize—usually about 24 hours. Monitor the temperature to ensure it remains within the optimal range.
Still not getting any ice? It’s possible that there might be other factors at play, such as blockages in the water line, dirty filters, or even a faulty ice maker unit. If adjusting the temperature doesn’t resolve the issue, it might be time to look into these other areas.
Remember, a well-functioning ice maker starts with the right freezer temperature. So, before you start worrying about potential repairs or replacements, make sure your freezer is set just right. With a little adjustment and patience, you’ll soon hear the delightful clinking of fresh ice cubes once again.
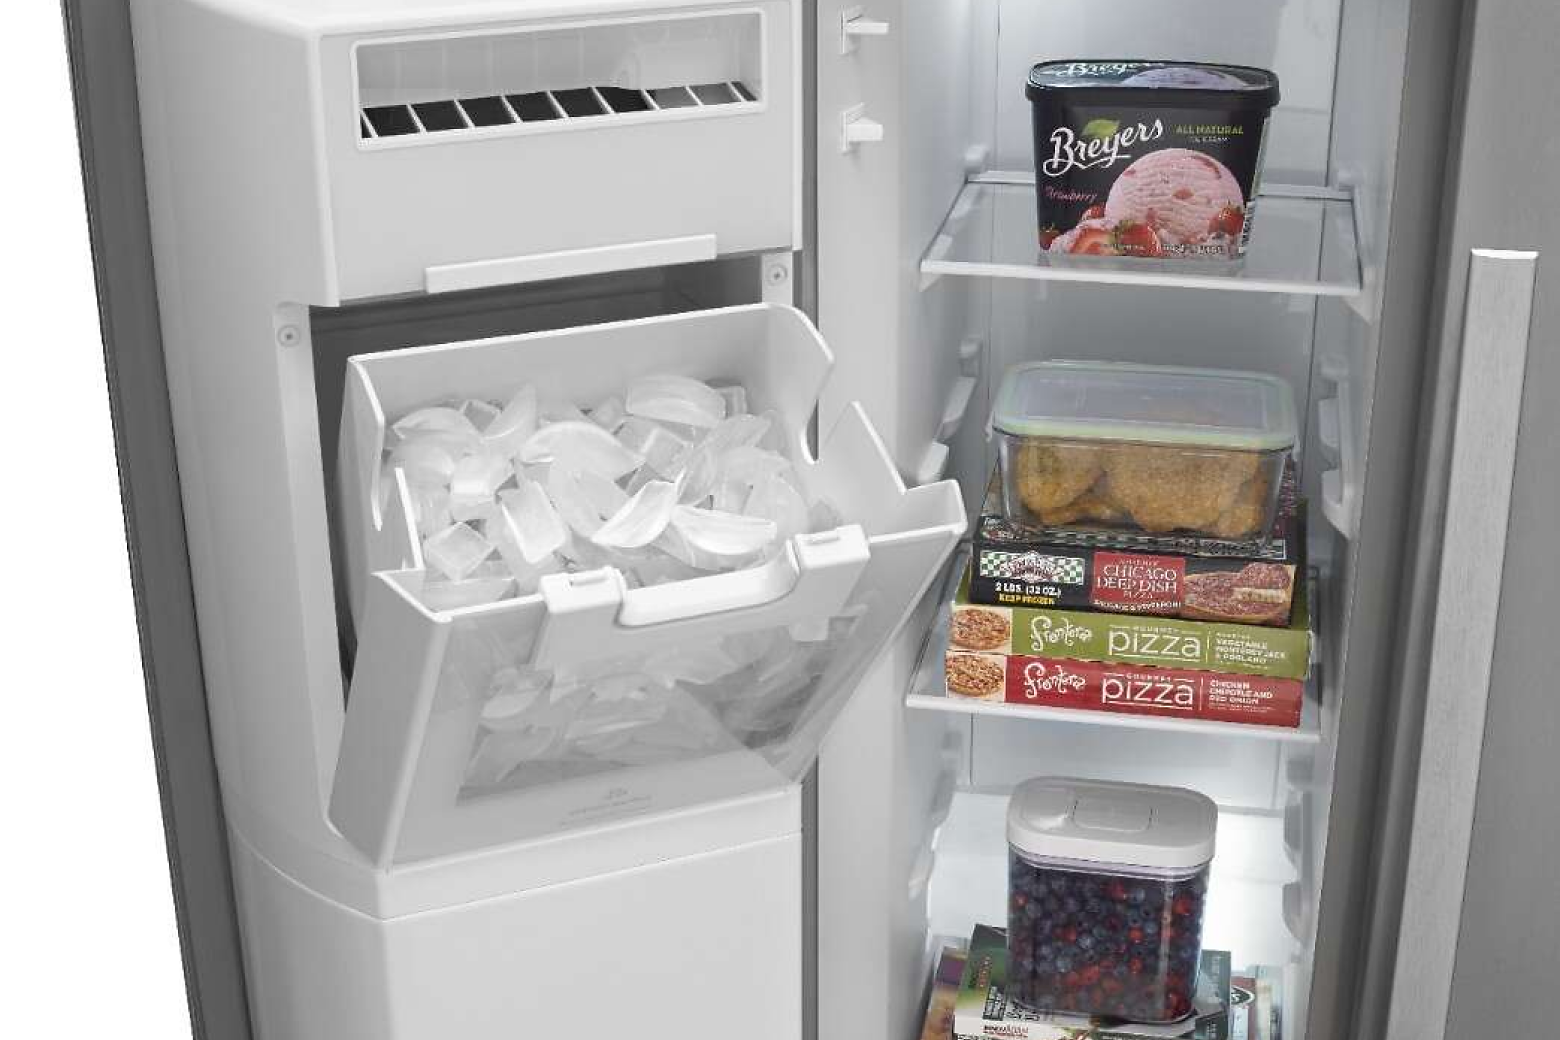
Ice Maker Control Arm
The ice maker control arm is a crucial component in your Whirlpool ice maker. This small lever determines whether your ice maker produces ice. Understanding its position and how to reset it can solve many issues.
Position Of Control Arm
The control arm is a metal lever on the side of the ice maker. When it is in the down position, the ice maker is on and will make ice. If it is up, the ice maker is off and will not produce ice. Sometimes, the arm gets stuck in the up position, stopping ice production. Check the arm’s position if your ice maker stops working.
Resetting The Arm
Resetting the control arm can often fix ice maker problems. Start by gently moving the arm to the down position. This should resume ice production. If it does not, lift the arm to the up position and wait for a few seconds. Then, move it back down. This simple reset can solve many issues. If the ice maker still doesn’t work, the arm might be broken. Consider professional help if the problem persists.

Credit: www.youtube.com
Filter Maintenance
Is your Whirlpool ice maker acting up? Often, the root of the problem lies in the filter. Proper maintenance of your filter is essential to ensure your ice maker operates smoothly. Let’s dive into the basics of filter maintenance, which includes replacing and cleaning the filter. Trust me, it’s easier than you think!
Replacing The Filter
Regularly replacing your filter is crucial. Think of it as giving your ice maker a breath of fresh air. A clean filter means cleaner water, which ultimately results in better-tasting ice. Here’s a simple guide to replacing your filter:
- Locate the filter compartment. It’s usually found in the refrigerator section or at the bottom grill.
- Twist the old filter counterclockwise and pull it out gently.
- Unwrap the new filter and insert it into the compartment.
- Twist the new filter clockwise until it locks into place.
- Run water through the new filter for a few minutes to clear any debris.
Voilà! Your filter is now replaced. Easy peasy, right? Remember to replace your filter every six months to keep your ice maker in top shape.
Cleaning The Filter
Sometimes, a little cleaning can do wonders. If you notice your ice maker slowing down, it might be time to clean the filter. Here’s how you can do it:
- First, remove the filter following the steps mentioned above.
- Rinse the filter under warm water. Use a soft brush to scrub away any residue.
- Soak the filter in a mixture of water and vinegar for about 15 minutes. This helps to remove any stubborn buildup.
- Rinse the filter thoroughly under warm water again.
- Reinsert the filter and run water through it for a few minutes to ensure it’s clean.
Cleaning the filter is like giving your ice maker a spa day. It helps to maintain efficiency and prolong the life of your appliance.
Maintaining your Whirlpool ice maker filter doesn’t have to be a daunting task. With these simple steps, you can ensure that your ice maker continues to churn out those perfect ice cubes. So, next time your ice maker acts up, remember to check the filter first!
Ice Maker Assembly
Is your Whirlpool ice maker giving you the cold shoulder? You might need to take a closer look at the ice maker assembly. This crucial part of your appliance is responsible for producing ice, and when it stops working, you can find yourself out in the cold, metaphorically speaking. Let’s dive into what you need to do to get it back in shape.
Inspecting For Damage
First things first, inspect the ice maker assembly for any visible damage. This can save you a lot of hassle. Here’s how you do it:
- Unplug the refrigerator to ensure safety. You don’t want any shocking surprises!
- Open the freezer compartment and locate the ice maker assembly. It’s usually on the top-left side.
- Check for any broken or cracked parts. Look closely at the ice tray, motor, and other components.
Sometimes, the damage is obvious. A cracked ice tray or a loose wire can be easily spotted. If everything looks fine but the ice maker still isn’t working, you might need to dig a little deeper.
Replacing Faulty Parts
If you’ve found a damaged part, it’s time to roll up your sleeves and replace it. Don’t worry, it’s easier than you think. Follow these steps:
- Order the necessary replacement parts. Make sure they are compatible with your Whirlpool model.
- Once the parts arrive, unplug the refrigerator again for safety.
- Carefully remove the old, faulty parts. Keep track of screws and small components; you don’t want to lose any pieces!
- Install the new parts in place of the old ones. Follow the instructions that come with the replacement parts.
- Plug the refrigerator back in and test the ice maker. Give it a few hours to start making ice again.
And there you go! With a bit of patience and attention to detail, your ice maker should be back to its icy best. Now, who’s ready for a cold drink?

Credit: www.nelaappliancerepair.com
Professional Help
At some point, you might find yourself dealing with a Whirlpool ice maker that simply refuses to cooperate. You’ve tried all the basic troubleshooting steps, yet the ice maker remains stubborn. This is when professional help becomes your best ally. Let’s dive into when it’s time to call a technician and how to find reliable service.
When To Call A Technician
Knowing when to throw in the towel and call a technician can save you a lot of frustration. Here are some clear indicators:
- Persistent Problems: If the ice maker keeps having issues despite all the troubleshooting, it’s time to call in the pros.
- Unusual Noises: Strange sounds can indicate serious internal problems that need expert attention.
- Leaks: Water leaks are not only annoying but can also cause damage. A technician can diagnose and fix the problem.
- Electrical Issues: If you suspect electrical problems, don’t risk your safety. Call a professional.
Finding Reliable Service
Once you’ve decided to seek professional help, the next step is finding reliable service. Here’s how you can do it:
- Check Reviews: Look for online reviews of local repair services. Reviews can offer insight into the reliability and quality of their work.
- Ask for Recommendations: Friends, family, or neighbors can be great sources of trusted referrals. Personal experiences can guide you to the right service.
- Verify Credentials: Ensure the technician is certified and has experience with Whirlpool appliances. This ensures they know their way around your specific model.
- Get Quotes: Don’t hesitate to ask for quotes from a few service providers. This helps you get a fair price for the service you need.
Remember, sometimes DIY just doesn’t cut it. Calling a professional can save you time and give you peace of mind, knowing your Whirlpool ice maker is in good hands.
Have you ever had to call a technician for your ice maker? Share your experiences and any tips you might have in the comments below. We’d love to hear from you!
Frequently Asked Questions
How Do You Reset The Ice Maker On A Whirlpool?
Locate the reset button on the ice maker. Press and hold it for 10 seconds until the unit restarts.
What Causes A Whirlpool Ice Maker To Stop Working?
A Whirlpool ice maker may stop working due to a clogged water filter, faulty water inlet valve, or a malfunctioning thermostat.
Why Does My Whirlpool Water Work But Not The Ice Maker?
Your Whirlpool ice maker might not work due to a clogged water filter, faulty ice maker switch, or jammed ice tray.
Why Is My Ice Maker Not Making Ice But Water Works?
Your ice maker might not be making ice due to a clogged water filter, faulty water inlet valve, or temperature issues.
Why Is My Whirlpool Ice Maker Not Making Ice?
Your Whirlpool ice maker might not make ice due to a clogged water filter or a blocked water line.
Conclusion
Fixing a Whirlpool ice maker can be simple with these tips. First, check the power supply. Next, ensure the water line is connected. Clean the ice maker regularly to prevent clogs. If problems persist, consult the user manual. Sometimes, professional help is necessary.
Remember, maintenance is key. Regular checks can prevent issues. With proper care, your ice maker will work efficiently. For more tips, keep exploring reliable resources. Enjoy your ice-cold drinks!