Skip to content
Menu
Home
Comparison Guide
Troubleshooting
Fashion
More
Colors Idea
Home Improvement
Gaming
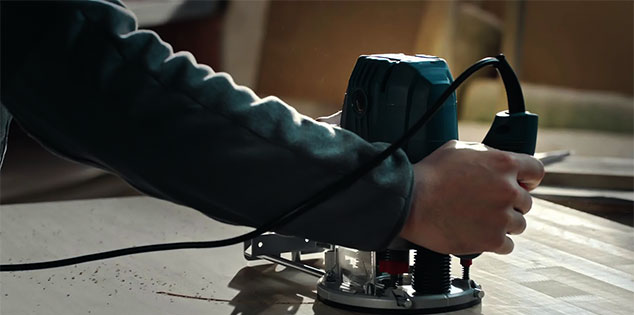
How to use a plunge router
Leave a Comment
Cancel reply
Comment
Name
Email
Website
Δ
This site uses Akismet to reduce spam.
Learn how your comment data is processed.