Setting up an Emerson thermostat can seem daunting. But with the right guidance, it’s simple and quick.
Emerson thermostats are popular for their efficiency and ease of use. Whether you’re upgrading an old unit or installing one for the first time, knowing how to set up your Emerson thermostat properly ensures optimal performance. This guide will walk you through each step, making the process straightforward.
By the end, you’ll enjoy a comfortable home environment controlled by your new Emerson thermostat. Let’s get started on creating a cozy and energy-efficient space.
Gather Necessary Tools
Setting up your Emerson thermostat can be a straightforward task. But first, you need to gather all the necessary tools. This step ensures that you have everything handy before you start. It saves time and prevents frustration. Let’s break down what you need and how to stay safe during the process.
Required Tools And Materials
Before you begin, make sure you have these tools and materials:
- Phillips head screwdriver
- Flathead screwdriver
- Drill (if needed for mounting)
- Level
- Wire stripper/cutter
- Thermostat mounting screws
- Emerson thermostat manual
Having these tools ready can make your installation smoother. Check the manual for any specific tools recommended for your model. This ensures you won’t need to pause your work to find a missing tool.
Safety Precautions
Safety should be your top priority. Before starting, turn off the power to your HVAC system. This prevents any electrical accidents. Use a voltage tester to ensure there is no power running through the wires.
Wear safety goggles to protect your eyes from any debris. If using a drill, handle it carefully and follow safety instructions. Keep children and pets away from the work area. This avoids any distractions or accidents.
Following these safety precautions ensures that you can set up your thermostat without any issues. Safety first, always.
Credit: thermostat.guide
Turn Off Power
Setting up your Emerson thermostat starts with a crucial step: turning off the power. This ensures safety and prevents any electrical mishaps. Follow these steps to turn off the power correctly.
Locating The Circuit Breaker
First, locate the circuit breaker panel in your home. This panel is usually in a utility room, basement, or garage. It controls the power to various parts of your house.
Open the panel and look for the switch labeled for the HVAC system. This switch controls the power to your heating and cooling system.
Ensuring Power Is Off
Flip the switch to the “Off” position to cut the power. Double-check by trying to turn on the HVAC system. It should not respond if the power is off.
Use a voltage tester to confirm no electricity is flowing. Place the tester on the wires connected to the thermostat. If it shows no voltage, you are safe to proceed.
Turning off the power properly ensures a safe installation. Proceed to the next steps with confidence.
Remove Old Thermostat
Setting up your new Emerson thermostat is a great way to improve your home’s comfort. Before installing the new unit, you need to remove your old thermostat. This task may seem daunting, but with careful steps, it becomes manageable and straightforward.
Detaching The Old Unit
Start by turning off the power to your thermostat at the circuit breaker. This step is crucial for your safety. Once the power is off, remove the thermostat cover. Most thermostat covers simply pull off, but some may require a screwdriver.
Next, locate the mounting screws holding the thermostat to the wall. Use a screwdriver to remove these screws. Gently pull the thermostat away from the wall, exposing the wiring behind it. Be careful not to damage the wires during this process.
Labeling Wires
Before disconnecting any wires, take a picture of the wiring setup. This picture will serve as a reference. Each wire should be labeled with the terminal it connects to on the old thermostat. You can use masking tape and a pen for labeling.
Once labeled, carefully disconnect each wire from the old thermostat. Make sure the wires do not fall back into the wall. You can secure them around a pencil or use a piece of tape to hold them in place. Labeling and organizing the wires ensures a smooth installation of your new Emerson thermostat.
Credit: www.youtube.com
Install New Emerson Thermostat
Installing a new Emerson thermostat can help you save energy and maintain a comfortable temperature in your home. This guide will walk you through the steps to set up your Emerson thermostat properly.
Mounting The Backplate
Mounting the backplate is the first step in installing your new Emerson thermostat. Follow these steps:
- Turn off the power to your heating and cooling system.
- Remove the old thermostat and backplate carefully.
- Position the new backplate on the wall, aligning it with the existing holes.
- Use the provided screws to secure the backplate to the wall.
Make sure the backplate is level. This ensures accurate temperature readings.
Connecting The Wires
Connecting the wires correctly is crucial for your thermostat to function properly. Follow these steps:
| Wire Color | Function | Terminal |
|---|---|---|
| Red (R) | Power | R or RH |
| White (W) | Heat | W |
| Yellow (Y) | Cool | Y |
| Green (G) | Fan | G |
- Match each wire with its corresponding terminal on the backplate.
- Insert each wire into its terminal and tighten the screws.
- Double-check that all wires are secure and not touching each other.
Once the wires are connected, attach the thermostat to the backplate. Turn the power back on to your heating and cooling system. Your new Emerson thermostat is now ready to use.
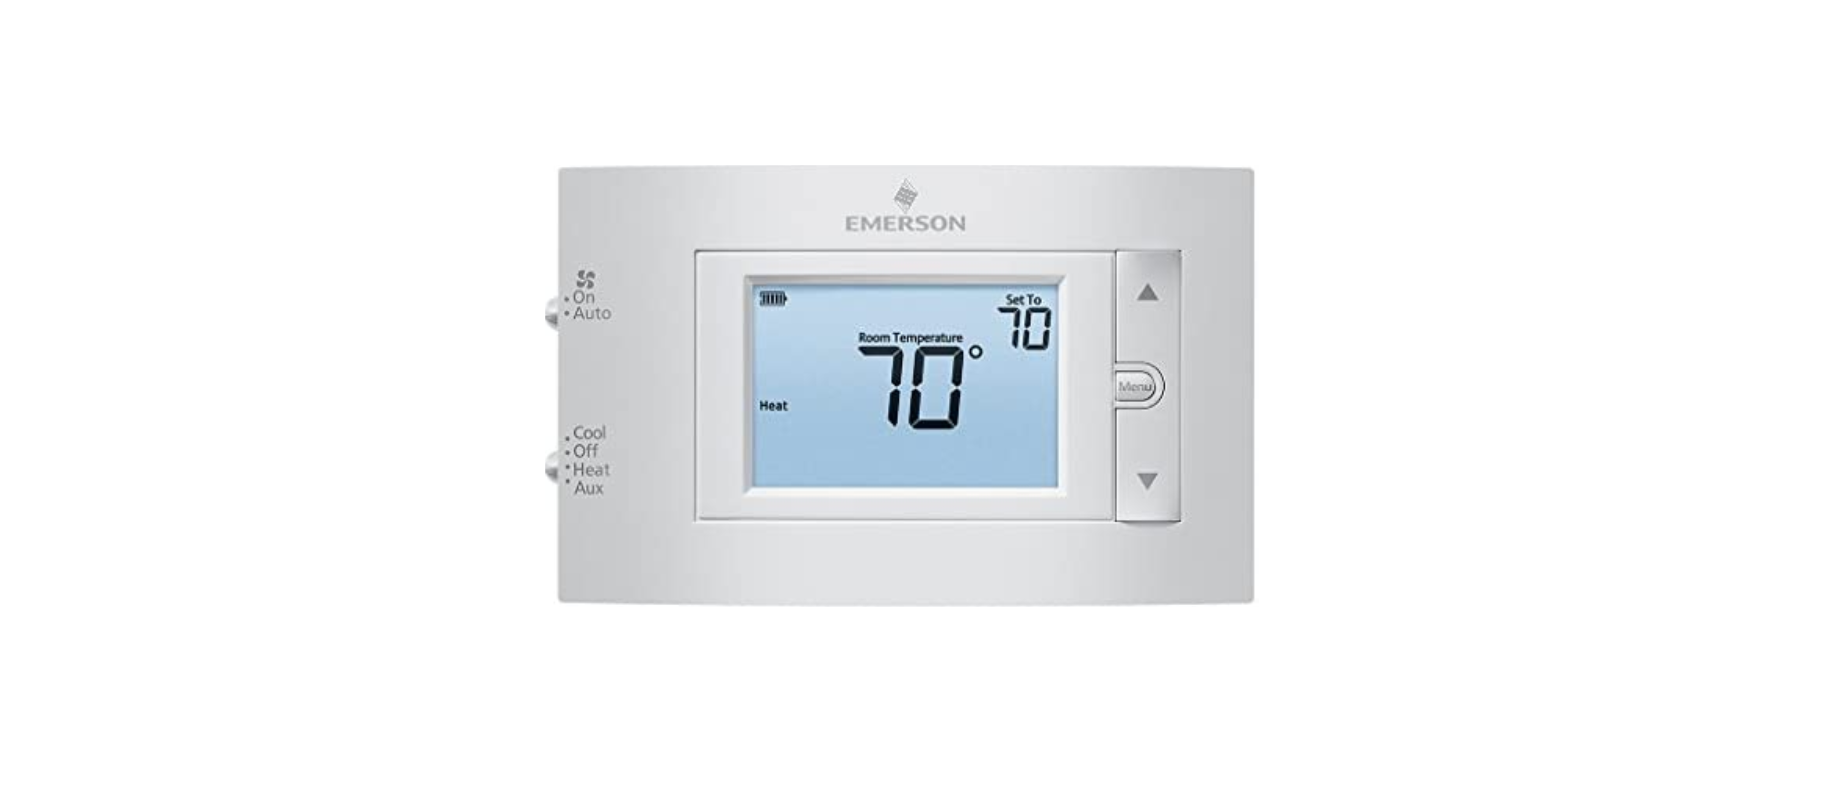
Configure Settings
Configuring your Emerson thermostat settings is crucial for maintaining a comfortable home. This section will guide you through essential configurations. You’ll learn how to set the date and time, and how to adjust temperature preferences. Let’s get started.
Setting Date And Time
First, press the ‘Menu’ button on your thermostat. Use the arrow buttons to select ‘Set Time’. Press ‘OK’. Use the arrows to set the current hour. Press ‘OK’ again. Repeat these steps to set the minutes. Next, choose ‘Set Date’. Adjust the month, day, and year using the arrows. Confirm each selection by pressing ‘OK’. Your date and time are now set.
Adjusting Temperature Preferences
Go back to the ‘Menu’. Navigate to ‘Set Temperature’. Press ‘OK’. Use the arrows to adjust the desired temperature for heating. Press ‘OK’. Set the cooling temperature in the same way. Confirm by pressing ‘OK’. Your temperature preferences are now configured.
Test The Thermostat
Testing your Emerson thermostat ensures it functions correctly. It is a key step in the setup process. Here, we will guide you through this important phase.
Restoring Power
First, restore power to your thermostat. Go to your circuit breaker. Flip the switch to the “on” position. This action will supply power to your thermostat. Make sure the display lights up. If not, check your connections.
Verifying Functionality
Now, verify the thermostat’s functionality. Set the thermostat to a temperature below the room’s current temperature. The cooling system should start. Then, set it to a temperature above the room’s current temperature. The heating system should start. Observe if the system responds correctly. If not, check the wiring again. Ensure every connection is secure. This step ensures your system works as expected.
Troubleshooting
Setting up an Emerson Thermostat can be straightforward. But sometimes, issues arise. Troubleshooting helps identify and solve these problems quickly. This section covers common issues and when to seek professional help.
Common Issues And Solutions
One common issue is the thermostat not turning on. Check if the batteries are inserted correctly. Replace old batteries with new ones. Another problem is inaccurate temperature readings. Ensure the thermostat is away from direct sunlight and heat sources. This can affect its sensor.
If the thermostat is not responding, check the wiring. Loose wires can cause connectivity issues. Tighten any loose wires. Ensure the wires match the terminals in the user manual. If the display is blank, it could be a tripped circuit breaker. Reset the breaker and see if the display turns on.
When To Seek Professional Help
Sometimes, DIY troubleshooting might not work. Seek professional help if the thermostat still does not turn on after checking the batteries and circuit breaker. Professionals can diagnose complex electrical issues. If you notice sparks or burning smells, turn off the power immediately. Call an electrician to inspect the wiring.
If your HVAC system does not respond to thermostat settings, a professional can help. They can check if the issue is with the thermostat or the HVAC system. Avoid attempting complex fixes yourself. This ensures safety and prevents further damage.

Credit: electronicaircleaners.com
Frequently Asked Questions
How Do I Program An Emerson Thermostat?
To program your Emerson thermostat, press ‘Menu’, select ‘Schedule’, and then follow the on-screen prompts.
Why Is My Emerson Thermostat Not Working?
Check the batteries, ensure it’s properly connected, and verify the settings. If issues persist, consult the manual.
How Do I Reset My Emerson Thermostat?
Press the ‘Menu’ button, select ‘Thermostat Settings’, and choose ‘Reset’. Follow the on-screen instructions.
Can I Control My Emerson Thermostat With My Phone?
Yes. Download the Emerson app, connect your thermostat to Wi-Fi, and follow the app setup steps.
How Do I Change The Battery In My Emerson Thermostat?
Remove the thermostat cover, take out the old batteries, and insert new ones. Replace the cover.
Conclusion
Setting up your Emerson thermostat is straightforward and efficient. Follow the steps outlined, and you’ll enjoy a comfortable home environment. Remember to check the manual for any specific model instructions. Keep your thermostat clean and updated for optimal performance. Regular maintenance ensures longevity and reliability.
Now, you’re ready to take control of your home’s temperature with ease. Happy adjusting!