Setting a Hunter thermostat is simple and fast. Follow these steps for a comfortable home.
Hunter thermostats help you manage your home’s temperature with ease. Whether it’s hot summer days or chilly winter nights, having the right settings can make a big difference. Many people find it confusing at first, but with some guidance, you will handle it like a pro.
This guide walks you through the process, ensuring your home stays cozy. From understanding the basic controls to setting your desired temperatures, you will learn it all. Setting your Hunter thermostat correctly can save energy and keep your home comfortable. Let’s dive into the steps to make your home environment perfect.
Introduction To Hunter Thermostats
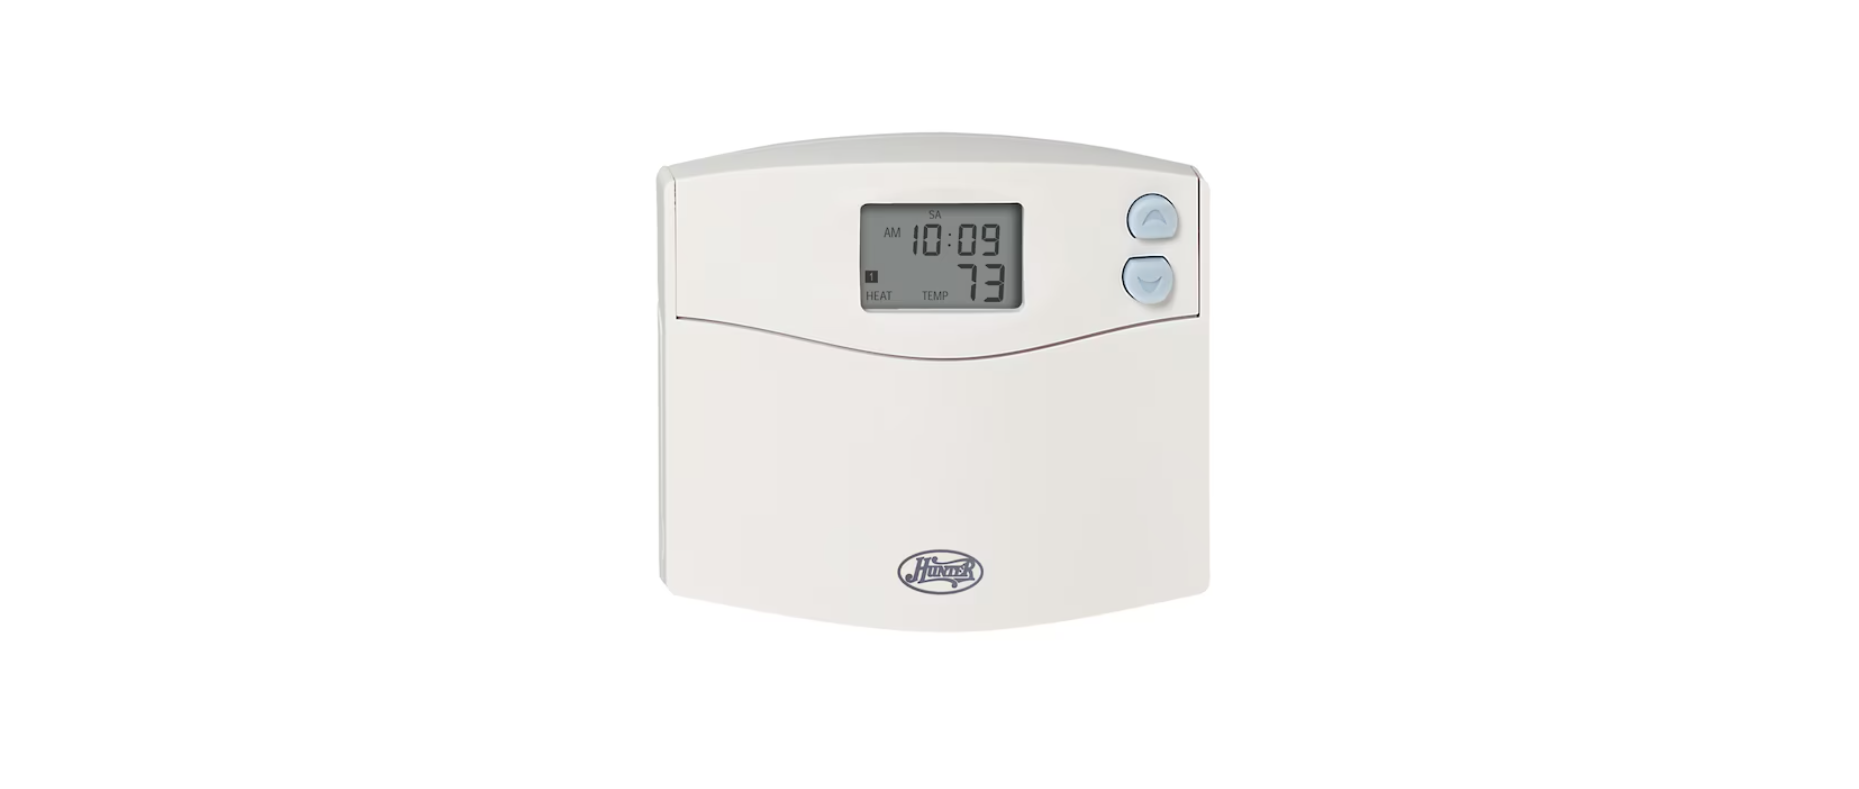
Hunter thermostats help you manage your home’s temperature with ease. They are reliable, user-friendly, and offer many features. Whether you need a simple model or one with advanced features, Hunter has an option for you.
Why Choose Hunter
Hunter thermostats stand out for their durability and ease of use. They come with simple instructions and are designed for quick setup. This makes them perfect for people of all ages.
Hunter offers a range of models to meet different needs. From basic units to advanced systems, there is something for everyone. This variety ensures you can find a thermostat that fits your lifestyle and budget.
Features And Benefits
Hunter thermostats come with many features. These enhance comfort and save energy.
| Feature | Benefit |
|---|---|
| Programmable Settings | Allows you to set schedules for different times of the day. |
| Energy Savings | Helps reduce your energy bills by optimizing heating and cooling. |
| Easy Installation | Simple setup process, no need for professional help. |
| Clear Display | Easy-to-read display with clear information. |
These features make Hunter thermostats a great choice for any home. With their user-friendly design and helpful options, you can enjoy a comfortable living space without much effort.
Tools You Need
Setting up a Hunter thermostat requires the right tools. Having the proper tools ensures a smooth installation process. This section will cover the necessary tools and optional accessories you might need.
Necessary Tools
To set up your Hunter thermostat, you need a few basic tools. These tools help with the installation and setup process.
- Screwdriver: A Phillips head screwdriver is essential. It helps to remove and secure screws.
- Drill: A drill is often needed to create holes for mounting the thermostat.
- Level: A level ensures your thermostat is mounted straight.
- Wire Stripper: This tool helps to strip the wires if needed.
Optional Accessories
While not required, some optional accessories can enhance your installation experience. These accessories make the process easier and more efficient.
- Plunger: Helps to clean debris from drilled holes.
- Plates: Wall plates cover any gaps or marks left behind.
- Labels: Use labels to mark wires for easy identification.
Pre-installation Preparation
Before installing your new Hunter Thermostat, you must prepare carefully. These steps ensure a smooth installation process and avoid potential issues.
Turn Off Power
First, turn off the power to your HVAC system. Go to your home’s electrical panel and locate the breaker that controls your HVAC system. Switch it to the “off” position. This step is critical for your safety. It prevents electric shocks during installation.
Read The Manual
Next, read the manual that comes with your Hunter Thermostat. The manual provides specific instructions and details for your model. It also includes important safety information. Make sure to follow the guidelines closely. The manual also lists any tools or materials you might need.
By following these pre-installation steps, you set the stage for a successful thermostat installation. Always prioritize safety and accuracy for the best results.

Credit: thermostat.guide
Removing The Old Thermostat
Setting up a new Hunter thermostat begins with removing the old one. This step is crucial for a smooth installation. Follow these instructions to ensure a safe and efficient removal process.
Safety Precautions
Before removing the old thermostat, take some safety steps. These precautions will protect you from electrical hazards.
- Turn off the power to your HVAC system at the breaker box.
- Use a voltage tester to confirm no power is flowing to the thermostat.
- Wear insulated gloves to protect your hands.
Disconnecting Wires
After ensuring safety, proceed to disconnect the wires from the old thermostat. Follow these steps:
- Remove the front cover of the old thermostat. Some models may require unscrewing.
- Take a picture of the wiring for reference during the installation of the new thermostat.
- Label each wire with masking tape. This helps you remember where each wire connects.
- Loosen the terminal screws and gently disconnect each wire. Be careful not to let the wires fall back into the wall.
With these steps, you can safely remove the old thermostat and prepare for the new Hunter thermostat installation. Following these guidelines ensures a smooth and safe process.
Installing The Hunter Thermostat
Installing the Hunter Thermostat is a straightforward process. Follow the steps below to ensure proper installation. This guide will help you mount the base and connect the wires correctly.
Mounting The Base
First, turn off the power to your HVAC system. Safety first!
- Remove the old thermostat from the wall.
- Use the new thermostat base as a template.
- Mark the screw holes on the wall.
Next, drill holes at the marked points. Insert wall anchors if needed. Align the base with the holes. Secure it using the provided screws. Ensure it is level before tightening completely.
Connecting Wires
Identify and label each wire from your HVAC system. Use the labels provided with your Hunter Thermostat.
| Wire Color | Terminal |
|---|---|
| Red | R |
| White | W |
| Yellow | Y |
| Green | G |
Connect each wire to its corresponding terminal on the thermostat. Tighten the screws to secure the wires. Make sure there are no loose connections.
Once all wires are connected, attach the thermostat faceplate to the base. Restore power to your HVAC system. Test the thermostat to ensure it is working properly.
Credit: thermostat.guide
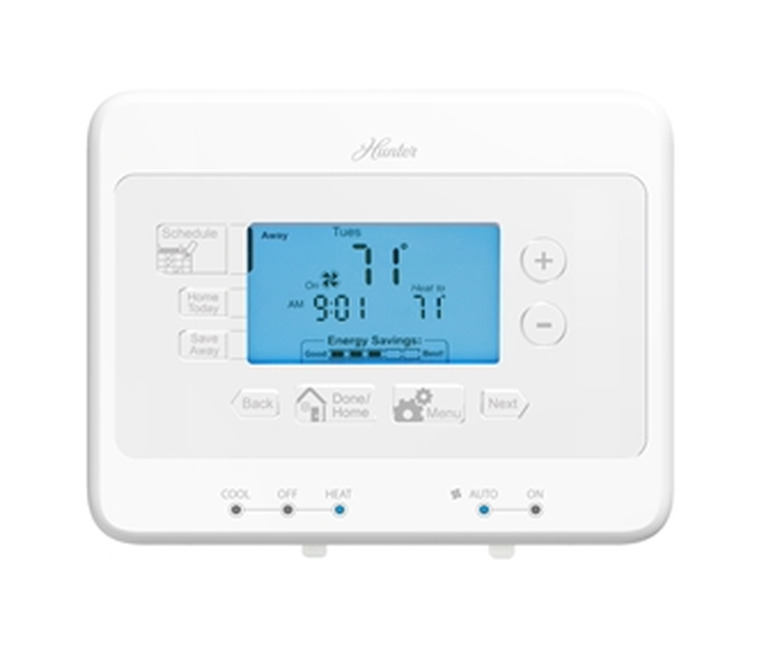
Configuring Settings
Setting up your Hunter thermostat correctly ensures your home stays comfortable. This section provides step-by-step guidance to configure your thermostat settings. Follow these simple steps to get the best out of your Hunter thermostat.
Setting The Date And Time
First, ensure the date and time are correct. This helps the thermostat schedule your heating and cooling accurately.
- Press the Menu button on the thermostat.
- Select Settings using the arrow buttons.
- Navigate to Date/Time and press Enter.
- Use the arrow buttons to adjust the year, month, and day.
- Press Enter to confirm each setting.
- Next, set the hour and minute in the same way.
- Press Enter to save the time.
Adjusting Temperature Settings
Adjusting temperature settings keeps your home comfortable and saves energy. Follow these steps to set your preferred temperature:
- Press the Menu button on the thermostat.
- Select Settings using the arrow buttons.
- Navigate to Temperature and press Enter.
- Set your desired temperature for heating and cooling.
- Use the arrow buttons to increase or decrease the temperature.
- Press Enter to save each setting.
Remember, setting the right temperature can reduce energy bills. Keep it at a comfortable level.
Testing The Installation
Testing the installation of your Hunter thermostat is crucial. This step ensures everything works properly. Follow these steps to make sure your thermostat is ready to use.
Powering On
First, turn on the power to your HVAC system. Use the circuit breaker or main switch. Ensure the thermostat display lights up. If it doesn’t, check the wiring. Make sure everything is connected correctly. A lit display means the thermostat has power.
Verifying Operation
Next, verify the thermostat’s operation. Set the thermostat to a desired temperature. Make sure the system responds. If you set it to heat, the heater should turn on. If you set it to cool, the air conditioner should start. Listen for the HVAC system to activate. Ensure the system runs smoothly. Check if the desired temperature is reached.
If the system doesn’t respond, recheck the wiring. Ensure all connections are secure. Double-check the thermostat settings. Proper operation confirms a successful installation.
Credit: www.hunker.com
Troubleshooting Tips
Having trouble with your Hunter thermostat? Don’t worry, you’re not alone. Many users face challenges while setting or troubleshooting their thermostat. This section provides valuable troubleshooting tips to help you resolve common issues.
Common Issues
Is your thermostat not turning on? First, check the power source. Ensure the batteries are fresh and correctly installed. Also, verify that the circuit breaker is not tripped.
If the display is blank, inspect the wiring connections. Loose or disconnected wires can cause display issues. Tighten any loose wires and ensure each wire is in the correct terminal.
Experiencing incorrect temperature readings? Make sure the thermostat is not near heat sources. Keep it away from direct sunlight or drafts. This can affect its accuracy.
When To Call A Professional
Some issues might require expert help. If the thermostat doesn’t respond after battery replacement or wiring checks, call a professional. They can diagnose and fix complex problems.
If your HVAC system is not working despite correct thermostat settings, professional intervention is needed. This could indicate a problem with the HVAC system itself.
Don’t hesitate to seek help. Professionals ensure your thermostat and HVAC system operate efficiently and safely.
Maintaining Your Thermostat
Maintaining your thermostat is crucial for its longevity and efficiency. Regular upkeep ensures that your thermostat functions well. This saves you money on energy bills and keeps your home comfortable. Here are some simple steps to maintain your Hunter Thermostat.
Regular Cleaning
Dust and dirt can affect the performance of your thermostat. Use a soft cloth to wipe the exterior. Avoid using water or chemicals. Clean the screen gently to prevent scratches. Regular cleaning ensures accurate temperature readings.
Software Updates
Check for software updates periodically. Updates can fix bugs and improve performance. Visit the manufacturer’s website for the latest version. Follow the instructions to install updates. Keeping software current ensures optimal functioning.
Frequently Asked Questions
How Do I Set The Time On A Hunter Thermostat?
Press the “Time” button. Use the up and down arrows to set the current time.
How Can I Change The Temperature Setting?
Press the “Up” or “Down” arrow buttons to adjust the temperature to your desired setting.
How Do I Program My Hunter Thermostat?
Press the “Program” button, then use the arrows to set times and temperatures for weekdays and weekends.
What Should I Do If My Thermostat Is Not Working?
Check the batteries and make sure the thermostat is properly connected to the HVAC system.
How Do I Reset My Hunter Thermostat?
Press and hold the “Reset” button for a few seconds until the display clears and resets.
Conclusion
Setting a Hunter thermostat is simple with the right steps. Follow the guide above, and you will have your thermostat working in no time. Remember to check the manual for specific details. Adjust the settings to your comfort. Your home will be more energy-efficient and comfortable.
Keep your living space cozy throughout the year. Enjoy the convenience and savings your Hunter thermostat offers. Happy adjusting!