Installing a Carrier Infinity Thermostat can improve your home’s comfort and efficiency. This guide will help you through the installation process step-by-step.
A smart thermostat like the Carrier Infinity can make a big difference in managing your home’s temperature. It offers advanced features that can save energy and keep your home cozy. But, installing it might seem daunting at first. Don’t worry; we’re here to simplify the process.
In this guide, we’ll walk you through each step, from gathering the necessary tools to setting up your new thermostat. By the end, you’ll have a fully functioning thermostat that you can control with ease. Let’s get started on making your home smarter and more comfortable.
Tools And Materials
Installing a Carrier Infinity Thermostat requires specific tools and materials. This section provides a detailed list to ensure a smooth installation process. Having the right equipment is crucial to avoid unnecessary delays and complications.
Required Tools
- Screwdrivers: A flathead and a Phillips screwdriver.
- Drill: For creating holes if needed.
- Wire Strippers: To strip the insulation off the wires.
- Level: Ensures the thermostat is installed straight.
- Tape Measure: For accurate measurements.
- Multimeter: To check voltage and ensure safety.
Necessary Materials
- Carrier Infinity Thermostat: The main device for installation.
- Mounting Plate: Often included with the thermostat.
- Wall Anchors: Needed if mounting on drywall.
- Wire Nuts: For securing wire connections.
- Screws: For attaching the thermostat to the wall.
- Battery: Backup power source, if required.
- Manual: Installation guide for reference.
Having these tools and materials ready will make the installation process more efficient and stress-free. Ensure you check the manual for any additional specific requirements.
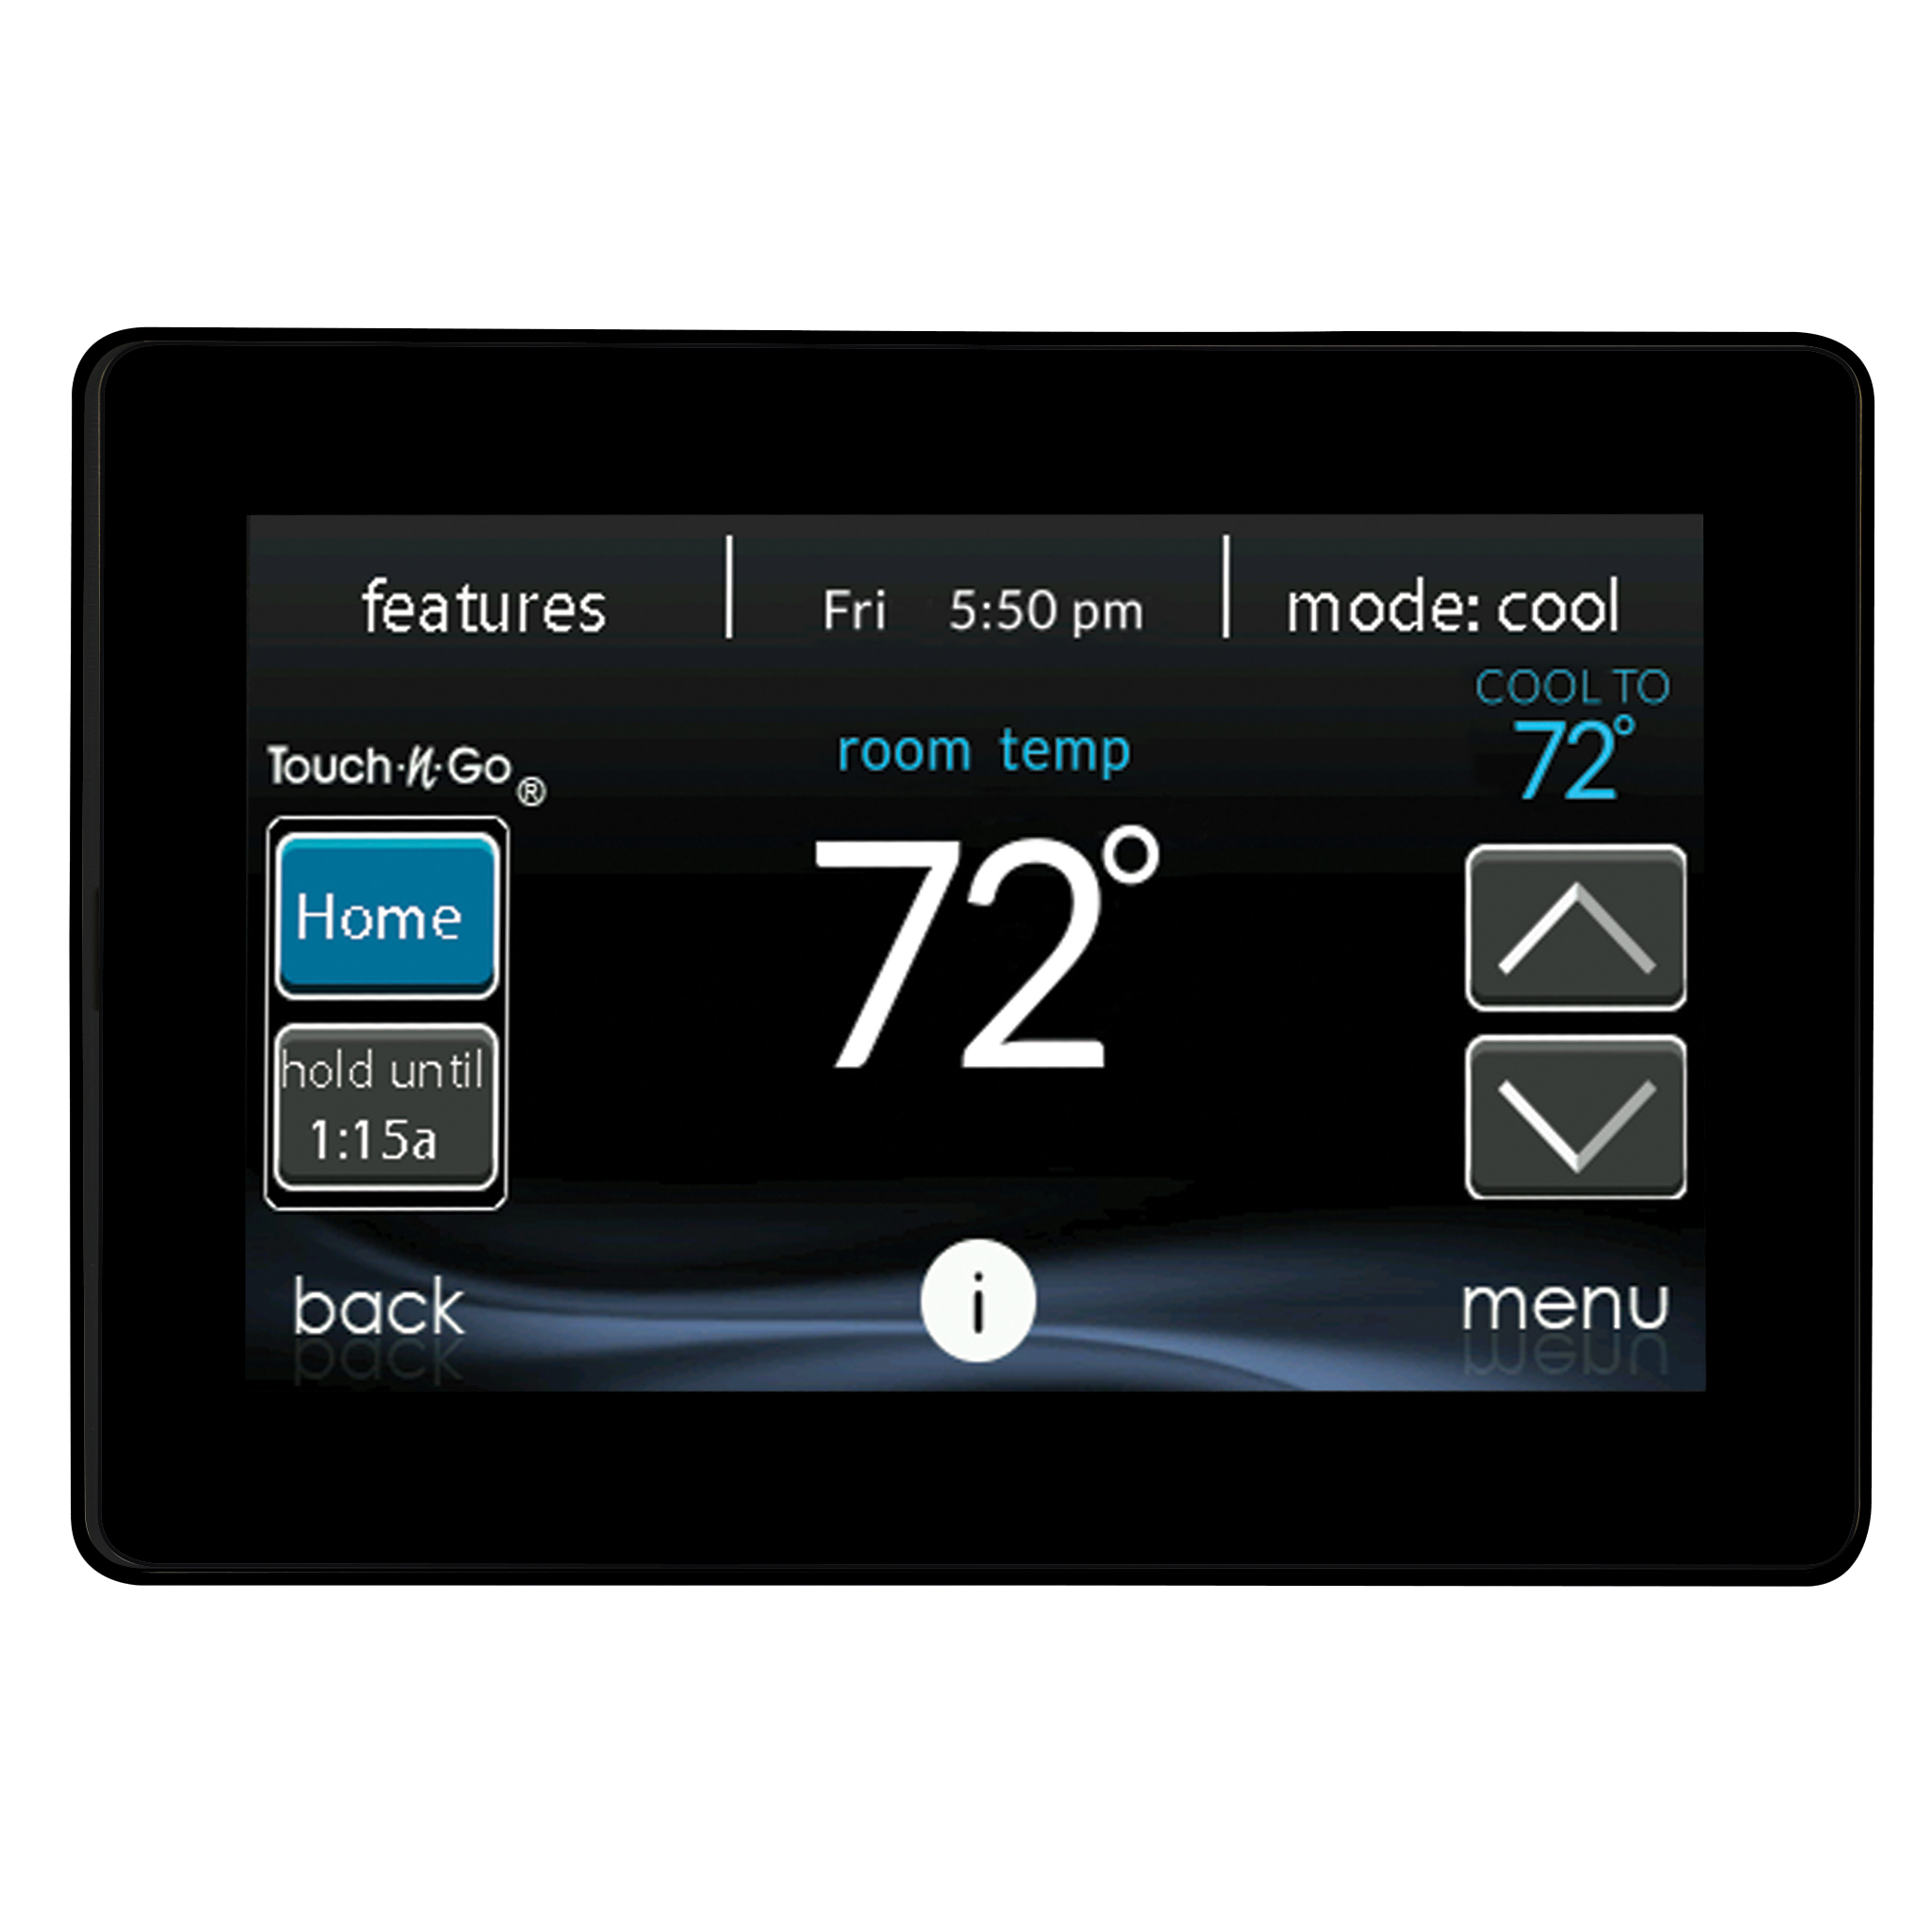
Credit: www.carrier.com
Safety Precautions
Installing a Carrier Infinity Thermostat involves working with electrical systems. Safety should always be a priority. Following proper safety precautions can prevent accidents. Here is a guide to help you install your thermostat safely.
Turn Off Power
Before starting, turn off the power to your HVAC system. This step is crucial to prevent electrical shock. Locate your home’s circuit breaker and switch off the power. Verify that the power is off by checking the thermostat display. If the display is blank, you are ready to proceed.
Handling Wires Safely
Handling wires requires care and attention. Here are some tips to ensure safety:
- Use insulated tools to avoid electric shock.
- Do not touch bare wires with your hands.
- Label each wire with masking tape before disconnecting.
- Keep the wires organized to avoid confusion.
| Action | Details |
|---|---|
| Turn off power | Use the circuit breaker |
| Label wires | Use masking tape |
| Use insulated tools | Prevent electric shock |
Following these precautions ensures a safe installation process. Take your time and double-check your work. Safety first!
Removing The Old Thermostat
Removing the old thermostat is the first step in installing your new Carrier Infinity Thermostat. This process needs care to avoid damaging the existing wiring. Follow these steps to ensure a smooth transition.
Labeling Wires
Before removing the old thermostat, label each wire. Use small pieces of masking tape and a pen. Write the letter designation of each terminal on the tape. Attach the tape to the corresponding wire. This ensures you know where each wire goes in the new thermostat.
Disconnecting The Old Unit
After labeling the wires, turn off the power. Locate the circuit breaker for the thermostat. Switch it off to avoid any electrical shock. Next, remove the old thermostat’s faceplate. This usually requires a gentle pull or unscrewing a few screws.
With the faceplate removed, you will see the wires connected to the terminals. Carefully unscrew the terminal screws. Pull the wires out gently. Ensure the labels stay attached. Once the wires are free, remove the baseplate from the wall. Typically, this involves unscrewing a few screws.
You have successfully removed the old thermostat. Your new Carrier Infinity Thermostat can now be installed. Follow the next steps in the installation guide for a seamless setup.
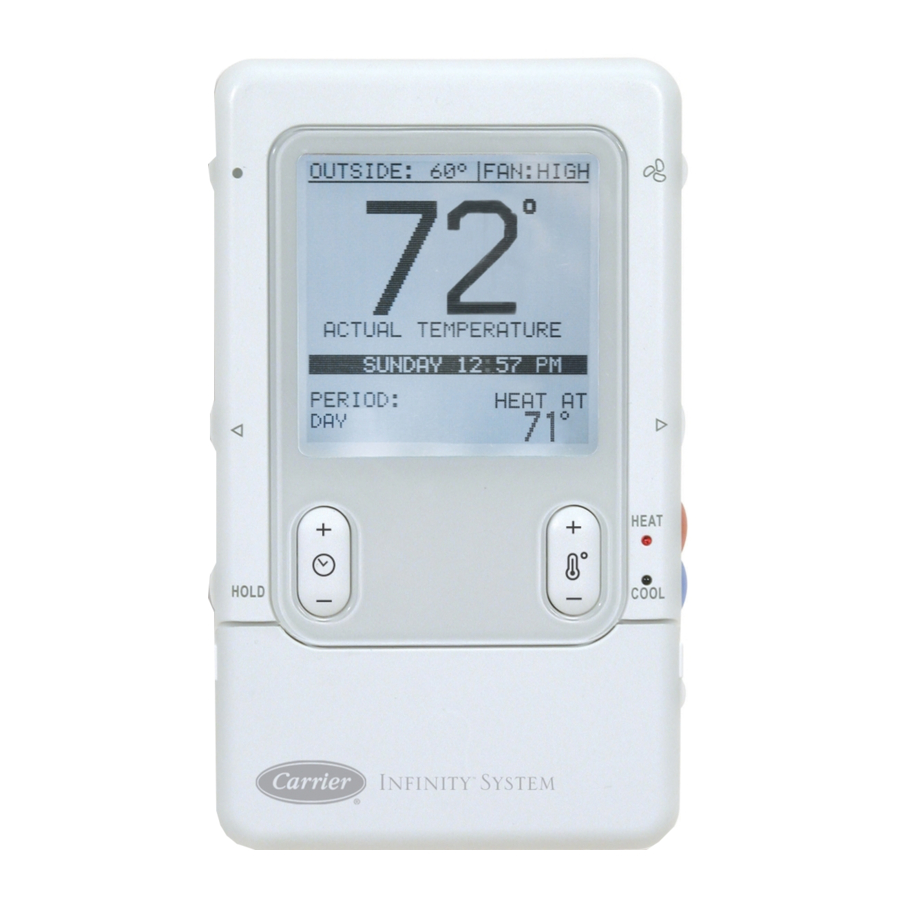
Credit: www.manualslib.com
Installing The Backplate
Installing the backplate of your Carrier Infinity Thermostat is a critical step. Proper installation ensures your system functions smoothly and efficiently. Follow the steps below to mount the backplate and ensure its proper placement.
Mounting The Backplate
Start by turning off the power to your HVAC system. This is important for safety. Locate the ideal spot for your thermostat. It should be on an interior wall, away from direct sunlight or drafts. Use a level to ensure the backplate is straight.
Hold the backplate against the wall. Mark the screw holes with a pencil. Use a drill to make pilot holes at the marked spots. Align the backplate with the pilot holes. Insert screws and tighten them until the backplate is secure.
Ensuring Proper Placement
Ensure the backplate is level. This affects the thermostat’s performance. Make sure it is not tilted. Check the position. It should be at eye level for easy access. Avoid placing it near windows, doors, or vents.
Double-check the wiring. Ensure all wires are properly connected to the terminals. Secure the wires to prevent them from touching each other. This prevents short circuits. Once everything is secure, you can proceed to install the thermostat unit.
Connecting The Wires
Connecting the wires is a crucial step in the installation of your Carrier Infinity Thermostat. This guide will walk you through the process, ensuring you get it right the first time. Follow these steps carefully for a successful setup.
Attaching Wires To Terminals
First, identify all wires coming from your HVAC system. Each wire should be labeled with a letter. Common labels include:
- R – Red Wire
- W – White Wire
- Y – Yellow Wire
- G – Green Wire
- C – Common Wire
Once identified, attach each wire to its corresponding terminal on the thermostat. Ensure the wire is securely fastened. Loose connections can lead to malfunction.
Verifying Connections
After attaching the wires, double-check each connection. Make sure no wires are touching each other. This can cause short circuits. Here’s a checklist to help:
- Ensure all wires are correctly labeled.
- Confirm each wire is in the right terminal.
- Check for any exposed wire sections.
- Secure each wire with the screw provided.
Once verified, you can proceed with the rest of the installation. This step is vital for the proper functioning of your thermostat.

Credit: www.scribd.com
Attaching The Thermostat
Attaching the Carrier Infinity Thermostat is a crucial step in the installation process. This process ensures that your thermostat is securely and correctly mounted, allowing for optimal performance. Follow these simple steps to attach your thermostat with ease.
Securing The Unit
First, align the thermostat with the mounting plate on the wall. Make sure the wires are not pinched or strained. Gently push the thermostat onto the plate until it clicks into place. Double-check that the unit is firmly attached and stable.
Use a level to ensure the thermostat is straight. If needed, adjust it before securing it completely.
Powering Up The System
Once the thermostat is securely attached, power up the system. Locate the main power switch or circuit breaker for your HVAC system. Turn it on to provide power to the thermostat.
The thermostat screen should light up, indicating that it is receiving power. Follow the on-screen prompts to complete the initial setup. This may include setting the date, time, and configuring your Wi-Fi settings.
Test the thermostat by adjusting the temperature settings. Ensure the heating or cooling system responds accordingly. If everything works fine, your installation is complete.
Setting Up The Thermostat
Setting up the Carrier Infinity Thermostat is a straightforward process. This section will guide you through the initial configuration and connecting to Wi-Fi. Ensure you follow each step carefully to achieve optimal performance.
Initial Configuration
Begin by powering on your thermostat. You will see the welcome screen. Follow these steps to complete the initial setup:
- Select your preferred language.
- Set the date and time.
- Choose your home’s location (country and city).
- Follow the prompts to set your preferred temperature units (Celsius or Fahrenheit).
Next, you will be guided to set up your HVAC system. This includes:
- Selecting the type of system (heating, cooling, or both).
- Entering the details of your HVAC model.
- Calibrating the temperature settings.
Once these steps are completed, you will move on to connecting the thermostat to your home network.
Connecting To Wi-fi
Connecting your thermostat to Wi-Fi allows for remote control and updates. Follow these steps:
- On the main menu, select Settings.
- Navigate to Network and select Wi-Fi.
- Choose your home network from the list of available networks.
- Enter your Wi-Fi password and select Connect.
Once connected, your thermostat will display a confirmation message. You can now control your system remotely using the Carrier Infinity app.
Here is a quick summary of the Wi-Fi connection steps:
| Step | Action |
|---|---|
| 1 | Go to Settings |
| 2 | Select Network then Wi-Fi |
| 3 | Choose your home network |
| 4 | Enter your Wi-Fi password |
After connecting to Wi-Fi, your thermostat may prompt for a software update. Allow the update to ensure your system runs the latest features and improvements.
Testing The System
After installing your Carrier Infinity Thermostat, it is crucial to test the system. This ensures that the thermostat and HVAC system are working correctly. Follow these steps to check the functionality and troubleshoot common issues.
Checking Functionality
Begin by ensuring the thermostat is properly connected to the HVAC system. Set the thermostat to a specific mode, such as heating or cooling. Observe if the system responds accordingly. For instance:
- Set the thermostat to cooling mode.
- Adjust the temperature to a level lower than the room temperature.
- Listen for the HVAC system to activate and start cooling.
Next, switch to heating mode and repeat the process:
- Set the thermostat to heating mode.
- Adjust the temperature to a level higher than the room temperature.
- Ensure the HVAC system starts heating.
If the system responds correctly, it indicates proper functionality. Record your observations for future reference.
Troubleshooting Common Issues
If the system does not respond as expected, follow these troubleshooting steps:
- Check power supply: Ensure the thermostat is receiving power. Verify the circuit breaker is not tripped.
- Inspect wiring connections: Confirm all wires are connected to the correct terminals. Refer to the installation manual for guidance.
- Review settings: Ensure the thermostat settings are configured correctly. Check the user manual for details.
If these steps do not resolve the issue, consult the Carrier Infinity Thermostat support team. They can provide further assistance and troubleshooting advice.
Frequently Asked Questions
How Do I Install A Carrier Infinity Thermostat?
First, turn off the power. Remove the old thermostat. Mount the new Carrier Infinity Thermostat. Connect the wires. Power up.
What Tools Do I Need For Installation?
You will need a screwdriver, wire stripper, and a drill. Basic tools for most installations.
Can I Install The Thermostat Myself?
Yes, most homeowners can do it themselves. Follow the instructions carefully. Seek help if needed.
How Long Does The Installation Take?
Typically, it takes about 30-60 minutes. Depends on your experience and the current setup.
Do I Need To Program The Thermostat After Installation?
Yes, you should program it. Set your preferred temperatures and schedules for optimal comfort and efficiency.
Conclusion
Completing your Carrier Infinity Thermostat installation is straightforward. Follow each step carefully. Ensure power is off before starting. Connect wires correctly. Mount the thermostat securely. Power on and set up the device. Enjoy efficient temperature control. Your home comfort just got better.
Always refer to the user manual for details. With these steps, you should have a smooth installation process. Thank you for choosing this guide. Happy installing!