To work an Emerson thermostat, follow these simple steps. First, power it on.
Next, set your desired temperature. Emerson thermostats are known for their efficiency and ease of use. Whether you want to heat or cool your home, understanding how to operate your thermostat is key. This guide will walk you through the essential functions and settings.
You’ll learn how to adjust temperatures, set schedules, and use advanced features. With these tips, you’ll ensure your home is always at the perfect temperature. Read on to make the most out of your Emerson thermostat and enhance your home comfort effortlessly.
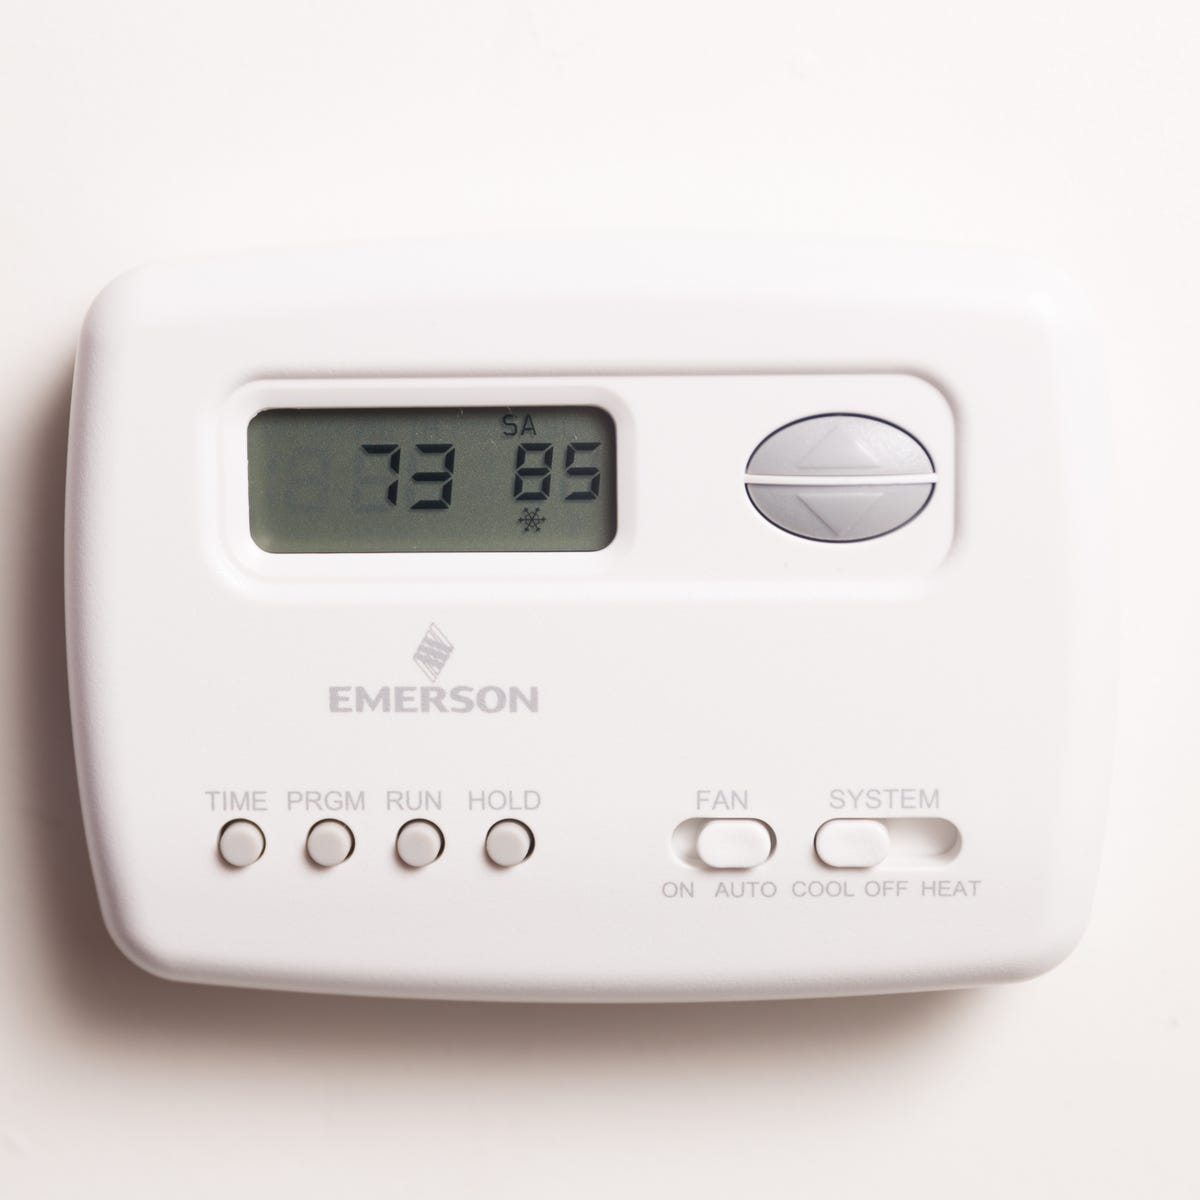
Credit: www.cnet.com
Introduction To Emerson Thermostats
Emerson thermostats are a popular choice for many homes. They are user-friendly and reliable. These devices help you control your home’s temperature with ease. With many models available, there is one to suit every need.
Features And Benefits
Emerson thermostats come with a range of features. These features help make your life easier and more comfortable.
- Easy to Use: The interface is simple and intuitive.
- Energy Efficiency: Save on energy bills with smart settings.
- Programmable: Set your preferred temperature schedules.
- Wi-Fi Enabled: Control your thermostat from your smartphone.
- Compatibility: Works with most HVAC systems.
These benefits make Emerson thermostats a wise choice. They ensure your home stays comfortable all year round.
Models Available
Emerson offers a range of thermostat models. Each model has its own unique features.
| Model | Features |
|---|---|
| Sensi Touch Smart | Touchscreen, Wi-Fi, Works with Alexa |
| Sensi Wi-Fi Smart | Wi-Fi, Works with Alexa, Energy-saving features |
| Emerson 1F83C-11PR | Non-programmable, Simple interface, Budget-friendly |
Choose a model based on your needs and preferences. Each model ensures easy use and reliable performance.
Getting Started
Learning to use your Emerson thermostat begins with understanding its basics. This guide helps you set up and operate your device. Follow these steps for a smooth start.
Unboxing And Components
First, open the box and take out the thermostat. Inside, you will find the main unit, a wall plate, screws, and instructions. Check if all parts are present.
The main unit is the heart of the thermostat. The wall plate helps mount it on your wall. The screws secure it in place. The instructions guide you through the setup.
Installing The Batteries
Turn the thermostat over to find the battery compartment. Slide the cover off gently. Insert two AA batteries as indicated. Ensure the correct polarity.
Once the batteries are in place, replace the cover. The display should light up. If it does not, check the batteries again.
Installation Process
Installing an Emerson Thermostat can seem challenging, but the process is straightforward. This guide will help you through each step. You will learn about the necessary tools and how to mount the thermostat properly.
Tools Needed
Before starting, gather all the tools you need. A screwdriver, a drill, wall anchors, and a level. Also, have the thermostat and its mounting plate ready. These tools will ensure a smooth installation.
Mounting The Thermostat
First, turn off the power to your heating and cooling system. Safety is important. Remove the old thermostat if there is one. Use the level to mark the wall where the new thermostat will be mounted. This helps in keeping the unit straight.
Next, drill holes where you marked. Insert wall anchors to secure the screws. Attach the mounting plate to the wall using the screws. Make sure it is tight and level. Connect the wires to the thermostat. Follow the wiring diagram in the manual. Each wire must go to the correct terminal.
Once connected, attach the thermostat to the mounting plate. Turn the power back on. Check if the thermostat powers up. Follow the setup instructions on the thermostat screen. Your Emerson Thermostat is now ready to use.
Wiring The Thermostat
Wiring an Emerson thermostat might seem daunting. But with the right steps, it’s straightforward. The first step is to understand the wires. Then, connect them to the correct terminals. This guide will help you through each step.
Identifying Wires
The first task is to identify the wires. Different wires have different colors. Each color represents a specific function. For example, the red wire (R) is for power. The yellow wire (Y) controls the cooling system.
Use the wiring diagram in your thermostat manual. This helps you match the wires correctly. Label each wire with a small sticker. This will avoid confusion later.
Connecting Wires To Terminals
Now it’s time to connect the wires. Start with the red wire (R). Insert it into the terminal marked R. Tighten the screw to secure it.
Next, connect the yellow wire (Y). Insert it into the terminal marked Y. Again, tighten the screw. Repeat this process for all wires.
Ensure each wire is secure. Loose wires can cause malfunctions. Double-check each connection before proceeding.
Once all wires are connected, mount the thermostat. Follow the instructions in your manual. Your thermostat is now ready to use.
Setting Up The Thermostat
Setting up an Emerson thermostat is simple. It allows you to control your home’s temperature with ease. Follow these steps to ensure your thermostat works efficiently. Let’s start with the initial configuration, setting the date, and time.
Initial Configuration
First, mount the thermostat on the wall. Connect the wires according to the user manual. Once connected, insert the batteries. Turn the device on. The screen should light up. Follow the on-screen instructions.
Setting The Date And Time
Next, set the date and time. This ensures your thermostat works correctly. Press the ‘Menu’ button. Use the arrow buttons to select ‘Date and Time.’ Press ‘Enter’ to confirm. Adjust the date using the arrow buttons. Press ‘Enter’ again to confirm. Do the same for the time. This step is crucial. It helps the thermostat manage your schedule accurately.
Programming The Thermostat
Programming your Emerson thermostat can help you save energy and maintain a comfortable home. With a little effort, you can set up a schedule that fits your lifestyle. This guide will walk you through creating a schedule and adjusting temperature settings.
Creating A Schedule
To create a schedule, start by accessing the scheduling menu on your thermostat. Follow these steps:
- Press the Menu button.
- Select Schedule.
- Choose the day or days you want to program.
- Set the desired times and temperatures for each period.
Most thermostats allow you to set different schedules for weekdays and weekends. This flexibility ensures your home stays comfortable without wasting energy.
Adjusting Temperature Settings
Adjusting the temperature settings is essential for maintaining comfort. You can do this manually or through the schedule you created. Here’s how to adjust the temperature manually:
- Press the Up or Down arrow to select your desired temperature.
- Confirm your selection by pressing Set.
For automatic adjustments, rely on the schedule you set up earlier. The thermostat will follow your programmed settings, ensuring your home is always at the right temperature.
Remember to periodically review and adjust your schedule as needed. Your daily routine may change, and your thermostat should reflect those changes to maintain efficiency.
Advanced Settings
Understanding the advanced settings on your Emerson thermostat can help you optimize your home’s comfort and efficiency. These settings allow you to fine-tune the device to meet your specific needs. Let’s explore some key advanced features.
Humidity Control
Maintaining the right humidity level is crucial for comfort. Your Emerson thermostat includes a humidity control feature. This allows you to set your desired indoor humidity level. The thermostat will automatically adjust to maintain this level. This feature is great for those living in humid or dry climates.
Energy-saving Features
Energy-saving features help reduce your energy bills. Emerson thermostats come with programmable schedules. You can set different temperatures for different times of the day. This ensures your heating and cooling systems are not running unnecessarily. It also supports eco-friendly living.
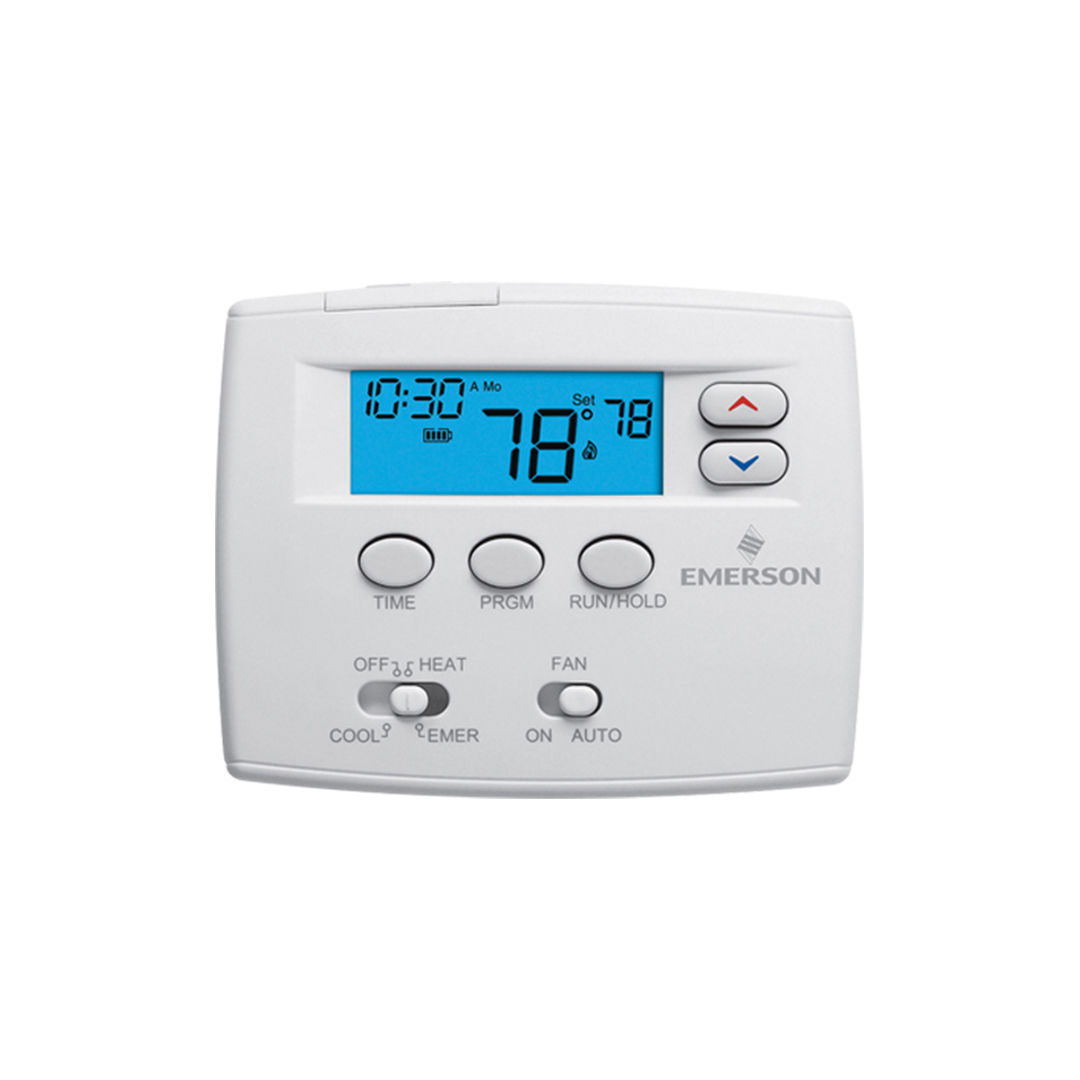
Credit: webapps.copeland.com
Troubleshooting
Troubleshooting your Emerson Thermostat can help solve common issues. It ensures your device works effectively. With some basic steps, you can fix many problems yourself. Let’s explore how to do this.
Common Issues
Several issues can affect an Emerson Thermostat. One common problem is the thermostat not turning on. Check the batteries. They might be dead. If the screen is blank, this is often the cause. Another issue is incorrect temperature readings. This could be due to a bad sensor. You may need to replace it. Lastly, the thermostat may not connect to WiFi. Verify your network settings. Ensure the password is correct.
Resetting The Thermostat
Sometimes, a simple reset can solve many problems. To reset your Emerson Thermostat, follow these steps. First, turn off the thermostat. Remove the cover. Find the reset button. Press and hold it for five seconds. Release the button. Turn the thermostat back on. This should reset the device. Check if the issue is resolved.
Maintenance Tips
Regular maintenance of your Emerson thermostat ensures it works efficiently. Proper care extends its lifespan and maintains accuracy. Here are some maintenance tips to keep your thermostat in top condition.
Cleaning The Thermostat
Cleaning your thermostat is essential for its proper functioning. Dust and dirt can affect its performance. Follow these steps to clean your Emerson thermostat:
- Turn off the thermostat and remove the cover.
- Use a soft brush or cloth to wipe away dust.
- Clean the internal components gently. Avoid using water.
- Reattach the cover and turn the thermostat back on.
Regular cleaning keeps your thermostat accurate and responsive.
Battery Replacement
Replacing the batteries in your thermostat is crucial. Low battery power can cause malfunctions. Here’s how to replace the batteries:
- Remove the thermostat from the wall.
- Open the battery compartment.
- Remove the old batteries and dispose of them properly.
- Insert new batteries, ensuring the correct polarity.
- Close the battery compartment and reattach the thermostat to the wall.
Check the battery status regularly. Replace them as needed to avoid issues.

Credit: www.youtube.com
Frequently Asked Questions
How Do I Set The Temperature On My Emerson Thermostat?
Press the “Up” or “Down” buttons to adjust the temperature.
How Can I Change The Mode On An Emerson Thermostat?
Press the “Mode” button to switch between heat, cool, and off.
Why Is My Emerson Thermostat Screen Blank?
Check if the batteries need replacing or if there’s a power issue.
How Do I Reset My Emerson Thermostat?
Press the “Reset” button or remove batteries for 10 seconds.
What Does The “hold” Button Do On An Emerson Thermostat?
The “Hold” button maintains the current temperature setting until you change it.
Conclusion
Using your Emerson thermostat becomes easy with practice. Follow the steps mentioned above. Adjusting settings will improve your comfort and save energy. Consistent usage will make you more familiar. Remember to consult your manual for specific details. Stay comfortable and efficient with your thermostat.
Happy adjusting!