Programming your Emerson thermostat is easy with a few simple steps. It ensures your home stays comfortable while saving energy.
An Emerson thermostat can help you manage your home’s temperature efficiently. Whether it’s hot or cold outside, this device can keep your environment just right. But, to enjoy these benefits, you need to program it correctly. Many people find this task daunting, but it doesn’t have to be.
With clear instructions, you can set your thermostat quickly and easily. This guide will walk you through the process, making it straightforward and stress-free. By the end, you’ll have a well-programmed thermostat that meets your needs and keeps your home cozy.
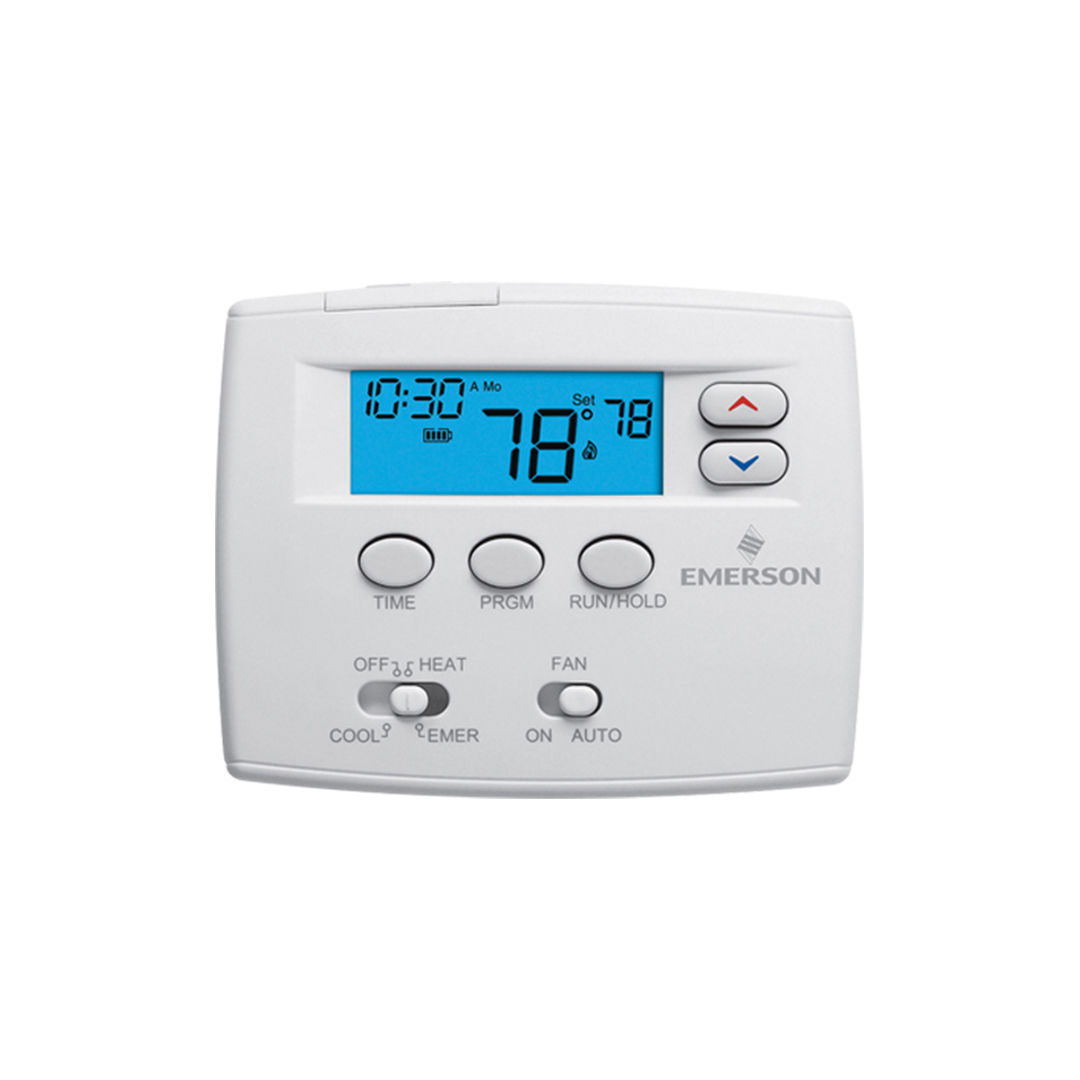
Credit: webapps.copeland.com
Introduction To Emerson Thermostats
Emerson Thermostats are a popular choice for many homeowners. They offer precise temperature control and energy efficiency. Whether you are upgrading your home system or installing a new one, understanding how to program your Emerson thermostat can save you time and money.
Features And Benefits
Emerson thermostats come with a variety of features designed to enhance your comfort and convenience. Some of the key features include:
- Easy-to-read display: Clear and bright screen for easy reading.
- Energy-saving modes: Helps reduce energy consumption.
- Wi-Fi connectivity: Control your thermostat from anywhere using a smartphone.
- Programmable schedules: Set different temperatures for different times of the day.
These features provide several benefits:
- Improved comfort in your home.
- Reduced energy bills.
- Convenient remote access and control.
Models And Compatibility
Emerson offers various thermostat models to suit different needs and preferences. Some popular models include:
- Emerson Sensi
- Emerson Blue
- Emerson Touchscreen
Each model has its own set of features and is compatible with different HVAC systems. Use the table below to understand the compatibility of each model:
| Model | Compatibility | Key Features |
|---|---|---|
| Emerson Sensi | Works with most HVAC systems | Wi-Fi, easy setup, programmable |
| Emerson Blue | Compatible with most 24V systems | Large display, easy programming |
| Emerson Touchscreen | Suitable for single-stage systems | Touchscreen interface, energy-saving modes |
Preparation Steps
Programming your Emerson thermostat can seem daunting. But with the right preparation steps, it becomes straightforward. This section will guide you through the necessary steps to get started. Make sure to follow each step carefully for a smooth experience.
Gather Necessary Tools
Before you start, gather all the tools you will need:
- Screwdriver: For removing the thermostat cover.
- Wire stripper: To handle any wiring adjustments.
- Level: To ensure the thermostat is mounted straight.
- Drill: In case you need to mount the thermostat on the wall.
- Batteries: Check the user manual for the correct type.
Having these tools ready will save you time and effort. It ensures you won’t need to pause midway to search for something.
Check The Wiring
The next step is to check the wiring:
- Turn off the power to your thermostat at the circuit breaker.
- Remove the thermostat cover using the screwdriver.
- Inspect the existing wires. Ensure they are not frayed or damaged.
- Take a picture of the wiring configuration. This will help you remember how to reconnect the wires.
- If necessary, use the wire stripper to clean the wire ends.
Ensuring proper wiring is crucial for the thermostat to function correctly. Be careful and take your time during this step.
Removing The Old Thermostat
Removing the old thermostat is a crucial step in installing a new Emerson Thermostat. This process involves turning off the power and safely disconnecting the old unit. Proper removal ensures your new thermostat functions correctly.
Turn Off Power
Before removing the thermostat, turn off the power. This ensures safety. Go to your circuit breaker and find the switch for your HVAC system. Flip the switch to the ‘off’ position. Confirm that the power is off by checking if the thermostat screen is blank.
Disconnect And Remove
Next, disconnect the old thermostat. Remove the cover to reveal the wiring. Take a picture of the wiring setup for reference. Unscrew the wires and label them with tape. This helps during installation of the new thermostat.
Finally, remove the thermostat from the wall. Unscrew the mounting plate and carefully detach it. Keep all screws and parts in a safe place. Your wall should now be ready for the new Emerson Thermostat.
Installing The Emerson Thermostat
Installing the Emerson Thermostat is a straightforward process that enhances your home’s comfort. This section will guide you through the steps necessary for a successful installation. Follow these simple instructions to mount the thermostat base and connect the wires securely.
Mount The Thermostat Base
Start by choosing a suitable location for your thermostat. Ensure it is away from direct sunlight and drafts.
- Turn off the power to your HVAC system to avoid any electrical hazards.
- Remove the old thermostat. Make sure to label the wires for easy identification.
- Use the provided screws and anchors to attach the new thermostat base to the wall. Make sure the base is level.
- Double-check that the base is securely mounted. This will ensure accurate temperature readings.
Connect The Wires
Connecting the wires is an essential step in the installation process. Follow these steps to connect them properly.
- Refer to the wire labels you created when removing the old thermostat.
- Match each wire to the corresponding terminal on the new thermostat base.
- Use a small screwdriver to loosen the terminal screws. Insert each wire into the appropriate terminal and tighten the screws.
- Ensure all wires are securely attached. Loose connections can cause the thermostat to malfunction.
Once the wires are connected, attach the thermostat cover. Turn the power back on and follow the on-screen prompts to complete the setup.
Configuring The Settings
Configuring the settings on your Emerson thermostat is crucial for achieving optimal comfort and energy efficiency. This section will guide you through setting the date and time, as well as programming the temperature schedule to suit your lifestyle.
Set The Date And Time
To set the date and time on your Emerson thermostat, follow these steps:
- Press the Menu button.
- Navigate to the Settings option.
- Select Date & Time.
- Use the arrow buttons to set the current date.
- Press Next to move to the time setting.
- Adjust the time using the arrow buttons.
- Confirm the settings by pressing Save.
Setting the correct date and time ensures your thermostat operates accurately.
Program The Temperature Schedule
Programming the temperature schedule allows you to customize your heating and cooling preferences. Here’s how to do it:
- Press the Menu button.
- Navigate to Program Schedule.
- Choose the day or range of days you want to program.
- Select the time period you wish to adjust (e.g., Morning, Day, Evening, Night).
- Set the desired temperature for each time period using the arrow buttons.
- Press Save to confirm each setting.
Repeat these steps for each day or time period. A well-planned schedule can save energy and reduce utility bills.
Here is a sample table to guide your schedule:
| Time Period | Weekdays | Weekends |
|---|---|---|
| Morning | 70°F (6:00 AM – 8:00 AM) | 72°F (7:00 AM – 9:00 AM) |
| Day | 68°F (8:00 AM – 6:00 PM) | 70°F (9:00 AM – 6:00 PM) |
| Evening | 72°F (6:00 PM – 10:00 PM) | 74°F (6:00 PM – 10:00 PM) |
| Night | 65°F (10:00 PM – 6:00 AM) | 67°F (10:00 PM – 7:00 AM) |
Adjust these values to fit your comfort and energy needs. Configuring these settings ensures a balanced and comfortable home environment.
Connecting To Wi-fi
Connecting your Emerson Thermostat to Wi-Fi is a crucial step. It allows you to control the temperature remotely. This guide will help you connect your device to Wi-Fi easily.
Access Wi-fi Settings
To start, press the Menu button on your thermostat. Navigate to the Wi-Fi Settings option. Select it to begin the connection process.
Make sure your Wi-Fi network is active. The thermostat will scan for available networks.
Connect And Test
Select your Wi-Fi network from the list. Enter your network password using the on-screen keyboard. Press Connect to proceed.
Once connected, the thermostat will display a confirmation message. Test the connection by adjusting the temperature using the mobile app.
If the connection fails, double-check the password. Ensure your router is working properly.
Follow these steps to ensure your thermostat is connected and ready to use. Enjoy the convenience of controlling your home’s temperature from anywhere.
Testing The Thermostat
Once you have programmed your Emerson thermostat, it is important to test it. This ensures that your settings are correct and the system works properly. Follow these steps to test your thermostat efficiently.
Turn On Power
First, make sure the power to your thermostat is on. Locate your circuit breaker and switch it on if it is off. This step is crucial for testing your thermostat effectively.
- Locate the main circuit breaker.
- Check if the switch for the thermostat is on.
- If it is off, turn it on.
Confirm the thermostat display is active. This indicates that it is receiving power.
Verify Operation
Next, verify the thermostat’s operation. Set the thermostat to a desired temperature. Ensure your heating or cooling system responds accordingly.
- Set the thermostat to heating mode.
- Increase the temperature setting.
- Wait for the heating system to turn on.
- Check if warm air is coming from the vents.
Repeat the same steps for cooling mode:
- Set the thermostat to cooling mode.
- Lower the temperature setting.
- Wait for the cooling system to activate.
- Check for cool air from the vents.
If both heating and cooling systems respond, your thermostat is working correctly. If not, review your settings and ensure all connections are secure.

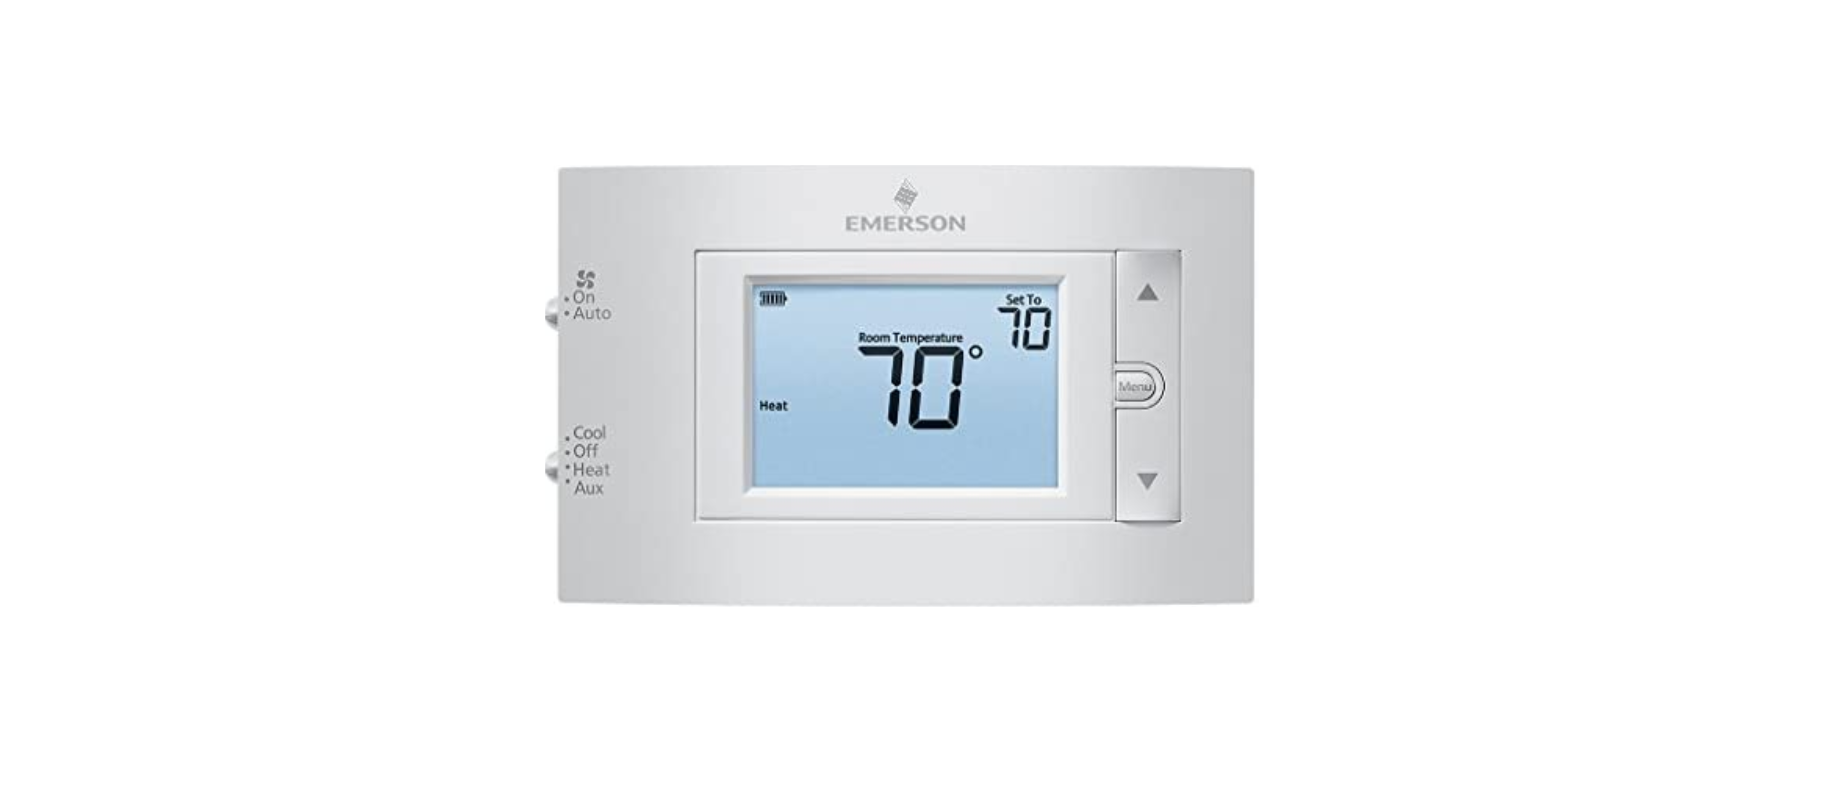
Credit: www.youtube.com
Troubleshooting Common Issues
Programming an Emerson thermostat can simplify home climate control. Yet, like any device, it may encounter issues. This section addresses troubleshooting common issues with Emerson thermostats. We focus on connection problems and incorrect temperature readings. These tips will help you resolve issues quickly.
Connection Problems
Sometimes, the Emerson thermostat may lose its connection to Wi-Fi. This can lead to difficulties in remote control.
- Check Wi-Fi signal: Ensure your router is working. Place the thermostat closer to the router.
- Restart the thermostat: Turn off the thermostat. Wait a few seconds and turn it back on.
- Re-enter Wi-Fi credentials: Go to settings and update your Wi-Fi network details.
- Update firmware: Ensure the thermostat’s firmware is up to date.
If these steps do not work, consult your router’s manual. You may need to adjust some settings.
Incorrect Temperature Readings
An Emerson thermostat may sometimes show incorrect temperature readings. This can lead to discomfort.
- Check thermostat location: Ensure it is not exposed to direct sunlight or drafts.
- Calibrate the thermostat: Go to settings and adjust the temperature reading.
- Replace batteries: Low batteries can affect the thermostat’s performance.
- Clean the thermostat: Dust or dirt may interfere with sensors. Use a soft cloth to clean it.
If the issue persists, the thermostat may need professional servicing. Contact Emerson support for further assistance.
Maintenance And Tips
Proper maintenance of your Emerson thermostat ensures it runs smoothly and efficiently. Regular upkeep can extend its life and prevent unexpected malfunctions. Following some simple tips and regular check-ups can keep your thermostat in top shape. Here are some maintenance tips to consider.
Regular Cleaning
Dust and dirt can affect your thermostat’s performance. Regular cleaning keeps it accurate. Use a soft brush or a can of compressed air. Gently clean the outer casing. Avoid using water or liquid cleaners. They can damage internal components.
Pay attention to the screen and buttons. Clean them to ensure proper functionality. Keeping the thermostat clean helps maintain its efficiency.
Software Updates
Emerson thermostats may receive software updates. These updates improve performance and add new features. Check for updates regularly. Refer to the user manual for instructions.
Installing updates ensures your thermostat works with the latest features. It can also fix any software bugs. Keeping your thermostat updated is essential for optimal performance.
Credit: thermostat.guide
Frequently Asked Questions
How Do I Set The Time On My Emerson Thermostat?
To set the time, press “Menu,” select “Clock,” and adjust the time using the arrow buttons.
How Do I Change The Temperature On An Emerson Thermostat?
Press the “Up” or “Down” arrow buttons to change the temperature setting on your Emerson thermostat.
How Do I Reset My Emerson Thermostat?
To reset, press the “Menu” button, select “Settings,” and choose “Factory Reset” from the options.
How Do I Program A Schedule On My Emerson Thermostat?
Go to “Menu,” select “Program Schedule,” and follow the prompts to set your daily temperature schedule.
How Do I Switch Between Heating And Cooling On My Emerson Thermostat?
Press the “Mode” button to toggle between heating, cooling, and off modes on your Emerson thermostat.
Conclusion
Programming your Emerson thermostat is simple with these steps. Follow the manual for setup. Adjust the settings to your comfort. Save energy by using the scheduling feature. Regularly check the thermostat for updates. With these tips, your home will stay comfortable.
Enjoy the convenience and efficiency of your Emerson thermostat. Happy programming!