Adding another thermostat can greatly improve home comfort. It helps you control different areas more efficiently.
Installing a second thermostat might seem daunting. Yet, it’s simpler than you think. Many homeowners find that a second thermostat offers better temperature control. It can save energy and lower utility bills. This guide will walk you through the process step by step.
From understanding your current setup to installing the new device, we cover it all. Whether you’re a DIY enthusiast or a beginner, this guide will help. Ready to make your home more comfortable? Let’s dive into how you can add another thermostat with ease.
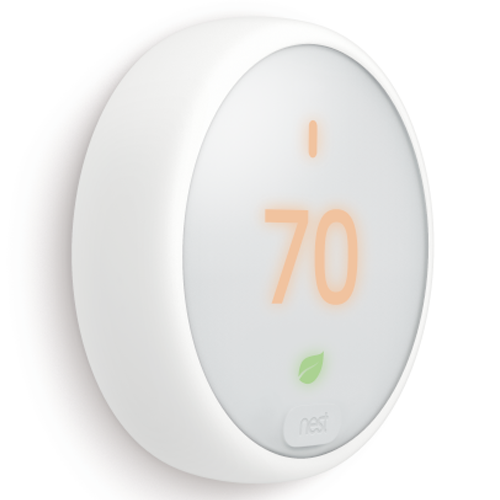
Credit: support.google.com
Choosing The Right Thermostat
Choosing the right thermostat can enhance your home’s comfort and efficiency. With many options available, it’s essential to understand the types and their compatibility with your system. This ensures you select the best fit for your needs and budget.
Types Of Thermostats
There are several types of thermostats to consider. Manual thermostats are the most basic. They require you to adjust the temperature settings manually.
Programmable thermostats allow you to set schedules. This helps in maintaining comfort while saving energy. You can set different temperatures for various times of the day or week.
Smart thermostats offer advanced features. They can connect to Wi-Fi, allowing you to control them via smartphone apps. Some smart thermostats learn your habits and adjust settings automatically.
Compatibility With Your System
Before buying a thermostat, check its compatibility with your heating and cooling system. Not all thermostats work with all systems.
Ensure your new thermostat supports your HVAC system type. Common types include central heating, heat pumps, and multi-stage systems.
Look for compatibility information on the thermostat’s packaging or the manufacturer’s website. This can save you from future headaches.
Also, consider the wiring requirements. Some thermostats need a C-wire for power. If your system lacks this wire, choose a model that doesn’t need it or consider professional installation.
Understanding these factors ensures you pick a thermostat that works seamlessly with your system. This results in better performance and energy savings.
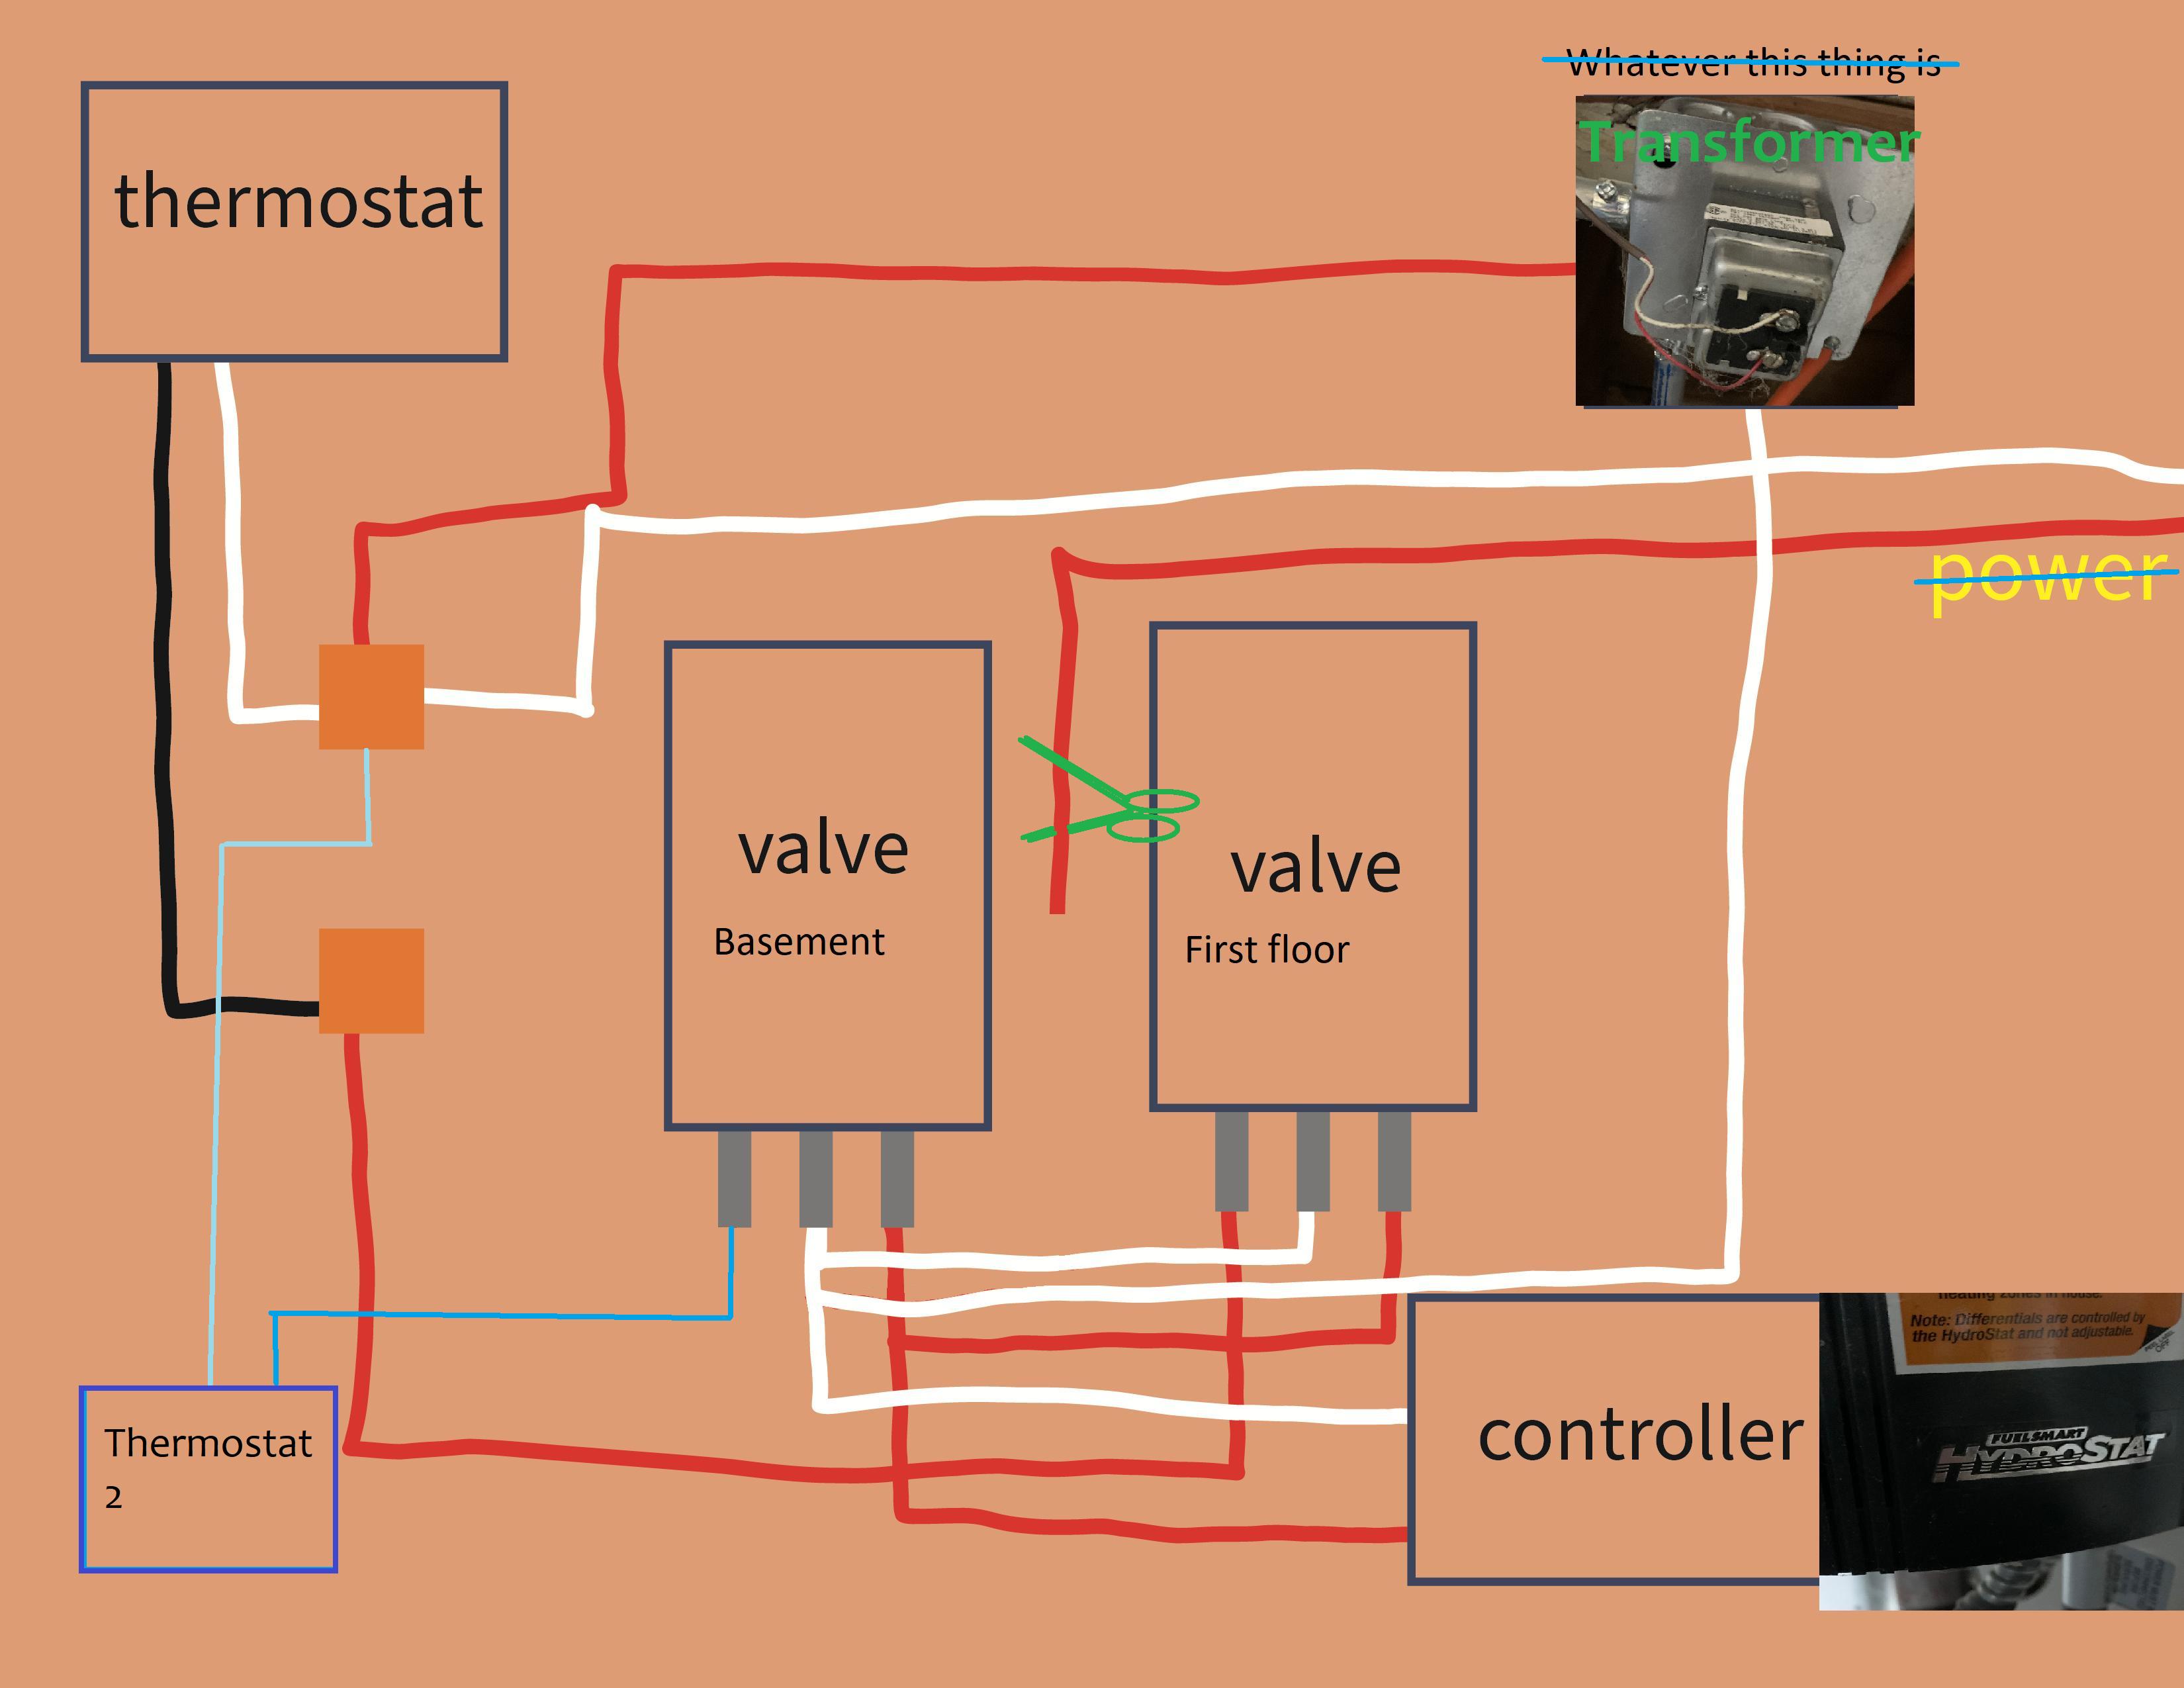
Credit: diy.stackexchange.com
Pre-installation Preparations
Before you add another thermostat, it’s important to prepare properly. These steps will ensure a smooth installation process. Make sure you have all the needed tools and materials. This will save you time and effort.
Turning Off Power
First, turn off the power to your HVAC system. Locate your circuit breaker box. Find the switch that controls power to your HVAC system. Flip it to the “off” position. This step is crucial for your safety. It prevents electrical shocks and damages.
Locating The Installation Area
Next, choose the best location for your new thermostat. The area should be away from direct sunlight. Avoid placing it near doors, windows, or vents. These factors can affect temperature readings. A central location in your home works best. Ensure the wall is clean and dry for mounting.
Use a stud finder to avoid drilling into electrical wires or pipes. Mark the spot where you will install the thermostat. This preparation will make the installation easier and safer.
Wiring The New Thermostat
Wiring the new thermostat is a crucial step. It ensures your heating and cooling systems work efficiently. This process might seem daunting, but it’s manageable with careful steps. Follow the guide below for a smooth setup.
Connecting Wires
First, turn off the power to your HVAC system. Safety comes first. Next, remove the cover of your old thermostat. You will see several colored wires. These wires must connect to the new thermostat.
Carefully detach each wire from the old thermostat. Keep track of the wires to avoid confusion. You can use tape to mark them. Refer to the new thermostat’s manual for wire connections. Usually, each wire color corresponds to a specific terminal. Connect the wires to the matching terminals on the new thermostat. Tighten the screws to secure the wires.
Labeling Wire Terminals
Labeling wire terminals is important. It helps identify each wire’s function. Most thermostats have standard labels. For instance, ‘R’ or ‘Rh’ stands for the power wire. ‘Y’ is for cooling, and ‘W’ is for heating.
Use the provided labels or make your own. Attach them to the respective wires. This ensures you connect them correctly. Double-check the labels before turning the power back on. Proper labeling prevents errors and ensures your system functions correctly. Follow these steps to wire your new thermostat confidently.
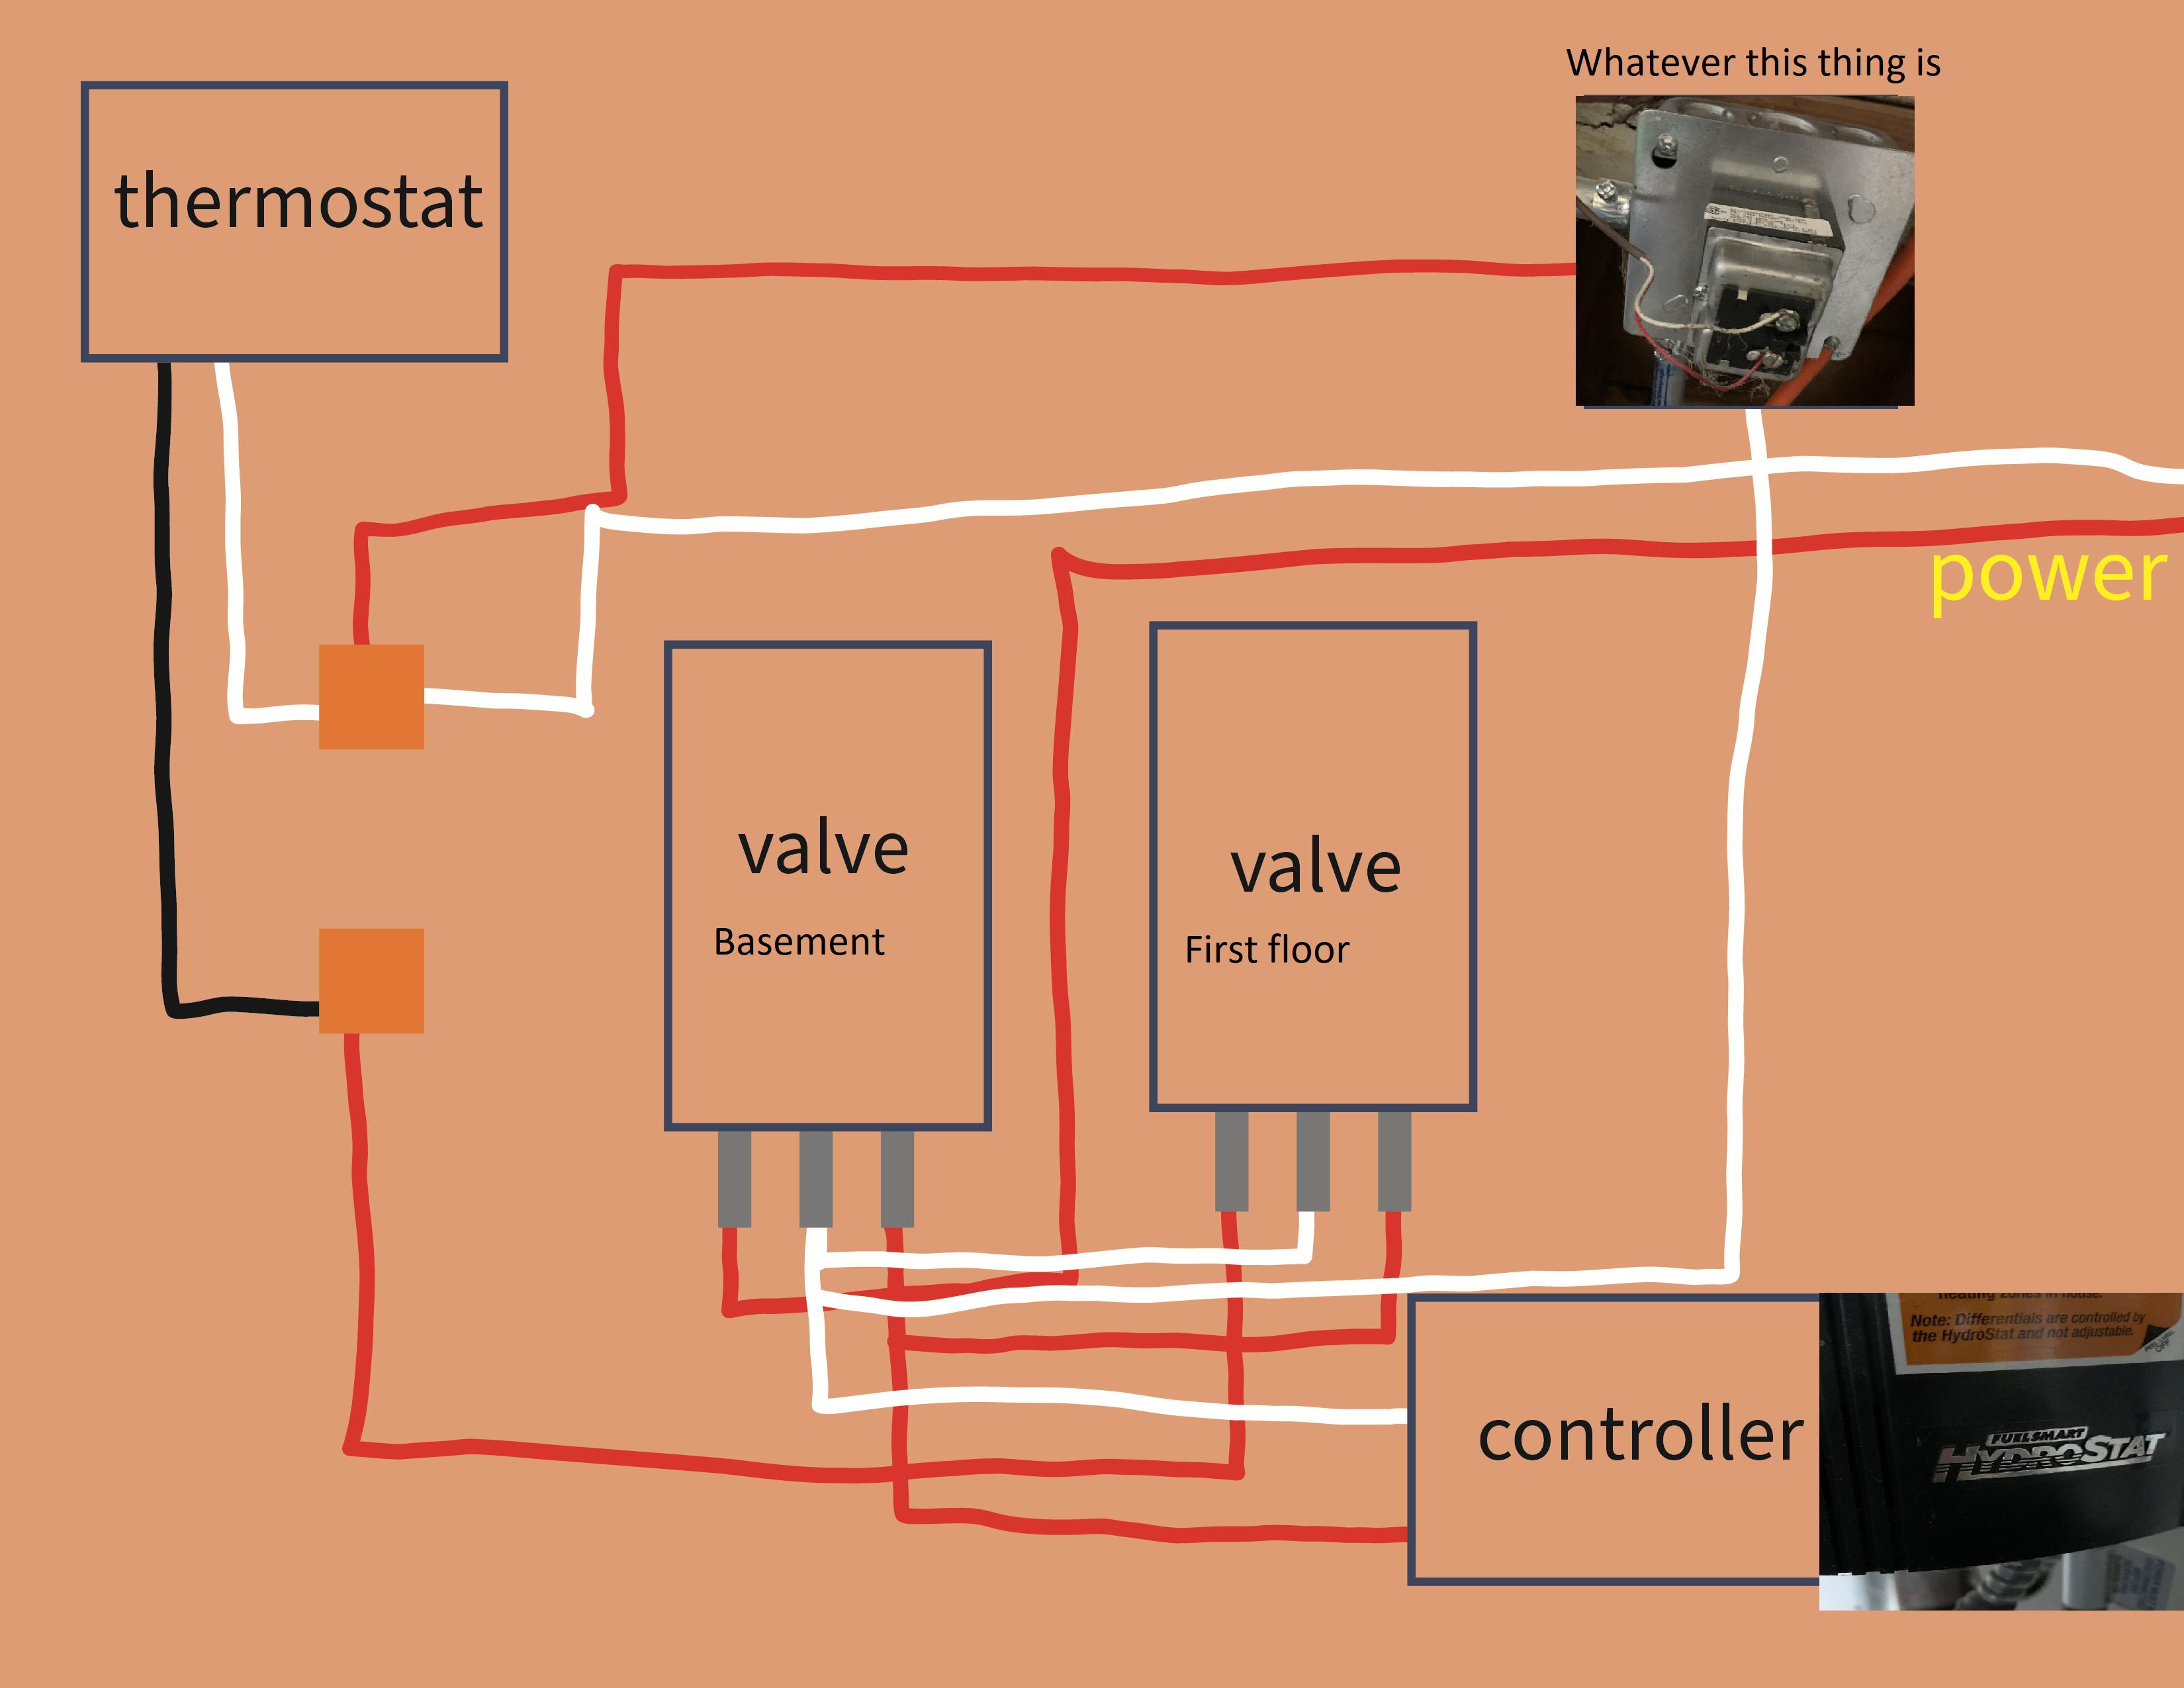
Credit: diy.stackexchange.com
Mounting The Thermostat
Mounting the thermostat is a critical step when adding another thermostat to your home. It ensures the device functions accurately and securely. Follow these steps to mount your new thermostat correctly.
Drilling Holes
First, choose a location for the new thermostat. It should be away from direct sunlight and drafts. Mark the spot where you want to install it. Use a pencil to make small marks for the screw holes. These marks will guide your drilling. Ensure you avoid electrical wires or pipes behind the wall.
Next, select a drill bit that matches the screws provided with your thermostat. Drill holes at the marked spots. Make sure to drill straight and not at an angle. This will help in securing the thermostat base properly. Once done, clean any dust or debris from the drilled holes.
Securing The Thermostat Base
After drilling, align the thermostat base with the holes. Insert the screws into the holes through the base. Tighten the screws using a screwdriver. Make sure the base is level and secure. It should not wobble or be loose. A secure base ensures the thermostat will work correctly.
Finally, double-check the positioning. Ensure the thermostat base is firmly attached to the wall. If everything looks good, you are ready to move to the next step. Proper mounting is essential for accurate temperature control and thermostat longevity.
Configuring The Thermostat Settings
Configuring the thermostat settings is vital for optimal home comfort. It ensures the new device works seamlessly with your existing system. Follow these simple steps to configure your new thermostat correctly.
Setting Temperature Preferences
First, decide your preferred temperature range. This helps the thermostat maintain a comfortable environment. Set a higher temperature for the day and a lower one for the night. This saves energy and keeps the home cozy.
Many thermostats offer pre-programmed settings. You can use these presets or customize according to your needs. Make sure to save your settings to avoid reprogramming later.
Connecting To Wi-fi
Next, connect your thermostat to Wi-Fi. This allows you to control it remotely. Open the thermostat menu and find the Wi-Fi settings. Select your home network and enter the password.
Once connected, download the thermostat’s app on your smartphone. Follow the on-screen instructions to sync the app with your thermostat. Now you can control the temperature from anywhere. This adds convenience and flexibility to your daily life.
Testing The New Thermostat
Once you have installed your new thermostat, it is essential to test it. This ensures that it functions correctly and meets your needs. A few simple steps can help you check everything is working fine.
Powering On
First, turn on the power to your HVAC system. Check the thermostat display to see if it lights up. If the display remains dark, double-check the wiring connections. Ensure the thermostat is firmly attached to its base.
Checking Functionality
Set your thermostat to a temperature higher than the current room temperature. Wait for the heating system to activate. Listen for the sound of the heating unit starting up.
Next, set the thermostat to a temperature lower than the room temperature. The cooling system should turn on. Feel the air coming from the vents to confirm cool air is flowing.
Also, test other settings like fan mode and programmable schedules. Make sure they respond correctly. This will help you ensure the thermostat works as expected.
Troubleshooting Common Issues
Adding another thermostat to your home can improve comfort and efficiency. Sometimes, you might face issues during the installation. This section will help you troubleshoot common problems. Let’s dive into some typical issues you may encounter.
No Power To Thermostat
If your thermostat has no power, first check the batteries. Replace them if they are dead. If the batteries are fine, check the circuit breaker. It may have tripped. Reset it if needed. Verify the wiring connections at the thermostat and the HVAC system. Loose or disconnected wires can cause power issues.
Incorrect Temperature Readings
If the thermostat displays incorrect temperature readings, place it in a better location. Avoid placing it near windows, doors, or direct sunlight. Heat sources can affect readings. Check for dust or debris on the thermostat sensor. Clean it gently with a soft brush or cloth. Ensure the thermostat is calibrated correctly. Refer to the user manual for calibration instructions.
Maintenance Tips
Maintaining your thermostat ensures it functions properly and lasts longer. Regular care can prevent common issues and save you money. Here are some simple maintenance tips to keep your thermostat in top condition.
Regular Cleaning
Dust can accumulate on your thermostat, affecting its performance. Clean your thermostat every three months to keep it dust-free.
- Gently remove the cover.
- Use a soft brush or cloth to clean the interior.
- Check for any loose wires or corrosion.
- Replace the cover securely.
Regular cleaning ensures accurate temperature readings and efficient operation.
Software Updates
Modern thermostats often have software that needs updating. Regular updates ensure your thermostat runs the latest features and security patches.
- Check the manufacturer’s website for updates.
- Follow the instructions to download and install updates.
- Restart your thermostat to apply changes.
Keeping the software up-to-date improves performance and adds new features.
Frequently Asked Questions
Can I Add A Second Thermostat To My Home?
Yes, you can add a second thermostat. It helps control different zones better.
What Tools Do I Need To Install Another Thermostat?
You will need a screwdriver, drill, level, and wire strippers. Ensure you have the new thermostat too.
Do I Need An Electrician To Install Another Thermostat?
Not always. If you’re comfortable with basic wiring, you can do it yourself. Otherwise, hire a professional.
How Do I Wire A Second Thermostat?
Turn off the power. Connect the wires from the new thermostat to the existing wiring. Follow the manufacturer’s instructions.
Will Adding A Second Thermostat Save Energy?
Yes, it can. It allows for better temperature control in different areas, reducing overall energy use.
Conclusion
Adding another thermostat can improve home comfort and energy efficiency. Follow the steps carefully. Choose the right location. Install the wiring correctly. Test the new thermostat for proper function. Consult a professional if needed. With patience and the right tools, the process is manageable.
A new thermostat can make your home more comfortable and efficient. Enjoy the benefits of better temperature control.