Hoover steam mops are popular for their cleaning power. Yet, like any device, they can have issues.
Owning a Hoover steam mop can make cleaning easier. But when problems arise, it can be frustrating. Common issues range from water not heating to steam not coming out. Understanding these problems helps in maintaining your mop better. In this blog post, we will look at common Hoover steam mop problems.
Knowing these issues can save time and money. It will also extend the life of your mop. Read on to learn about solutions to these common problems. This knowledge can help keep your Hoover steam mop in top shape.
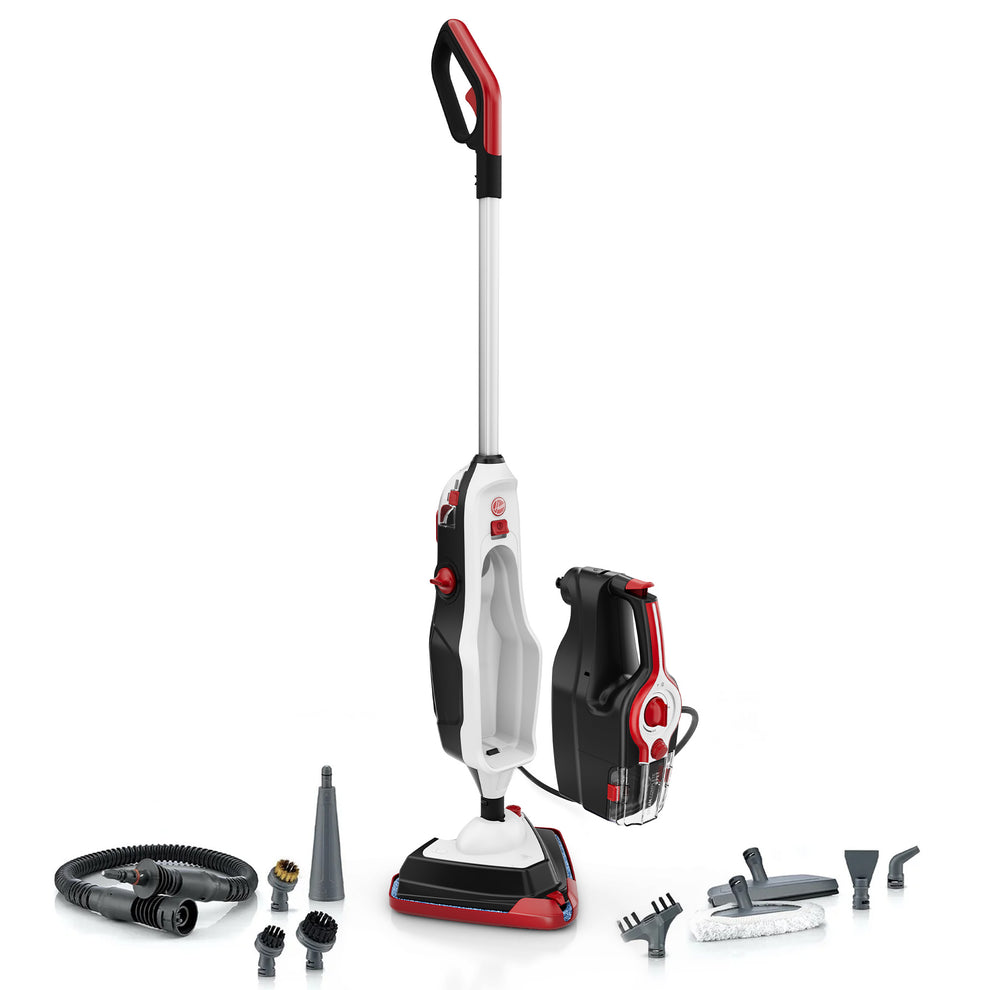
Credit: hoover.com
Common Issues
So, you’ve invested in a Hoover steam mop, hoping to make your cleaning routine a breeze. But, like any gadget, it can have its quirks. Don’t fret! Here, we’ll dive into some common issues you might encounter and how to tackle them.
Water Tank Leaks
Ah, the dreaded water tank leak. Nothing worse than finding a puddle where your steam mop should be. This is a common problem that many users face. But why does it happen?
Leaky water tanks can be caused by:
- Loose Cap: Ensure the cap is tightly sealed. Sometimes, it’s just a matter of turning it a bit more.
- Cracked Tank: Inspect the tank for any visible cracks. If you find one, it might be time for a replacement part.
- Faulty Seal: The seal or gasket might be worn out. Replacing it can often solve the problem.
Personally, I once found my Hoover steam mop leaving trails of water. It was a loose cap. A quick twist, and voila! Problem solved. So, don’t panic, check these simple fixes first.
Insufficient Steam
Ever felt like your steam mop is barely steaming? It’s like expecting a hot shower and getting a cold drizzle. Frustrating, right? Insufficient steam is another common hiccup.
Here’s a few reasons for this:
- Water Level: Check if the water tank is filled. It sounds obvious, but it’s easy to overlook.
- Clogged Nozzle: The nozzle might be clogged with mineral deposits. Cleaning it can restore the steam flow.
- Wrong Setting: Ensure the mop is set to the correct steam setting. Sometimes, it’s just a simple switch.
I recall a time when my steam mop was barely puffing out steam. Turned out, the nozzle was clogged. A quick clean, and it was back to its steamy self. So, before you toss it out, try these checks.
Troubleshooting
Steam mops can sometimes encounter issues, affecting their performance. Troubleshooting common problems can save time and effort. Below are some common Hoover steam mop problems and their solutions.
No Power
If your Hoover steam mop won’t turn on, first check the power cord. Ensure it is firmly plugged into a working outlet. Sometimes, the outlet may be faulty, so try another one. Inspect the power cord for any visible damage. If the cord is damaged, it needs replacement.
Check the power switch as well. Make sure it is in the ‘on’ position. If it still doesn’t work, the problem may lie within the internal wiring. In this case, professional repair is necessary.
Weak Suction
Weak suction reduces the efficiency of your steam mop. Start by emptying the water tank. A full tank can affect suction power. Next, clean the filter. A clogged filter can hinder airflow, reducing suction.
Check for blockages in the nozzle and hose. Clear any debris or obstructions. If the problem persists, inspect the motor. A malfunctioning motor may need professional attention.
Regular maintenance can prevent these issues. Clean the filter and nozzle after each use. This ensures your Hoover steam mop operates at peak performance.
Maintenance Tips
Owning a Hoover steam mop can make your cleaning routine much easier, but like any household appliance, it requires regular maintenance to keep it running smoothly. Simple upkeep can prevent common issues and extend the life of your steam mop. Let’s dive into some essential maintenance tips that will help you keep your Hoover steam mop in tip-top shape.
Regular Cleaning
One of the most important aspects of maintaining your Hoover steam mop is ensuring it is regularly cleaned. After each use, make sure to empty the water tank and remove any remaining water. This prevents any build-up of mineral deposits, which can clog the system over time.
Additionally, clean the mop pads frequently. They can accumulate dirt and grime, reducing their effectiveness. Simply toss them into your washing machine with a bit of detergent. Avoid using fabric softeners as they can leave a residue that diminishes the mop’s cleaning power.
Another good habit is to wipe down the mop’s exterior with a damp cloth to remove any dust or debris. This keeps your mop looking good and functioning well.
Filter Replacement
Filters play a crucial role in ensuring your Hoover steam mop works efficiently. Over time, these filters can get clogged with dirt and debris, reducing the steam mop’s performance. Hence, regular filter replacement is essential.
Check the user manual for your specific model to find out how often the filter needs to be replaced. Generally, it’s a good practice to inspect the filter every 3-6 months. If you notice any visible dirt or a decrease in performance, it’s probably time for a new filter.
Replacing the filter is usually a straightforward task. Here’s a simple step-by-step guide:
- Unplug the steam mop and let it cool down completely.
- Locate the filter compartment, usually near the water tank.
- Remove the old filter and dispose of it properly.
- Insert the new filter, ensuring it fits snugly.
- Close the compartment and you’re done!
By following these maintenance tips, you can ensure your Hoover steam mop continues to deliver powerful cleaning performance. Remember, a little upkeep goes a long way in preventing problems and prolonging the life of your appliance.
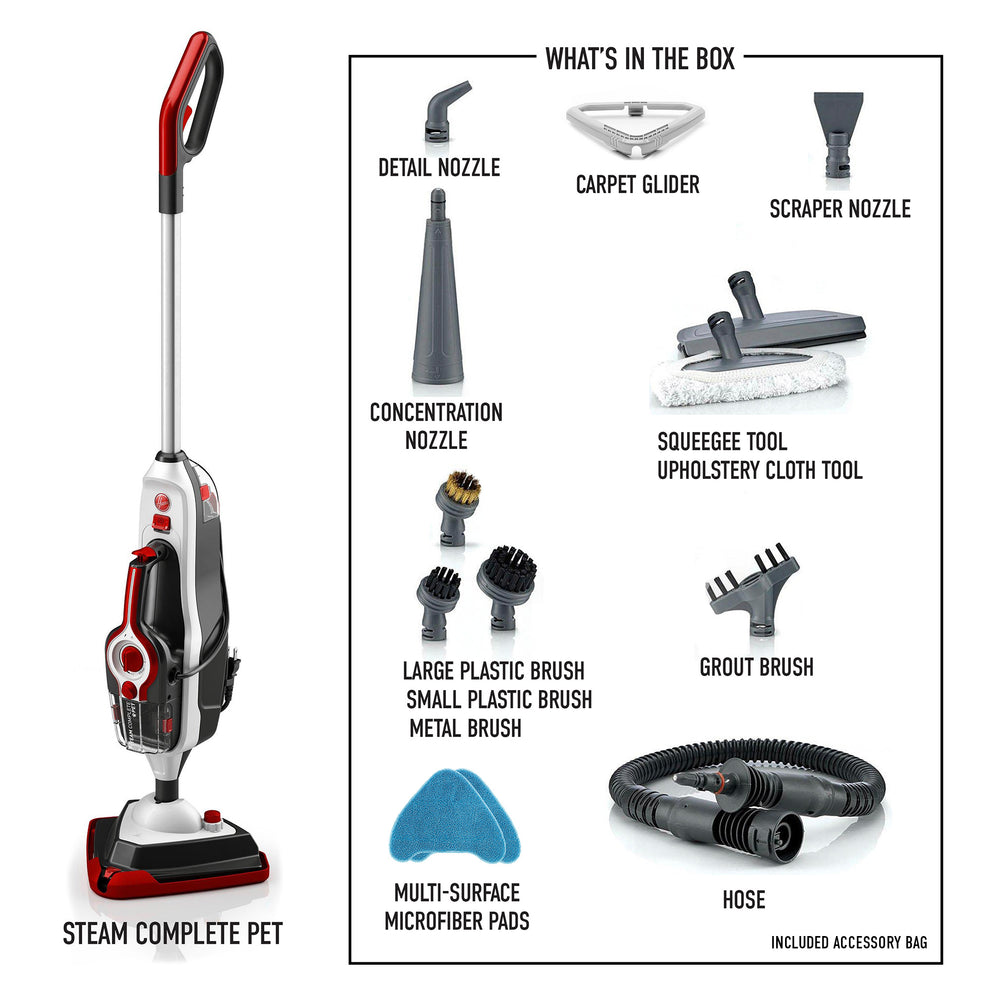
Credit: hoover.com
User Reviews
Many users report issues with the Hoover steam mop, including leaking water and poor steam output. Some also experience difficulty with the mop head staying attached.
User reviews offer valuable insights into the Hoover Steam Mop. They reveal both the strengths and weaknesses of the product. Let’s explore what users are saying.Positive Feedback
Many users praise the Hoover Steam Mop for its efficiency. It cleans floors quickly and effectively. They love the lightweight design. It makes the mop easy to handle.Users also appreciate the ease of use. The mop heats up fast. It’s ready to use in seconds. The long cord is another plus. It allows for extended reach without changing outlets.Negative Feedback
Some users report issues with the water tank. It can be difficult to fill. Others mention the mop head. It may not swivel easily.A few users find the steam output insufficient. It does not tackle tough stains well. The cord can also be a hassle. It may get tangled during use. “`Warranty Information
When purchasing a Hoover steam mop, it’s essential to understand the warranty details. Knowing what is covered and how to make a claim can save you a lot of hassle if your mop runs into issues. Let’s dive into the specifics.
Coverage Details
The warranty for Hoover steam mops typically covers manufacturing defects and certain parts for a specific period. Here’s a quick breakdown:
- Duration: Usually, Hoover offers a one-year limited warranty.
- Parts Covered: The warranty often covers the main unit, handle, and steam nozzle.
- Exclusions: Normal wear and tear, damage caused by misuse, and unauthorized repairs are not covered.
Imagine this: you’re happily mopping away, but suddenly, the steam stops. If it’s a manufacturing defect, you’re in luck. The warranty might have you covered.
Claim Process
Making a warranty claim might sound daunting, but it’s usually straightforward. Here’s a step-by-step guide:
- Contact Hoover: Reach out to Hoover’s customer service via phone or their website.
- Provide Details: Be ready with your purchase receipt, model number, and a description of the problem.
- Follow Instructions: Follow the instructions given by the representative. This might include sending the mop for inspection.
Pro tip: Keep your purchase receipt in a safe place. It’s your golden ticket to hassle-free service.
In conclusion, understanding the warranty can save you from unexpected expenses and stress. So, keep those receipts handy and don’t hesitate to contact Hoover if your steam mop gives you trouble.
Replacement Parts
Having a Hoover steam mop can make cleaning floors easier. But, sometimes, you might face issues. One common problem is the need for replacement parts. Getting the right parts can keep your mop working well. Below, we will explore where to buy these parts and how to install them.
Where To Buy
Finding replacement parts for your Hoover steam mop is easy. Many online stores sell them. Websites like Amazon and eBay have a variety of parts. You can also visit the official Hoover website. Here, you can find specific parts for your model. Local hardware stores might also carry Hoover parts. Always check if the part matches your mop model.
Installation Guide
Installing replacement parts is usually simple. First, read the user manual. It often has instructions for replacing parts. If you do not have a manual, check the Hoover website for a digital version. Common parts needing replacement include mop pads, water tanks, and nozzles.
For mop pads, remove the old pad by unhooking it. Place the new pad in its place and secure it. For the water tank, make sure the mop is off and cool. Remove the old tank by pressing the release button. Attach the new tank by sliding it into place until it clicks.
Nozzles can clog over time. Remove the old nozzle by unscrewing it. Replace it with the new nozzle and screw it in tightly. These simple steps can keep your Hoover steam mop running smoothly.
Professional Help
Using a Hoover steam mop can make cleaning easier. But sometimes, you might face issues that require professional help. Knowing when to seek assistance can save you time and stress. In this section, we’ll discuss when to consult a professional and where to find service centers.
When To Consult
If your Hoover steam mop is not producing steam, a professional should check it. Strange noises or smells can indicate a problem. If the mop leaves streaks or puddles, expert help is needed. Electrical issues, like the mop not turning on, need professional attention. If home troubleshooting fails, it is best to consult a technician.
Service Centers
Hoover service centers are the best places for mop repairs. They have trained staff who understand the product. You can find service centers by visiting the Hoover website. Look for authorized service centers to ensure quality repairs. Some centers offer drop-off and pick-up services. Call ahead to check availability and service options.

Credit: www.amazon.com
Preventive Measures
Hoover steam mops are great tools for cleaning floors. But, like any tool, they need proper care. Preventive measures can help avoid problems and extend the life of your steam mop. Here are some tips to keep your Hoover steam mop in top shape.
Proper Storage
Store your steam mop in a cool, dry place. This prevents mold and mildew. Make sure to empty the water tank after each use. This helps avoid mineral buildup. Keep the mop head clean and dry before storing. It stops bacteria from growing. Use the mop’s cord wrap feature. It keeps the cord tidy and prevents damage.
Usage Guidelines
Use distilled water in your steam mop. This reduces mineral deposits. Always follow the manufacturer’s instructions. This ensures safe and effective use. Regularly check the mop for wear and tear. Replace damaged parts promptly. Use the mop only on suitable surfaces. Avoid carpets or delicate floors. Let the steam mop cool down after use. This extends its lifespan.
Frequently Asked Questions
Why Is My Hoover Steam Mop Not Working?
Your Hoover steam mop may not work due to a clogged nozzle, empty water tank, or power issues. Check and clean the nozzle, refill the tank, and ensure the mop is plugged in correctly.
What Causes A Steam Mop To Stop Working?
A steam mop may stop working due to a clogged nozzle, water tank issues, power cord problems, or heating element failure. Regular maintenance and cleaning can prevent these issues.
Why Is My Hoover Steam Cleaner Not Picking Up Water?
Your Hoover steam cleaner might not pick up water due to a clogged nozzle, full recovery tank, or damaged suction motor. Check and clean the nozzle, empty the recovery tank, and inspect the suction motor for issues. Regular maintenance ensures optimal performance.
Why Is There No Water Coming Out Of My Steam Mop?
Your steam mop may have clogged nozzles, a faulty pump, or an empty water tank. Clean or refill the tank.
Why Is My Hoover Steam Mop Not Steaming?
The water tank might be empty. Check and refill it. Also, ensure the mop is plugged in and heated.
Conclusion
Dealing with Hoover steam mop problems can be frustrating. Regular maintenance helps prevent issues. Clean the mop after each use. Check for clogs in the steam nozzle. Use only recommended cleaning solutions. If problems persist, contact customer support. A well-maintained steam mop ensures better performance.
Keep your floors clean and fresh. Happy mopping!