Have you ever noticed your Gilmour sprinkler sitting stubbornly still while your lawn thirsts for water? You’re not alone.
A sprinkler that refuses to rotate can be a frustrating headache, especially when your once-green grass starts turning brown. But don’t worry—you’re about to discover simple solutions to get your Gilmour sprinkler spinning again. Imagine the satisfaction of seeing every blade of grass glisten under a perfectly timed shower.
You’ll learn exactly why your sprinkler might be stuck and how to fix it, so you can enjoy a lush, vibrant lawn all season long. Ready to dive in and rescue your garden? Let’s get started!
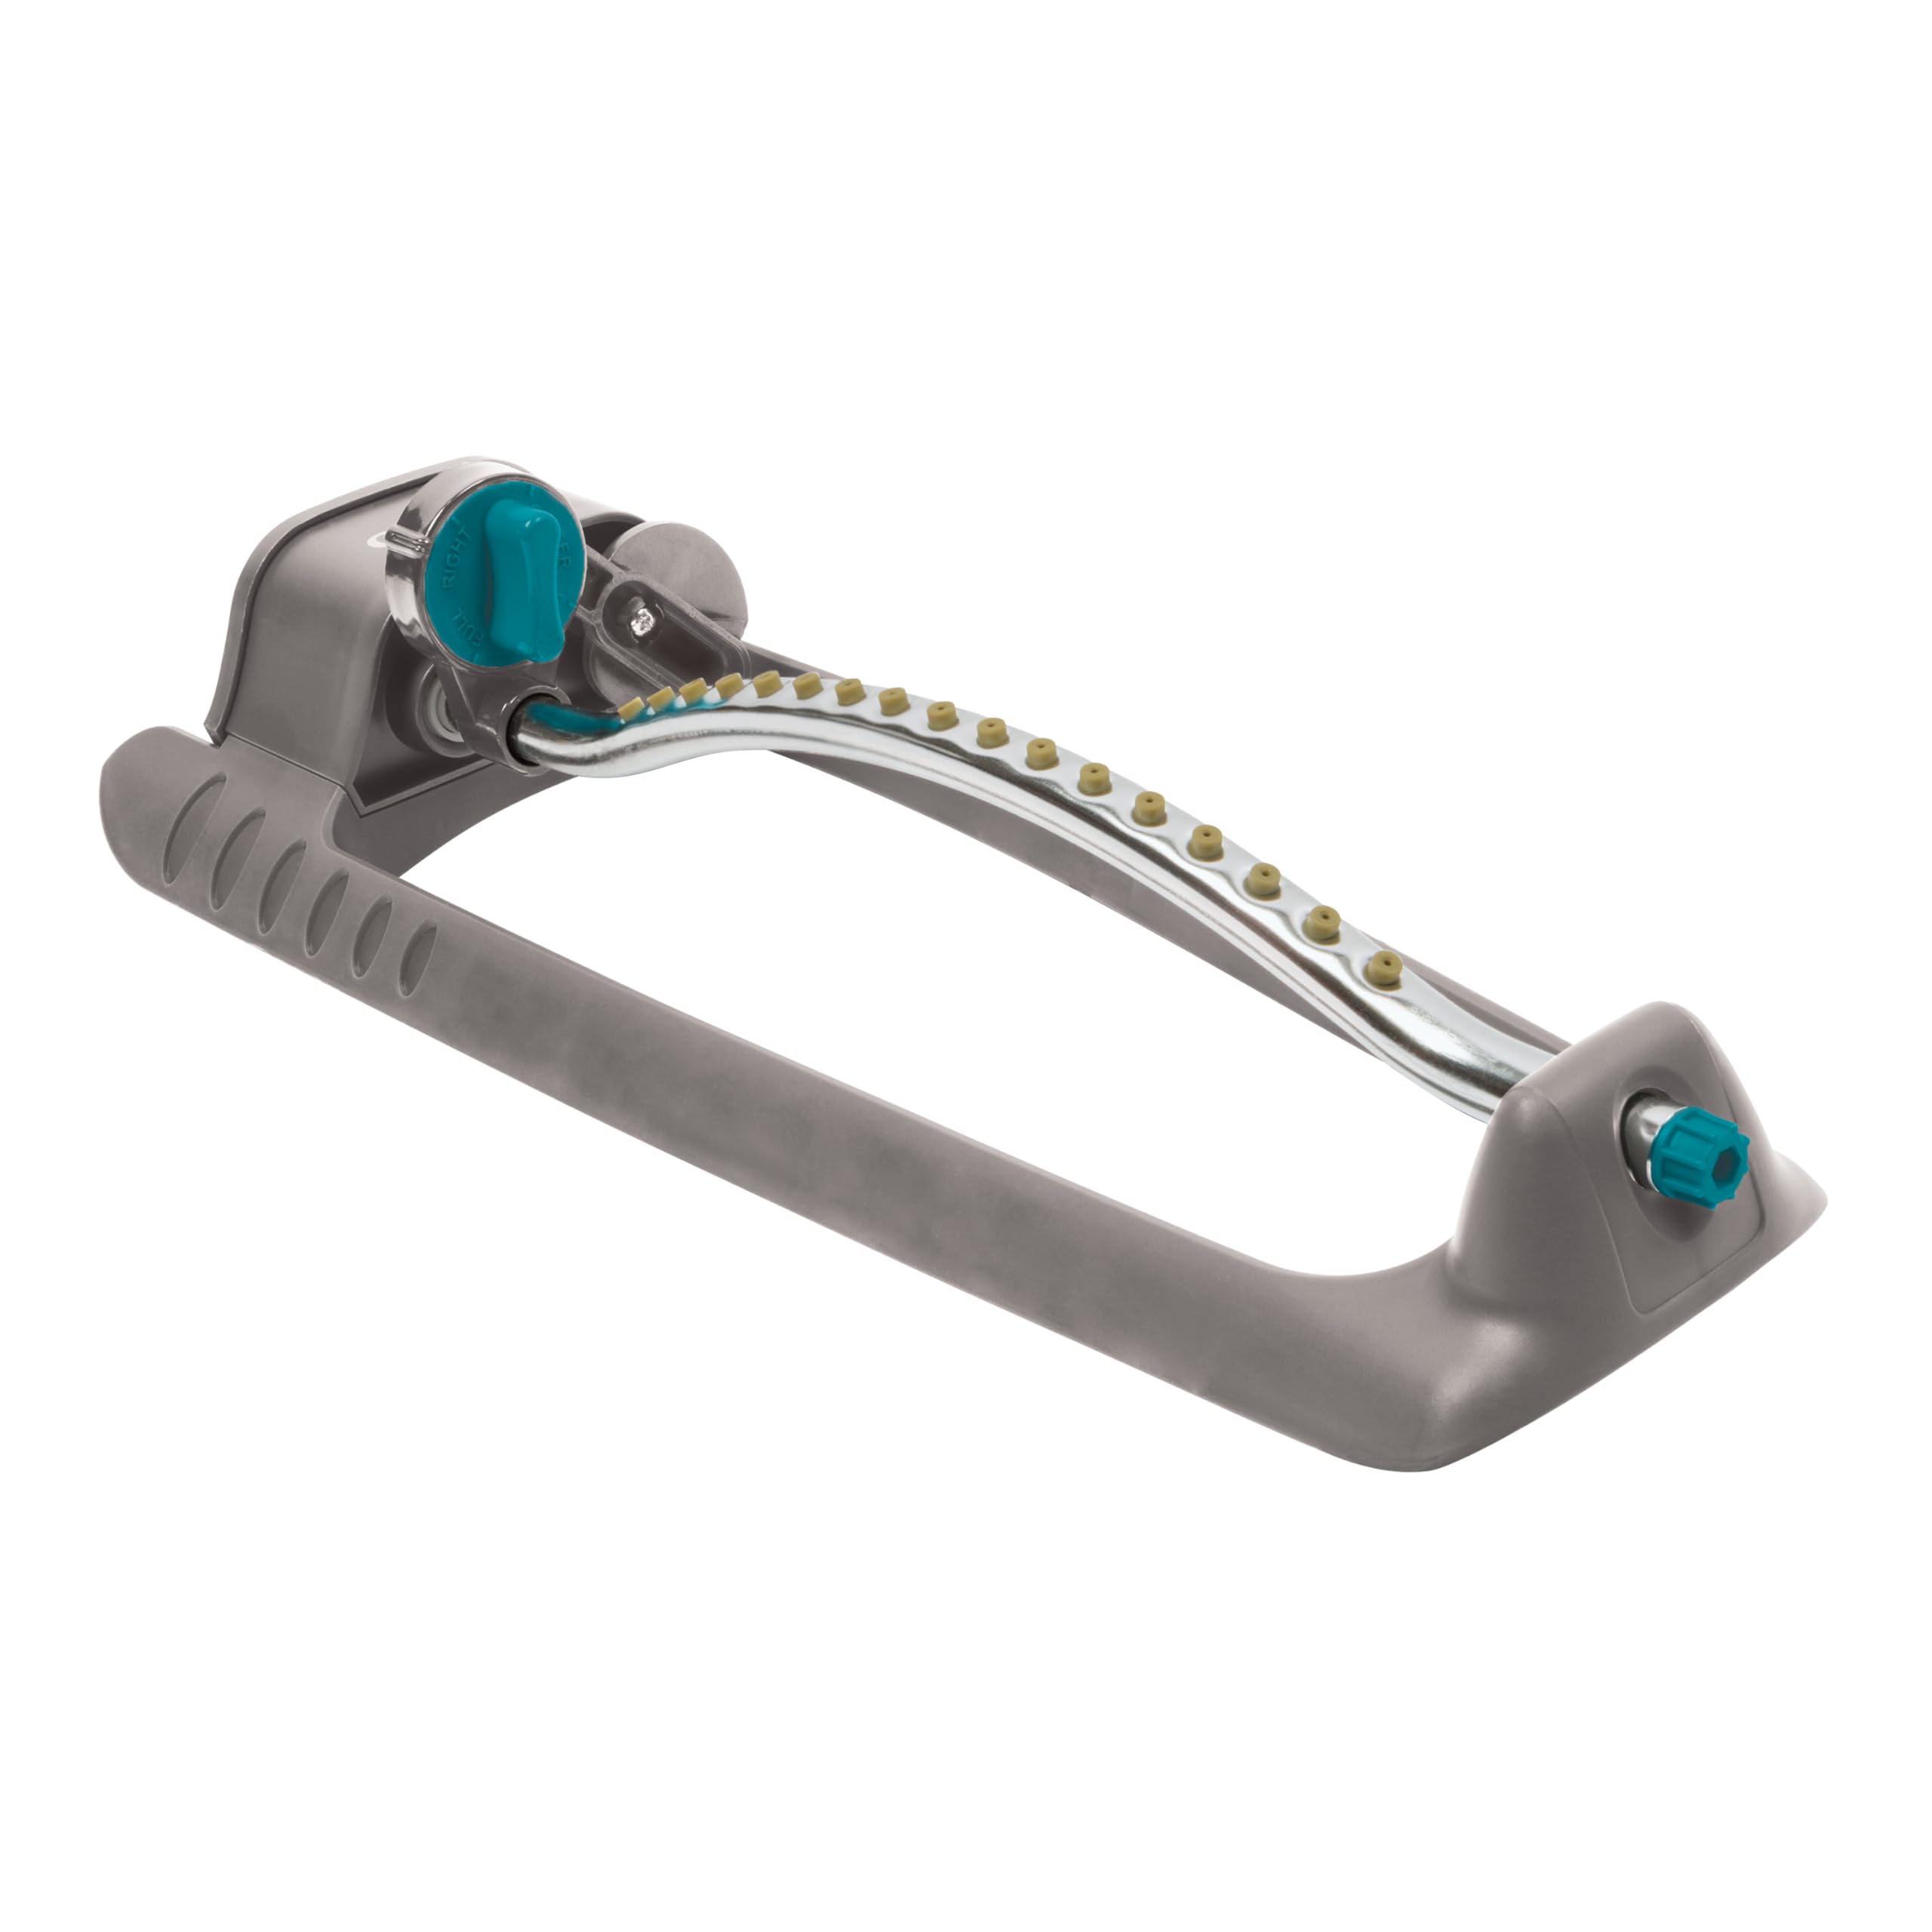
Credit: www.amazon.com
Common Causes
A non-rotating Gilmour sprinkler can be frustrating. You might notice uneven watering. Plants may not get enough water. Several common issues cause this problem. Let’s explore them.
Obstructions In The Sprinkler
Debris can block sprinkler movement. This includes dirt, leaves, and small stones. Regular cleaning helps. Check the sprinkler for any visible blockage. Clear away any debris. It ensures smooth rotation.
Water Pressure Issues
Water pressure affects sprinkler performance. Low pressure can stop rotation. Ensure there are no kinks in the hose. Make sure the water source is fully open. Sometimes, water supply issues affect pressure.
Worn Out Parts
Over time, parts can wear out. This includes gears and seals. Regular maintenance extends the life of your sprinkler. Check for worn parts. Replace them if needed. It keeps your sprinkler working effectively.
Initial Inspection
Gilmour sprinkler not rotating? Start with a basic inspection. Check for blockages in the head. Ensure water pressure is adequate.
When your Gilmour sprinkler stops rotating, it can turn your beautiful lawn into a patchwork quilt of green and brown. Before you rush to replace it, an initial inspection might reveal some simple solutions. A quick check can save you time and money, and it’s a process anyone can handle.Visual Checks
Start by examining the sprinkler head. Look for visible blockages like dirt or grass that may obstruct rotation. Does the nozzle look clogged? A gentle cleaning with a soft brush might do the trick. Pay attention to any signs of wear and tear. A cracked housing or worn-out parts could be the culprit.Check the water pressure. If it’s too low, the sprinkler might not have enough force to rotate. Turn on the system and see if water is flowing freely. Adjusting the pressure might solve the problem without further fuss.Listening For Unusual Sounds
Turn on the sprinkler and listen carefully. Is there a grinding noise or does it sound like it’s struggling? These sounds can indicate debris inside the mechanism.Sometimes, the absence of sound is also a clue. If the sprinkler is silent, it might not be getting any water at all. Ensure the valves are open and water supply is not interrupted. A quiet sprinkler can be a sign that something is stuck or blocked.Have you experienced a similar issue with your sprinkler system? What did you discover upon listening? Sometimes, the simplest observations lead to the most effective solutions.Cleaning The Sprinkler
Troubles with your Gilmour sprinkler not rotating? Dirt or debris could be the culprit. Cleaning the sprinkler head and checking for blockages can restore its smooth operation. Regular maintenance ensures efficient watering and extends the sprinkler’s lifespan.
Cleaning your Gilmour sprinkler can be the key to getting it back to its smooth, reliable performance. Imagine the satisfaction of seeing your sprinkler rotate effortlessly, ensuring every corner of your garden gets its fair share of water. This task, though simple, requires attention to detail. By focusing on removing debris and rinsing internal components, you can restore your sprinkler to its optimal function. Let’s dive into the practical steps to get your sprinkler rotating perfectly again.###Removing Debris
Debris can be a sneaky culprit in halting your sprinkler’s rotation. Twigs, leaves, and even small stones can lodge in the sprinkler head. Gently inspect your sprinkler, looking for any visible blockages.Using a soft brush or cloth, carefully remove debris. Pay attention to small crevices where dirt can accumulate. It’s surprising how a small obstruction can cause significant issues.###Rinsing Internal Components
After clearing visible debris, it’s time to rinse the internal components. Disassemble the sprinkler as per the manual instructions. You’ll often find clogged nozzles and gears inside.Rinse these parts under a gentle stream of water. Ensure that water flows freely through the nozzles. This step can often solve rotation problems by clearing hidden dirt.Have you ever been frustrated with a malfunctioning tool? Taking the time to clean and maintain it can be incredibly rewarding. Your efforts will pay off when you see your sprinkler distributing water evenly across your garden. Are you ready to tackle this simple yet effective cleaning task? Your garden will thank you!Adjusting Water Pressure
Experiencing issues with your Gilmour sprinkler not rotating? Adjusting water pressure might solve the problem. Ensure the pressure is neither too low nor too high for smooth rotation.
Adjusting the water pressure can be a crucial step in getting your Gilmour sprinkler to rotate properly. Sometimes, the reason your sprinkler isn’t moving as it should is due to the water pressure being too low or too high. By fine-tuning the pressure, you can ensure your garden gets the right amount of water coverage. Let’s dive into a few practical steps to help you adjust the water pressure effectively.Checking Water Source
Begin by examining the water source. Is the faucet fully opened? Sometimes, it’s as simple as turning the knob a little more. Ensure there are no kinks in the hose that might be restricting the flow.Next, consider the distance from the water source. The further the hose stretches, the lower the pressure might be at the sprinkler’s end. A shorter hose might be an easy solution if distance is causing a pressure drop.Using Pressure Regulators
Pressure regulators are a handy tool for managing water flow. Have you tried using one? They can help maintain a steady pressure, ensuring consistent sprinkler performance.Install a regulator directly onto the hose or faucet. Adjust it until you notice a steady, even spray from your sprinkler. It’s an easy fix that can make a world of difference.Finally, consider the possibility of too much pressure. If your sprinkler is jerking or not rotating smoothly, reducing the pressure might be the answer. Check your regulator settings and dial it down if needed.By paying attention to these details, you can optimize your sprinkler’s performance and keep your garden lush and healthy. Have you ever struggled with sprinkler issues? How did adjusting the water pressure help you? Share your insights below!Replacing Damaged Parts
Fixing a Gilmour sprinkler not rotating often involves replacing damaged parts. Check for broken gears or clogged nozzles. Repairing these can restore full functionality.
When your Gilmour sprinkler stops rotating, it can be quite frustrating, especially during peak watering seasons. Sometimes, the issue lies in damaged parts that need replacement. Knowing how to replace these components can save you time and money, ensuring your lawn stays lush and green.Identifying Faulty Components
First, inspect your sprinkler closely. Look for cracks or worn-out areas on the head and base. Are the gears stuck or broken? This is a common issue affecting rotation.Compare the current condition with a new sprinkler if possible. Noticed any missing screws or bent metal? These could be culprits preventing proper rotation.Once identified, make a list of the parts you need. This keeps your shopping efficient and ensures you don’t overlook anything.Installation Of New Parts
With your new parts ready, gather basic tools like a screwdriver and pliers. These will help you remove the faulty components and install the new ones.Start by unscrewing the damaged parts. Is the sprinkler head jammed? A bit of lubrication can ease it out.Attach the new parts, ensuring they fit snugly. Double-check that screws are tight, and nothing is loose.Finally, test the sprinkler by turning it on. Does it rotate smoothly now? If it does, you’ve done a great job!Repairing sprinklers might seem tedious, but it’s a skill worth having. Why pay for a new one when a simple fix can revive it?
Credit: www.amazon.com
Testing After Repairs
Experiencing issues with a Gilmour sprinkler not rotating can be frustrating. After completing repairs, ensure the system functions correctly by testing it thoroughly. Observe for smooth rotation and consistent water coverage, addressing any remaining problems promptly.
Testing your Gilmour sprinkler after repairs is a crucial step to ensure everything is functioning smoothly. Even the most meticulous repairs can sometimes miss a spot, and this test phase is your chance to catch any lingering issues. Before you start, make sure you have a clear understanding of how your sprinkler should operate, so you can easily spot any irregularities.Running The Sprinkler
Begin by turning on the water supply to the sprinkler. Ensure that the water pressure is set to a normal level, as too much pressure can cause damage, while too little can affect performance.Position yourself a safe distance away to get a clear view of the sprinkler’s operation. Watch closely as it begins its rotation. Is it moving smoothly or jerking around? A smooth, even rotation indicates your repairs are likely successful.Consider the area the sprinkler covers. Is the water reaching all the intended spots in your garden or lawn? If not, adjustments might still be needed.Monitoring Performance
Observe the sprinkler for a full cycle to ensure consistent performance. Keep an eye out for any sudden stops or erratic movements. These could be signs of internal blockages or mechanical issues that need further attention.Check the water distribution. Are there any dry patches in the lawn? Uneven water coverage can suggest misalignment or partial blockages within the sprinkler head.After running the sprinkler for a few minutes, inspect it for leaks. Water pooling around the base or dripping from joints can indicate incomplete repairs.Engage with your sprinkler like you would with a new gadget. Does everything seem intuitive and reliable? If something feels off, trust your instincts and investigate further.What adjustments did you find most necessary during your testing? Share your experiences and insights with fellow garden enthusiasts. Your tips could help someone else struggling with similar issues.By thoroughly testing your Gilmour sprinkler after repairs, you’re not just ensuring its functionality—you’re investing in the health and beauty of your garden.Preventive Maintenance
Preventive maintenance is crucial for a well-functioning Gilmour sprinkler. Regular care ensures longevity and efficiency. It can prevent many common issues, like the sprinkler not rotating. Adopting simple maintenance habits can save time and money. It also ensures your lawn remains lush and healthy.
Regular Cleaning
Regular cleaning keeps your sprinkler in good condition. Dirt and debris can obstruct the gears. This can stop the sprinkler from rotating properly. Use a soft brush to clean the exterior. For internal parts, detach the sprinkler and rinse it. Ensure all parts are free of residue. Regular cleaning helps maintain optimal performance.
Routine Inspections
Routine inspections help spot potential issues early. Check for signs of wear or damage. Look at the sprinkler head and nozzle closely. Ensure there are no cracks or blockages. Inspect the connecting parts for tightness. Loose parts can hinder rotation. Regular inspections can prevent unexpected breakdowns. They help in keeping your lawn sprinkler system efficient.
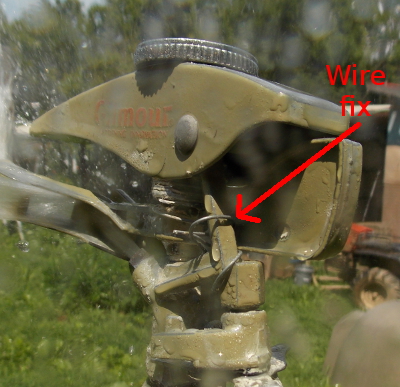
Credit: www.waldeneffect.org
Frequently Asked Questions
Why Is My Gilmour Sprinkler Not Rotating?
A clogged nozzle or broken gear may stop rotation. Clean the nozzle and check gears for damage.
How Do I Fix A Non-rotating Gilmour Sprinkler?
First, inspect for blockages. Remove any debris from the nozzle and ensure gears move freely.
Can Low Water Pressure Affect Sprinkler Rotation?
Yes, low pressure can hinder rotation. Check your water supply and ensure it meets the sprinkler’s requirements.
Are There Specific Tools Needed For Repair?
Usually, basic tools like pliers and screwdrivers suffice. They help in tightening or replacing parts.
Is Regular Maintenance Important For Sprinklers?
Absolutely, regular cleaning and inspection prevent issues. It ensures smooth rotation and longer sprinkler life.
Conclusion
Fixing a non-rotating Gilmour sprinkler is straightforward. Start with basic checks. Inspect for blockages and clean any debris. Ensure water pressure is adequate. Adjust the sprinkler head for proper alignment. Tighten any loose parts. Regular maintenance prevents future issues. These simple steps can save time and effort.
Always refer to the manual for specific guidance. With attention, your lawn stays green and healthy. Happy gardening!