Having trouble with your GE oven door not closing properly? This common issue can be frustrating, especially when you’re ready to cook.
A properly closing oven door is essential for efficient cooking and safety. If your GE oven door isn’t closing, it could be due to several reasons. From misaligned hinges to worn-out gaskets, understanding the root of the problem can help you fix it quickly.
In this blog, we will explore the possible causes and solutions. By the end, you’ll have a clear idea of how to get your GE oven door working like new again. Let’s dive in and find out how to solve this issue.
Credit: www.familyhandyman.com
Common Causes
Having trouble with your GE oven door not closing properly? You are not alone. This issue is common and can be frustrating. Let’s explore the common causes of this problem to help you fix it.
Misaligned Hinges
One of the main reasons for your GE oven door not closing could be misaligned hinges. Over time, the hinges can become loose or bent. This misalignment prevents the door from sealing properly. Check the hinges carefully. If they are loose, tighten them. If they are bent, you might need to replace them.
Damaged Door Seal
Another common cause is a damaged door seal. The door seal ensures the oven stays closed and heat does not escape. If the seal is worn out or torn, the door will not close fully. Inspect the seal for any signs of damage. If you find any, replace the seal to restore the door’s functionality.
Initial Inspections
When your GE oven door won’t close, it can be frustrating. Start with initial inspections to identify the problem. A thorough check can help you find and fix the issue quickly.
Visual Checks
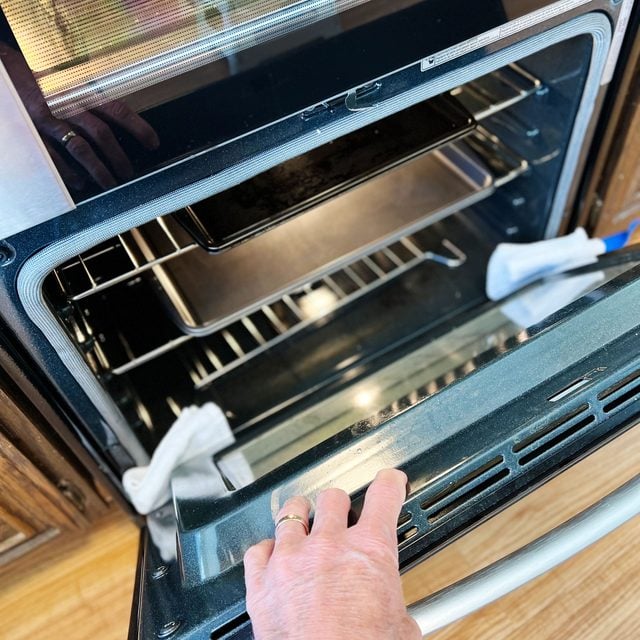
First, look at the door and its parts. Check for visible damage or debris. Ensure nothing blocks the door from closing. Look at the hinges and door gasket. Are they intact? Any visible damage can affect door closure. Clean any dirt or food particles from the gasket. This ensures a proper seal.
Testing Door Alignment
Next, check if the door aligns properly. Open and close the door slowly. Does it move smoothly? Misaligned doors can cause closing issues. Look at the hinges. Are they loose or bent? Tighten any loose screws. Bent hinges may need replacement. Check the door latch. Is it engaging correctly? Proper alignment is crucial for the door to close fully.
Fixing Misaligned Hinges
Have you ever tried closing your GE oven door only to find it won’t shut completely? Frustrating, isn’t it? Don’t worry, it’s a common issue that can usually be traced back to misaligned hinges. Fixing these hinges can seem daunting, but with the right tools and a step-by-step guide, you can easily get your oven door back in working order. Let’s dive in!
Tools Needed
Before you start, gather these tools:
- Screwdriver – A Phillips head screwdriver is usually needed for most GE ovens.
- Wrench – Depending on the model, you might need an adjustable wrench.
- Lubricant – A small amount of lubricant can help hinges move smoothly.
- Cloth – For cleaning and handling parts.
Step-by-step Guide
Follow these simple steps to fix the misaligned hinges:
- Turn Off the Power: Safety first! Make sure your oven is turned off and unplugged. This will prevent any accidental electrical shocks.
- Open the Oven Door: Open the door fully to access the hinges. You might need to remove the door completely, but often, you can work with it in place.
- Inspect the Hinges: Check the hinges for any visible damage or dirt. Sometimes, a good cleaning can solve the problem.
- Adjust the Hinges: Use your screwdriver to loosen the screws holding the hinges in place. Carefully move the hinges until they are aligned properly. Tighten the screws back in place.
- Apply Lubricant: Apply a small amount of lubricant to the hinges. This helps them move smoothly and reduces wear and tear.
- Test the Door: Close the oven door to see if it shuts properly. If it doesn’t, you might need to repeat the adjustment process.
- Reassemble and Clean Up: Once everything is aligned and working, reassemble any parts you removed and clean up your workspace.
And there you have it! With a bit of patience and these simple steps, your GE oven door should be closing perfectly again. If it’s still giving you trouble, it might be time to call in a professional. But most of the time, a little DIY can save the day!
Remember, if at any point you feel unsure, it’s always better to seek help than to risk damaging your oven further. Happy fixing!
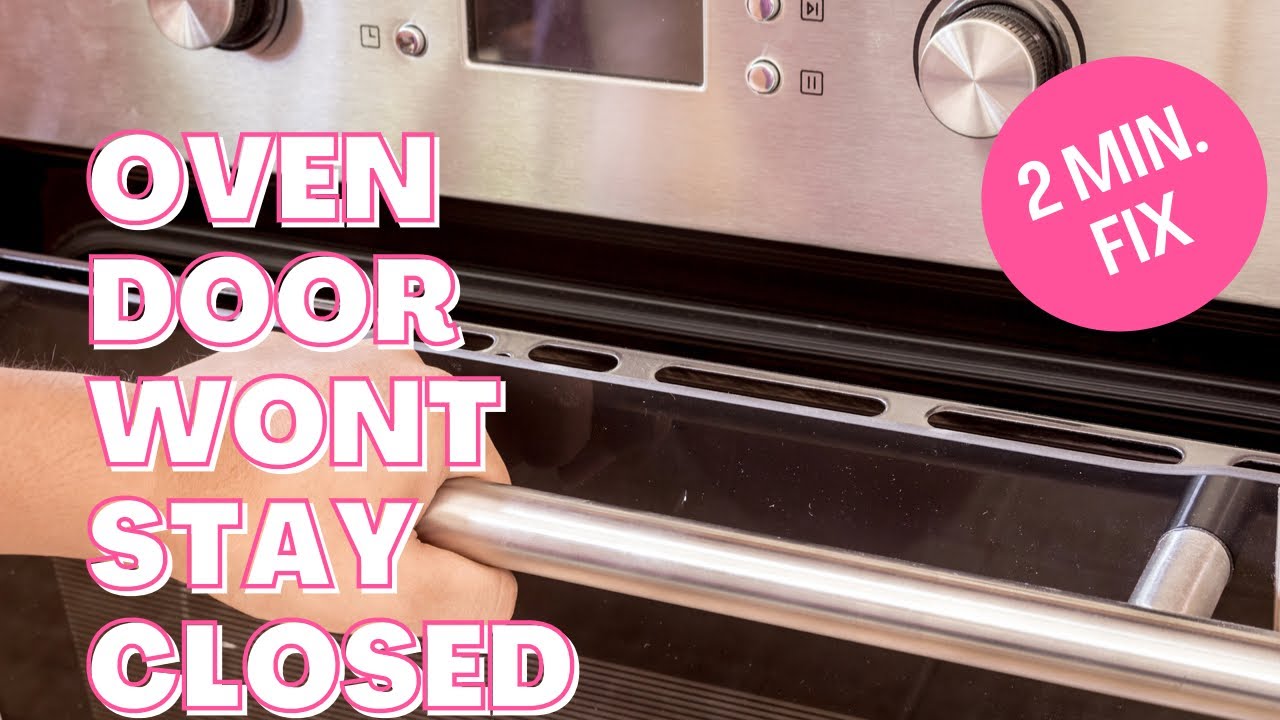
Credit: www.youtube.com
Replacing Damaged Door Seals
Ever experienced that frustrating moment when your GE oven door just won’t close properly? It can be incredibly annoying, especially when you’re in the middle of cooking a delicious meal. One common culprit could be damaged door seals. Fortunately, replacing them is a straightforward task. In this section, we’ll walk you through the process of replacing damaged door seals on your GE oven, ensuring your kitchen appliance gets back to working order in no time.
Identifying Seal Damage
First things first, let’s determine if the door seals are indeed the problem. Inspect the rubber gasket around the oven door. Look for obvious signs of wear and tear, such as cracks, tears, or parts that seem flattened. Sometimes, you might even notice bits of food or grime stuck to the seal, which can prevent the door from closing properly.
Here’s a simple checklist to help you identify seal damage:
- Are there visible cracks or tears in the seal?
- Is the seal overly compressed or flattened?
- Is there dirt or food residue stuck to the seal?
- Can you feel any drafts or heat escaping when the oven is on?
If you’ve answered yes to any of these questions, it’s time to consider replacing your oven door seals.
Installing New Seals
Now that you’ve identified the problem, let’s move on to the solution: installing new seals. Don’t worry, you don’t need to be a professional to handle this. Just follow these simple steps:
- Purchase the correct seal: Make sure you buy the right replacement seal for your specific GE oven model. Check your oven’s manual or look for the model number on the oven itself.
- Remove the old seal: Gently pull the old seal away from the door. Most seals are held in place by clips or adhesive. Be careful not to damage the door while doing this.
- Clean the area: Use a damp cloth to clean the area where the new seal will go. Remove any leftover adhesive or debris to ensure a snug fit.
- Install the new seal: Start at one corner and press the new seal into place, following the same path as the old one. Make sure it’s firmly attached and fits well all around.
- Test the door: Close the oven door to ensure it seals properly. If it doesn’t, check for any gaps and adjust the seal as needed.
Replacing the door seals might seem like a small fix, but it can make a big difference. Not only will it help your oven door close properly, but it will also improve your oven’s efficiency and cooking results.
So, the next time your GE oven door refuses to cooperate, don’t stress. Check those seals and replace them if needed. You’ll have your oven back in tip-top shape in no time, ready to tackle all your culinary adventures!
Adjusting Door Latches
Is your GE oven door not closing properly? This issue can be frustrating. One common solution involves adjusting the door latches. A well-adjusted latch ensures a tight seal, improving the oven’s efficiency. Learn how to adjust your GE oven door latches with this simple guide.
Latch Mechanism
The latch mechanism is a crucial part of your oven door. It keeps the door closed tightly during use. A faulty latch can lead to heat loss and uneven cooking. Understanding how the latch works will help you adjust it correctly.
Proper Adjustment Techniques
Start by inspecting the latch for any visible damage. If it looks bent or broken, it might need replacement. For minor misalignments, you can often fix it yourself.
First, open the oven door and locate the latch. Use a screwdriver to loosen the screws holding the latch in place. Gently adjust the latch position until the door closes snugly.
After adjusting, tighten the screws and test the door. Open and close the door several times to ensure it seals properly. If the door still doesn’t close right, you might need to repeat the process.
Sometimes, the hinge might be the issue. Inspect the hinge and lubricate if necessary. This can help the door close more smoothly.
When To Call A Professional
When your GE oven door won’t close properly, it can be frustrating. Sometimes, a minor adjustment can fix the issue. But there are times when calling a professional is the best option. Here’s when you should consider seeking expert help.
Complex Issues
Some problems are too complex for DIY solutions. If the oven door is misaligned, it might need expert adjustment. Hinges and springs can be tricky to fix without the right tools. Professionals know how to handle these intricate parts.
Electrical issues can also affect the door. If sensors or wiring are faulty, it’s best to get a technician. They have the skills to diagnose and repair electrical problems safely. Trying to fix these on your own can be dangerous.
Warranty Considerations
Check your oven’s warranty before attempting any repairs. Some fixes might void the warranty. Professional repairs ensure that the warranty remains intact. This can save you money in the long run.
Manufacturers often recommend certified technicians. These experts understand the brand-specific issues. They use genuine parts and follow the correct procedures. This helps in maintaining the oven’s performance and longevity.
Preventive Maintenance
Keeping your GE oven door in top condition requires regular preventive maintenance. This simple practice can save you time and effort. A well-maintained oven door ensures proper sealing and efficient cooking. Follow these steps to keep your oven door functioning smoothly.
Regular Cleaning
Clean the oven door regularly. Grease and food particles can build up on the door and its hinges. Use a soft cloth and mild detergent to wipe down the door. Avoid harsh chemicals. They can damage the door’s surface.
Focus on the edges and seals. These areas collect the most grime. A clean door not only looks better but also closes properly. Consistent cleaning prevents buildup that can obstruct the door’s closure.
Routine Inspections
Inspect the oven door and its components regularly. Check the door hinges for wear and tear. If you notice any damage, replace the hinges promptly. Examine the door seal or gasket. Ensure it is intact and free from cracks or splits.
A damaged seal can prevent the door from closing properly. This can also cause heat to escape, affecting cooking performance. Regular inspections help you catch issues early. Addressing problems early can prolong the life of your oven door.

Credit: danmarcappliance.com
Frequently Asked Questions
Why Is My Ge Oven Door Not Closing All The Way?
Your GE oven door may not close due to misaligned hinges, damaged door gasket, or obstructed door latch. Inspect and fix these issues.
How To Fix An Oven Door Not Closing?
Check hinges for damage. Tighten or replace loose screws. Clean door gasket. Ensure nothing obstructs closure.
Why Is My Ge Oven Door Not Locking?
Your GE oven door may not be locking due to a faulty door latch, control board, or incorrect self-cleaning cycle settings. Check for obstructions.
How Do I Reset The Door Lock On My Ge Oven?
To reset the door lock on your GE oven, turn off the circuit breaker for 30 seconds. Then, turn it back on. This should reset the lock.
Why Is My Ge Oven Door Not Closing Properly?
The door gasket might be damaged. Inspect it for tears or wear.
Conclusion
Fixing a GE oven door that won’t close can be simple. Start by inspecting hinges and seals. Clean any debris and tighten loose screws. Replace damaged parts if necessary. Regular maintenance prevents future issues. A well-functioning oven ensures safety and efficiency.
Follow these steps to enjoy hassle-free cooking. If problems persist, consult a professional. Keep your kitchen running smoothly with these easy tips.